|
|
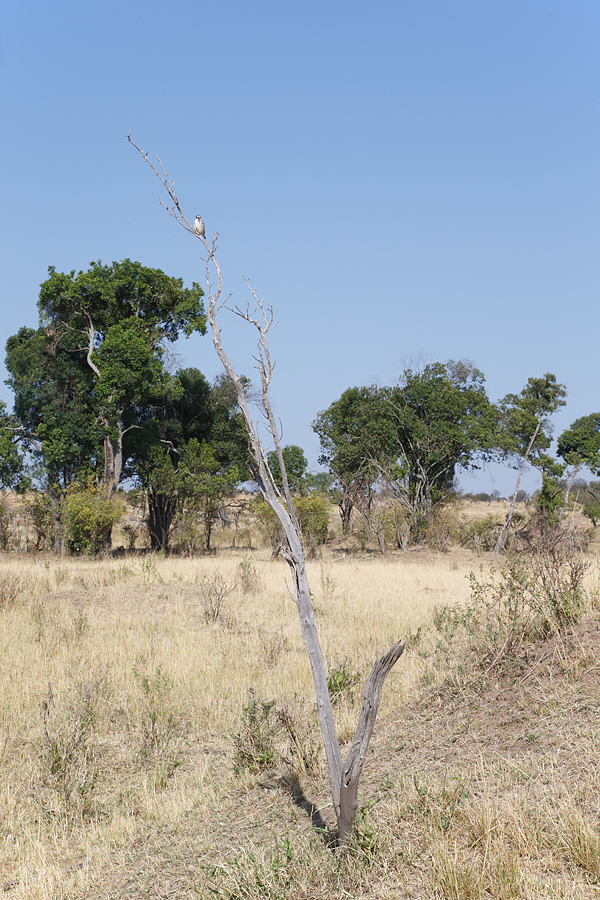
This image was created on the Tanzania Summer Safari with the Canon EF 24-105mm f/4L IS USM lens (hand held at 65mm) and the Canon EOS-1D X. ISO 400. Evaluative metering +1/3 stop: 1/320 sec. at f/16 in Av mode. Central sensor AI Servo Surround Rear Focus AF on the bird and re-compose. Click here if you missed the latest version of the Rear Focus Tutorial. Click on the image to see a larger version. |
The 24-105
As regular readers know, I never leave home without my Canon EF 24-105mm f/4L IS USM lens. It comes in handy for a great variety of images; see “A Fitting Ending/Short Zoom Lens Tips” here to learn more about this useful B-roll lens. Whenever I head afield without my 24-105 it is usually not long before I am wishing that I had brought it along….
The bird in the tree is a Striped Kingfisher.

|
|
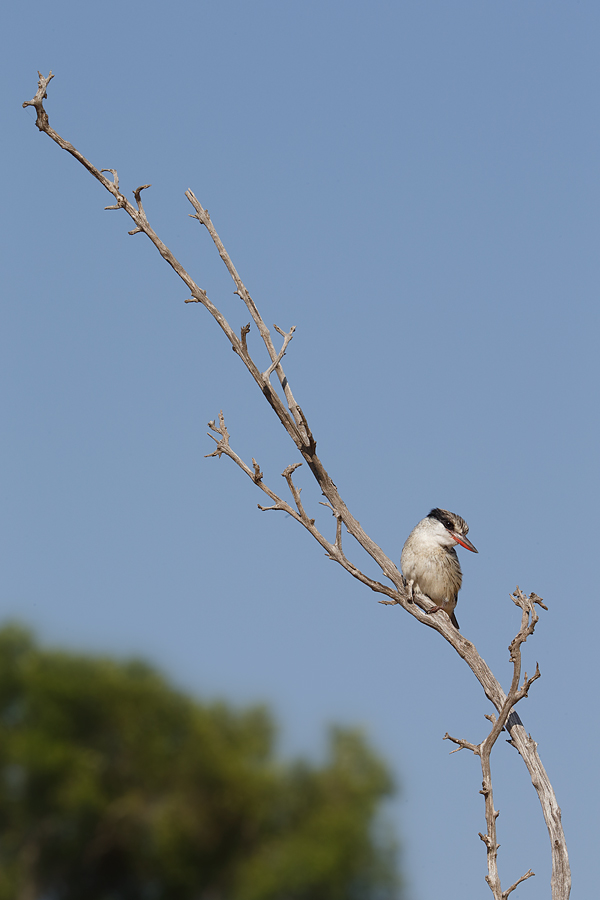
This image was also created from the top of our safari van on the Tanzania Summer Safari last August with the Canon EF 200-400mm f/4L IS USM Lens with Internal 1.4x Extender (with the internal TC in place at 345mm) and the Canon EOS-1D X. ISO 400. Evaluative metering +1/3 stop as framed in Av Mode: 1/320 sec. at f/16. Central sensor/AI Servo/Surround–Rear Focus AF on the bird and re-compose. Click here to see the latest version of the Rear Focus Tutorial. Click on the image to see a larger version. |
Going Wide with the 200-400 with Internal TC
To create the second story telling image in this series I went with the 200-400 at 345mm. Many folks would ask, “Why did you need the teleconverter in place?” I didn’t. It was in place to give me additional reach if needed; as I zoomed to frame the image I simply pressed the shutter button once I was pleased with the composition.
Note that when creating vertical images of small-in-the-frame subjects that placing the subject near one of the corners is almost always the best way to go. Learn more about Advanced Composition and Image Design in The Art of Bird Photography II (ABP II: 916 pages, 900+ images on CD only).

|
|
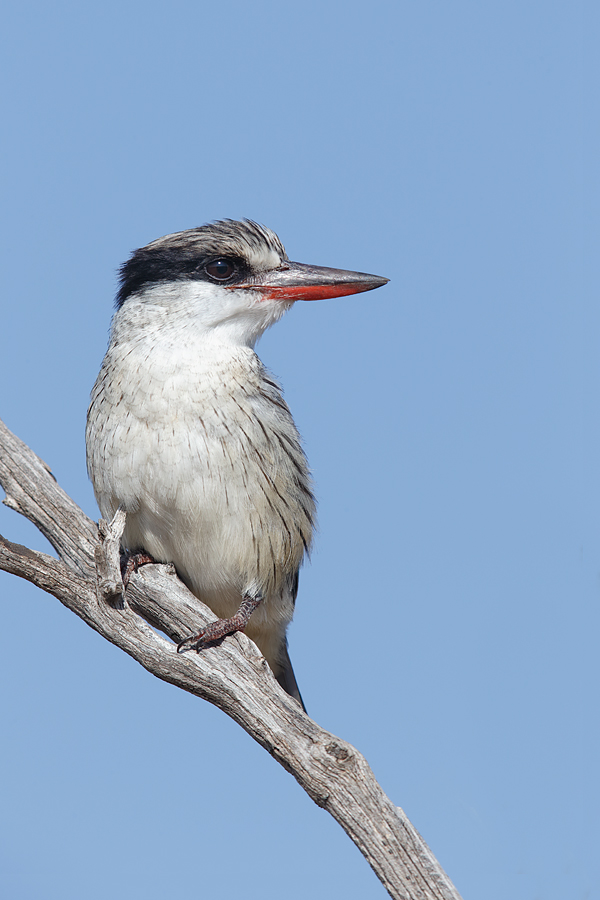
This Striped Kingfisher image was also created from the top of our safari van, this one with the Mongoose M3.6 head on a Todd-pod along with the Canon EF 600mm f/4L IS II USM lens, the Canon 2x EF Extender III (Teleconverter), and the Canon EOS-1D X. ISO 400: Evaluative metering +1/3 stop: 1/500 sec. at f/10 in Manual mode. Central sensor (by necessity) Expand/AI Servo Rear Focus AF on bird’s eye and re-compose. Click here if you missed the latest version of the Rear Focus Tutorial. Click on the image to see a larger version. |
The Power of Twelve Hundred Millimeters
To create the relatively large-in-the-frame vertical image above I went with the 600II/2X III combo. Though many state openly that it is not possible to create critically sharp images with a 2X teleconverter I do just that consistently. For quite a while I worked at f/8 or f/9 with this combination (f/8 is wide open) but more recently I have begun stopping down to f/10, f/11, or f/13 when possible. To learn to make sharp images at long effective focal lengths see “Advanced Sharpness Techniques in The Art of Bird Photography II (ABP II: 916 pages, 900+ images on CD only). For those who as I have done gone completely to full frame bodies learning to work successfully with a 2X TC is huge advantage for both bird and wildlife photography.
Also relevant and of interest to many would be “Big Lens Choices for Canon and Nikon–As I See Them….” here.

|
The Image Optimization
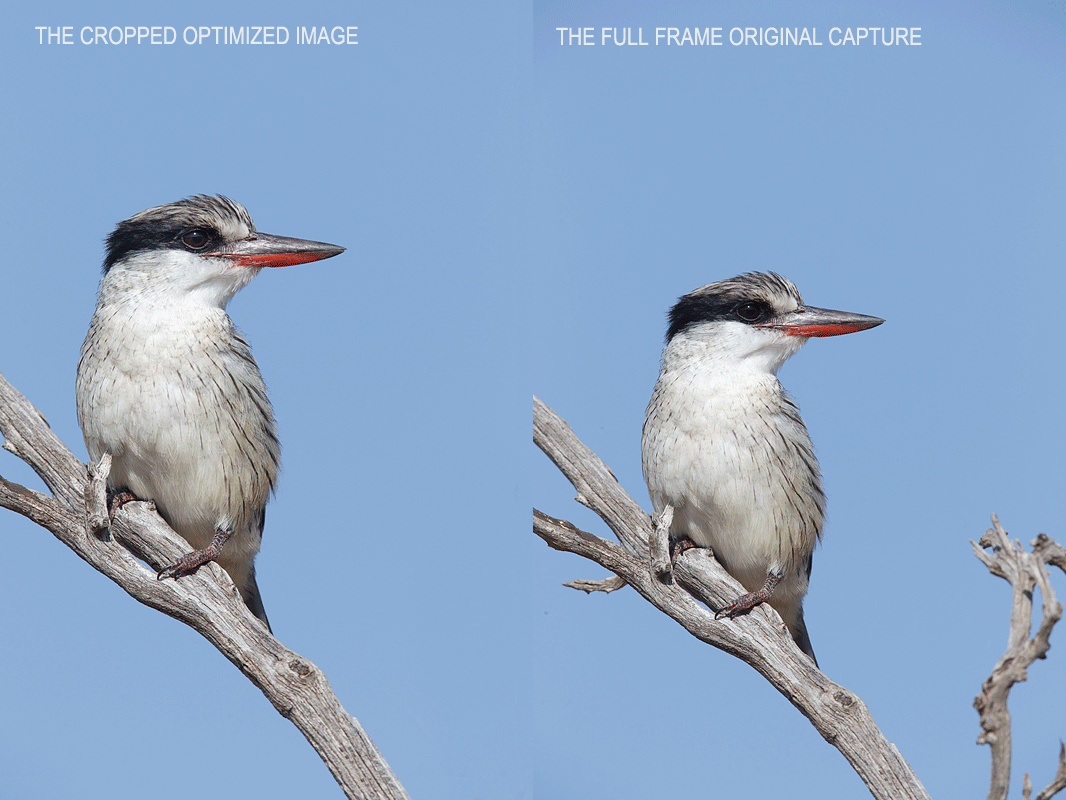
After converting the RAW file in Canon’s Digital Photo Professional (click here to learn how and why I use DPP) I dust-spotted the image, eliminated several extraneous branches with a series of Quick Masks as detailed in APTATS I and regular layer masks, moved the bird up and a bit back in the frame using techniques from APTATS II, lightened the mask using Tim Grey Dodge and Burn techniques, and ran a 50% layer of my NIK 50/50 preset on the bird and the perch only. All the rest as described in detail in our in Digital Basics File, an instructional PDF that is sent via e-mail. It includes my complete digital workflow, dozens of great Photoshop tips, several different ways to expand canvas, all of my time-saving Keyboard Shortcuts, Quick Masking, Layer Masking, and NIK Color Efex Pro basics, image clean-up techniques, Digital Eye Doctor, and tons more.
I do realize that but for too much room at the top that the wider framing in the original post has merit.
Image Questions
#1- Which of these images do you think that I created first? Why?
#2: Why only +1/3 stop for all three of these images?
#3: Which is your favorite image? Why?
2014 Tanzania Summer Safari
If you are interested in joining us in Tanzania next summer please shoot me an e-mail and I will be glad to forward you the PDF with dates, itinerary, and price. With Jean-Luc Vaillant already signed up, this trip is a go.
Coming Soon
Stay tuned for next year’s Bosque IPT dates with the promised reduced rates and info on the Bosque Site Guide Current Conditions Update. The latter, which should be available be the end of this week, will be sent at no charge to all who have purchased the invaluable Bosque Site Guide. It will also be available as a separate purchase.
Also in the pipeline is a brand new MP-4 Photoshop Tutorial Video on creating high quality animated GIF files and using the Text Tool to type on images. It will sell for $4 and will be the first of many new MP-4 videos. See here for the current library.


Hi Artie,
#1 I think the 200-400. Because in that situation (trecking in Tanzania), that lens brings you more flexibility. The other ones are more specific.
#2 You are using evaluative metering. The subject is against the sky, so you have to compesate all that ilumination. With the 24-105 and the 200-400 some dark objects compasate the luminosity of the sky, and with the 600mm You just have the bird.
#3 I like the third one
Comments saying +1/3 was needed to bring out detail in the black seem logical to me, altho I didn’t think of that until reading the comments. (Typo on image #1 made me read – 1/3 until I realized the shift key didn’t get pressed to get + instead of =}
I started by thinking you would need -1/3 because of the white breast in bright sun, but then thought it wasn’t really bright white and NIK took care of bringing out more detail in it.
My favorite is actually the unoptimized last image. I like all the original branches and don’t mind the space at the top which actually puts the bird more on the lower corner left corner rather than middleish.
Again, thanks for all the teaching.
Why add only 1/3? It was a sunny day. The camera’s computer is pretty smart then. You added 1/3 to bring out slightly more detail but did not do more because the camera’s exposure reading is pretty accurate on a sunny day.
#1 – Going against the grain, I’m going to say you created #3 first. Why?
Being in the van and not knowing how close you could really get, pull out
the big gun first. Then if you could get closer, go with the 200-400 and
then the 24-105 for more framing possibilities.
#2 – I know most of the answers has to do with the black stripe, but I think
with the combination of the bird and branch being close to the same tonality
might have also had something to do with it.
#3 – My fave is #3. #2 is close with the lines, but I think if the Kingfisher was
a little higher up in the branch, I might change my mind.
Doug
Hey Doug. You know me too well on #1; good thinking! artie
The final cropped is tops for me!!!
3. I like the bottom image best with the twig left in, as it give the image a more realistic look to it and more 3D lifelike.
1. the 200-400 would be an amazing lens for safari, so I imagine it was the first used. Then the 600mm when time was available to crop down on the bird.
2. +1/3 to help bring out the eye stripe and darker feather markings.
Art,
Have you considered making The Art of Bird Photography II available as an e-book for Kindle? Is the document on the CD a PDF format (that would essentially accomplish the same thing)? I’d love to buy the book but hesitate to buy it on CD because my field book of choice is a tablet running Kindle.
#1: I’m guessing image 2 was first because the 200-400 would be the logical lens to have on while hunting for subjects. The 1200mm shot was probably next, because after finding the good subject you’d want to get closer, and then the wide-angle shot because you saw a teachable moment. Essentially I agree with Kevin 🙂
#2 and 3 I’m with Kevin as well, and I’m still learning the ETTR stuff too.
Thanks for all the great info.
Sean
ABP II comes as a CD with two PDFs, single pages for easy reading and two page spreads to better enjoy the layout. The former would be perfect for you Kindle.
I’ll comment on the rest in a future post. artie
Excellent, purchased, thanks. I look forward to learning how you get such sharp images out of the 2x teleconverter 🙂
For the Bosque Site Guide update it would be interesting to hear your take on being there the week of the festival versus the week after.
I will e-mail you :). artie
Artie it’s a toss up for me. I like the original full frame the extra branches in the lower right add some balance and maybe a little more natural look.The cropped version because more subject in the frame. I like the wide angle with the background but couldn’t have told you the type of bird. I think you shot with the 200 -400 first then when you saw the bird was going to hang around you went with the 600. Then you shot the wide angle. As for the +1/3 you wanted the white on the breast to be white. I am still trying to learn on this exposure thing . thanks for all the info on the blogs. Kevin
Thanks Kevin. Good to see some new blood here. Stay tuned for my comments on the rest.
Hi Arthur,
That is a Striped Kingfisher (Halcyon chelicuti) – has a red lower mandible and brown upper 🙂
Definitely like the last image best, showing the detail and catchlight.
Only +1/3 to avoid blinkies (highlight blowing) on the bright chest of the subject?
Not sure of the sequence, probably as they are presented.
Thanks for the ID correction. I will withhold comment on the rest for now. artie