What’s Up?
I did lots of work yesterday on the San Diego Exhibit. Things are really coming to fruition. I will be sharing the formal announcement with y’all here soon. In the meantime you can mark the time of the “Choosing and Using Lenses for Bird and Nature Photography” slide program (8:30 to 10am) and the date of the exhibit opening, Saturday, January 16, 2016 on your calendars. The exhibit will open right after the slide program is concluded.
I went to Bartow early on Thursday morning to have blood spun for a sophisticated food allergy test ordered by Dr. Oliver. I really fell off the wagon with my diet both in the Southern Ocean and in New Mexico; the Cyrex test may give Cliff some insight into whether my congestion is a result of my gliadin allergies or possibly something else. Gliadin is a component of all grains especially wheat. Note: eating lasagna and raviolis as I did in NM was not a good plan :). But it sure tasted great. This weekend I will be gathering samples for a parasite test; we need to make sure that I did not pick up any bugs in South America. The last time I did this test it was discovered that I had three parasites, two of which could kill you.
In any case, I continue to feel pretty good, just congested.


Galapagos Photo Cruise of a Lifetime IPT/The Complete Galapagos Photographic Experience
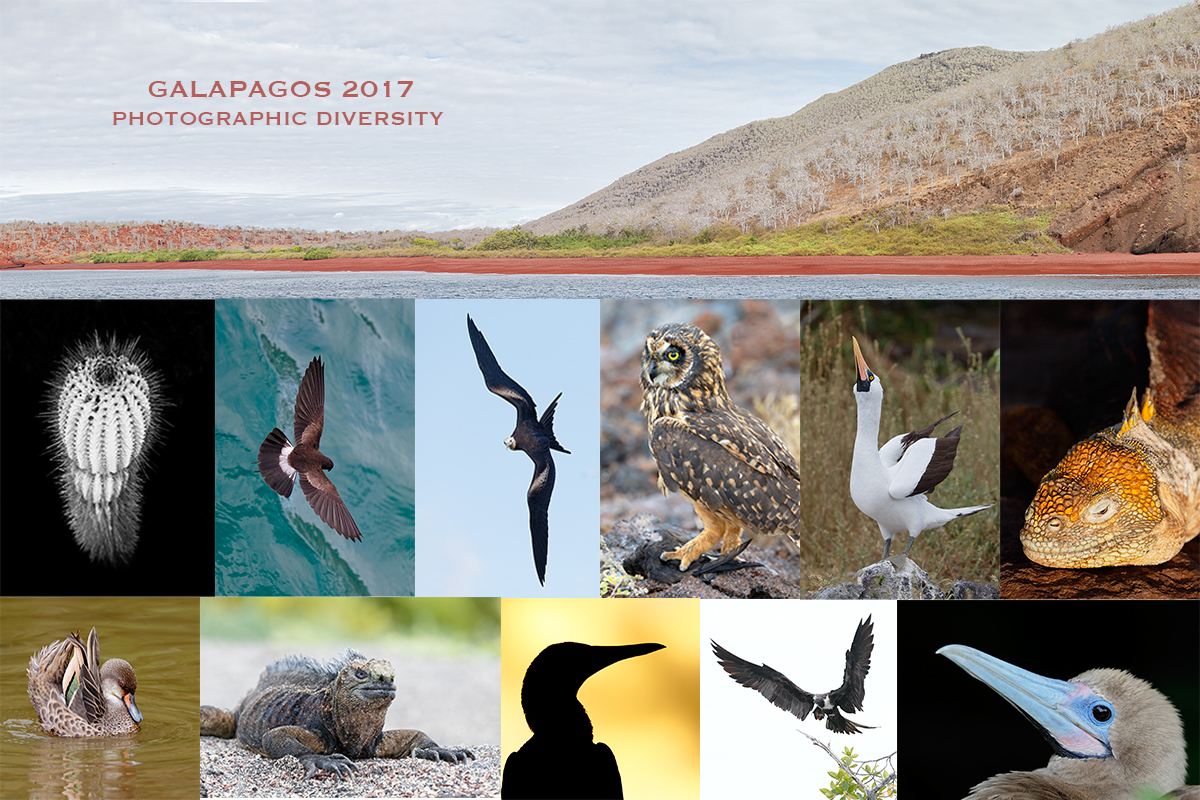
If you would like to join me in the Galapagos in August, 2017, please scroll down and read carefully. Simply put, my Galapagos Photo-Cruises are the best ever for lots of reasons….
|
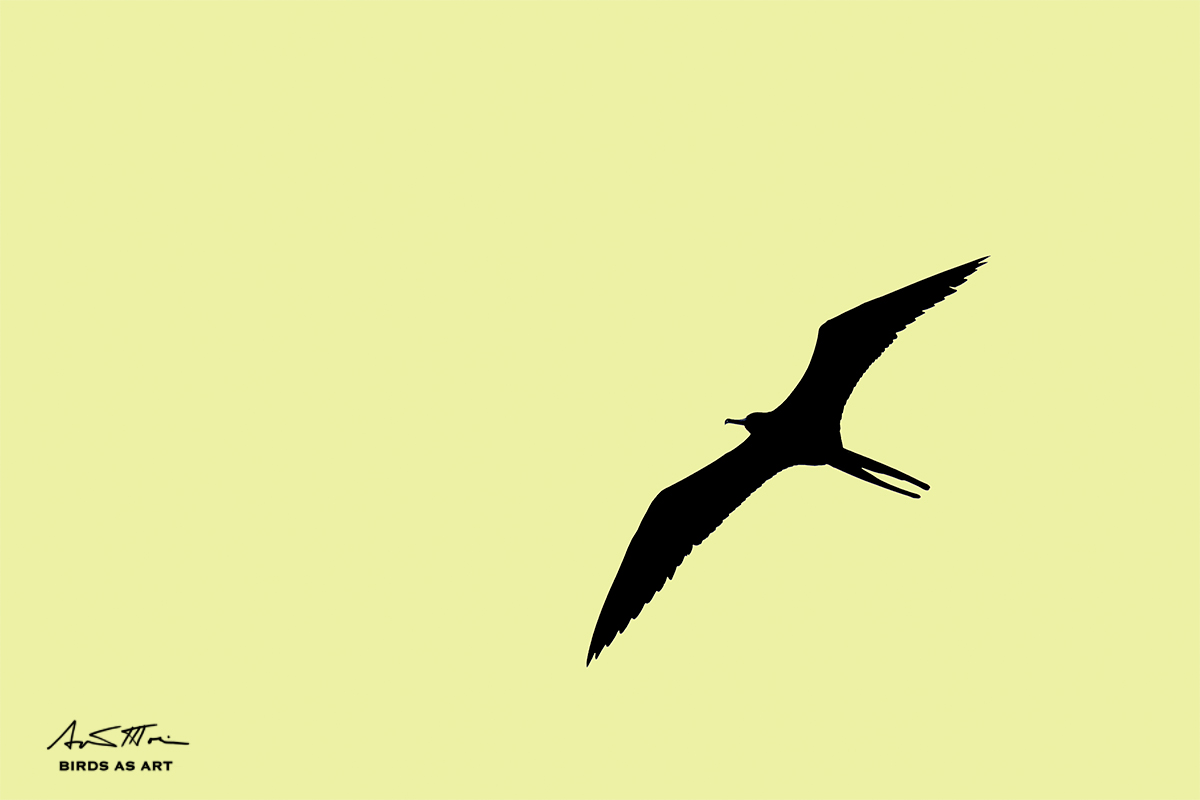
This image was created on the July 2015 Galapagos IPT with the hand held Canon EF 100-400mm f/4.5-5.6L IS II USM lens (at 400mm) and the amazing Canon EOS 7D Mark II. ISO 640. Evaluative metering +1/3 stop: 1/8000 sec. at f/5.6 in Av Mode. See more below on my exposure screw-up. Center AF point/AI Servo Expand/Shutter Button AF as originally framed was active at the moment of exposure (as is always best when hand holding). Neither the selected AF point nor any of the assist points was on the subject…. Click here to see the latest version of the Rear Focus Tutorial. Click on the image to see a larger version. Frigatebird silhouette |
Shoot First/Ask Questions Later…
Here we were in the panga (zodiac) heading back to the ship after a fine first afternoon at Bachas Island. We had had some great chances with Black-necked Stilts, Striated Heron, Greater Flamingo, Lava Gulls, Sally Lightfoot Crabs, and baby Marine Iguanas. I properly had the 100-400 II in my hands with the camera turned on. It is almost always very calm in the Galapagos so there is rarely a need to keep your gear covered while cruising. In any case, I was not properly prepared. I have long advised folks to shoot first and ask questions later when it comes to action. In this case, I did as I say.
I saw the frigatebird flying by, raised the lens, acquired focus, and created two or three images, keeping one. When I looked at the EXIF and saw +1/3 stop, 1/8000 second, I knew that I had screwed up by severely under-exposing the image. I could have had plenty of shutter speed had I had the EC set properly to something like +2 stops (as framed).
What to do?
|
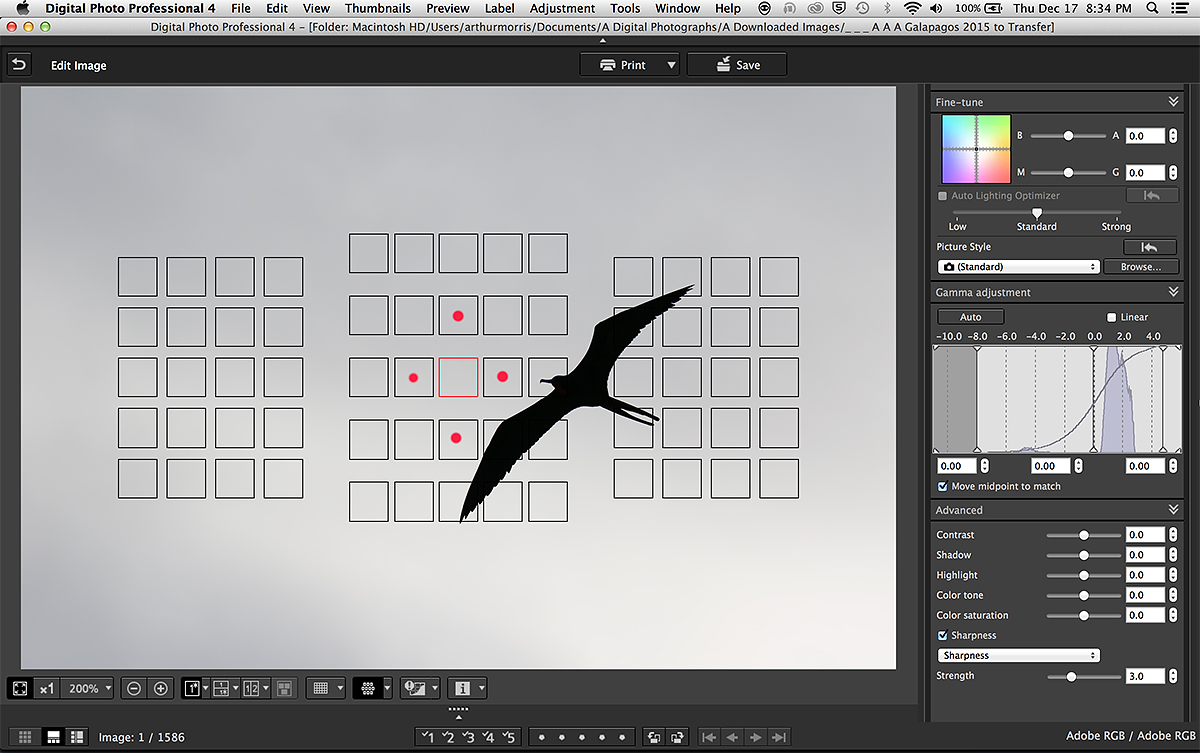
The DPP 4 Screen Capture for the RAW file right out of camera. Note that neither the active AF point nor the assist points (I added the red circles to show them) fell on the bird. Yet, the image was sharp. This was due in part to the fact that the system often will keep tracking for a moment or two with a sky background, and in part to my Custom Case settings as detailed in the User’s Guides for the new cameras, the 5D III, the 1D X, and the 7D II. |
The RAW Conversion and the Image Optimization
With the image created at ISO 640 but well under-exposed, I used my saved recipe for the 7D Mark II at ISO 800 for the conversion. A little extra noise reduction would make the sky smoother. You can easily see the big under-exposure in the DPP 4 screen capture above by noting the tonality of the gray sky. Next I moved the Brightness slider to +1.5 stops. One of the things that I love about DPP 4 is that once you load your saved recipe for a given camera and ISO there is very little work left to be done, usually just a few tweaks on two of the Advanced sliders (lower right above).
The original plan after bringing the image into Photoshop was to create a stark Black and White silhouette with a Levels adjustment. But I decided to add some color to the sky so I selected the BKGR with the Magic Wand Tool (my custom keyboard shortcut M) and used the Paint Bucket to add yellow to the sky but the results were much too garish. To soften up the yellow, still with the sky on its own layer, I first went to Selective Color and took about 80 points of BLACK out of the YELLOWs. Then I messed around with the sliders for the WHITEs but there were no great changes It looked better but still needed some tweaking so I opened up Color Balance on that same layer and moved the sliders around going left and then right with each slider to see the effect. Moving the bottom slider well towards BLUE got me the nice soft yellow that you see in the optimized image that opened this blog post.
Digital Basics
Most everything that I did to optimize today’s image is covered in detail in my Digital Basics File–written in my easy-to-follow, easy-to-understand style. Are you tired of making your images look worse in Photoshop? Digital Basics File is an instructional PDF that is sent via e-mail. It includes my complete digital workflow, dozens of great Photoshop tips, details on using all of my image clean-up tools, the use of Contrast Masks, several different ways of expanding and filling in canvas, all of my time-saving Keyboard Shortcuts, Quick Masking, Layer Masking, and NIK Color Efex Pro basics, Contrast Masks, Digital Eye Doctor techniques, using Gaussian Blurs, Tim Grey Dodge and Burn, a variety of ways to make selections, how to create time-saving actions, the Surface Blur (background noise reduction) settings that I use to smooth background noise, and tons more.
APTATS I & II
Learn the details of advanced Quick Masking techniques in APTATS I. Learn Advanced Layer Masking Techniques in APTATS I. Mention this blog post and apply a $5 discount to either with phone orders only. Buy both APTATS I and APTATS II and we will be glad to apply at $15 discount with phone orders. Please call Jim or Jennifer weekdays at 863-221-2372 to take advantage of this special offer. You can find the same deal in the BAA Online Store here.
|
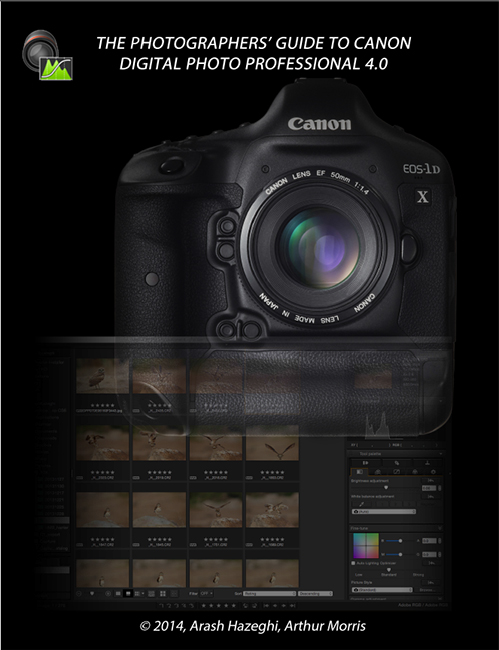
You can order your copy of “The Photographers’ Guide to Canon Digital Photo Professional 4.0” (aka the DPP 4 Raw Conversion eGuide) by Arash Hazeghi and Arthur Morris by clicking here. |
The DPP 4 eGuide (PDF)
Learn how and why I and many other discerning photographers choose and use only DPP 4 to convert their Canon RAW files in the DPP 4 RAW Conversion Guide by Arash Hazeghi and yours truly. The latest version supports all of the newer Canon camera bodies and several older models including the EOS-7D and the EOS-1D Mark IV. The DPP IV Guide is the ideal companion to the 7D Mark II User’s Guide, a runaway best seller.
The DPP 4 eGuide (PDF) Updated for 1D Mark IV and the original 7D
The DPP 4 eGuide was recently updated to include the luminance and chrominance noise reduction values for both the 1D Mark IV and the original 7D. If you purchased your copy from BAA please e-mail Jim and request the DPP 4 1d IV/7D update. Please be sure to cut and paste page 1 into your e-mail as proof of purchase.
DPP 4 Kudos
From Richard Gollard via e-mail:
I have been doing tons of studying the books and PDFs that I have purchased from BIRDS AS ART. And I have to say that after reading the DPP 4 conversion guide that you did with Arash Hazeghi I tried DPP 4 and was blown away with the difference from the conversions that I made with Adobe Photoshop and Lightroom. Thanks for the consistently great information.
|
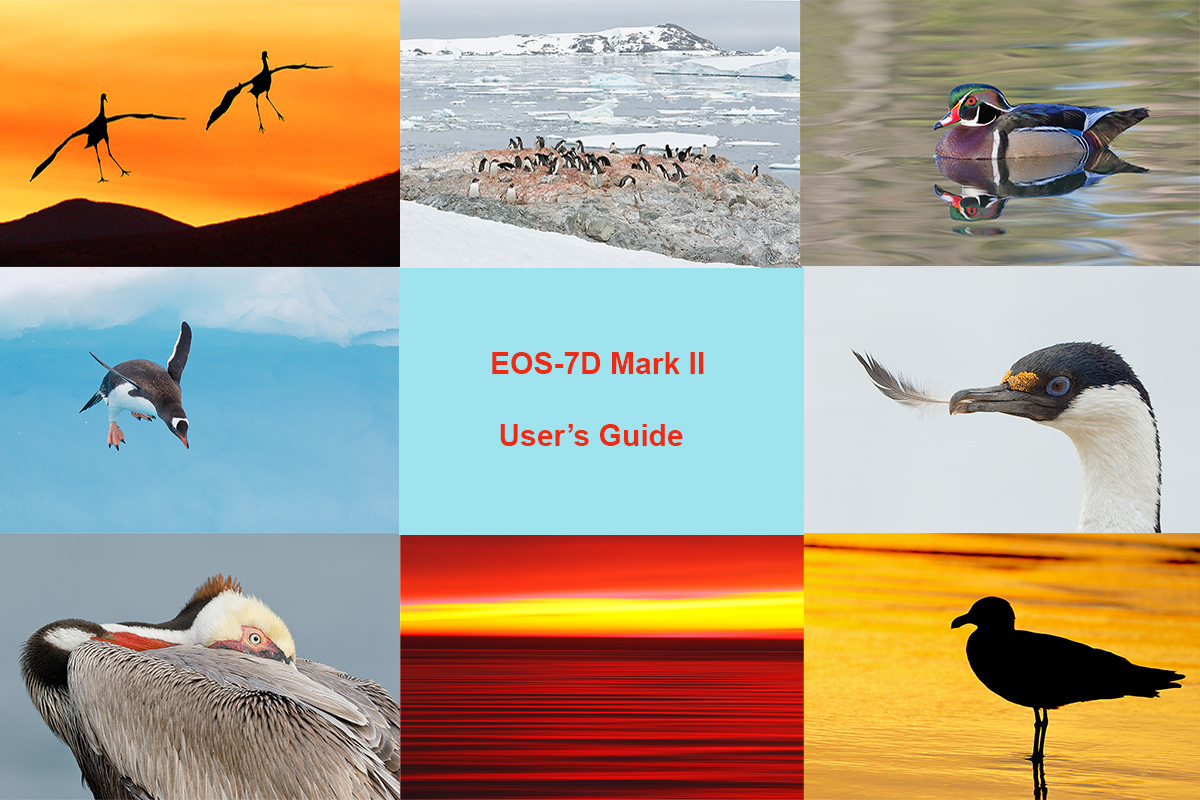
You can purchase your copy of the The 7D Mark II User’s Guide in the BAA Online Store here for $59. |
7D Mark II User’s Guide
You can purchase your copy right now in the BAA Online Store here for $59. Or call Jim or Jennifer at 863-692-0906 and place a phone order. This is the highest priced user’s guide ever, surpassing the 5D II User’s Guide that is priced at $50. Why? I did twice as much work preparing the 7D II Guide. It required many days of writing, many dozens of hours of study and research, not to mention hundreds of hours in the field trying to figure out the best 7D II setting while doing what I love to do best, photographing birds and nature. The camera is quite complex. Many thanks to both Rudy Winston and Chuck Westfall of Canon USA for their help in getting me through the stickiest parts.
The guide contains 23,196 words in 516 paragraphs. There are 24 photos and screen captures interspersed in the main body of the text and a gallery of 23 additional 7D II images that show what the camera is capable of with a variety of lens and lens/TC combinations. We would love your feedback.
The Great Strength of the 7D Mark II User’s Guide
The very great strength of the 7D Mark II User’s Guide is the coverage of the autofocus system. I review in detail all of the items on the five pink AF Menus. Most important of these is the Custom Case setting (at AF 1) that I have developed over time and currently use for all of my bird photography. On the recently concluded Hooptie Deux Spoonbills and more IPT John Johnson of Naples, FL mentioned that he was having trouble producing sharp flight images. I set up my Custom Case on his camera, and within minutes he was amazed at the sharp results that he was getting…. While skill, strength, fine motor control, and superior hand eye coordination are all factors that will influence your success as a flight photographer, you can have all of the preceding in spades but if your camera is not set up properly much of your effort will be in vain….
What Else is in the Guide?
In the 7D Mark II User’s Guide you will learn everything that I know about the important topics listed below, and better yet, I explain the options for each along with my reasons for choosing a specific setting in a specific situation.
Handling the WHITEs
The top LCD and all camera control buttons
7D Mark II drive modes
How to manually select an AF sensor
Choosing an AF Area Selection Mode; how and why (includes extensive detail)
Moving the AF point or Zone
The creation of in-camera Multiple Exposures and in-camera HDR images (includes extensive detail)
Live View Shooting and AF choices (all new in the 7D II)
Menu Item Access
Coverage of almost all Menu Items and Custom Functions including the following: Image Quality, Auto Lighting Optimizer, Lens aberration corrections settings, Highlight Tone Priority, AF Configuration Tool (as above, this includes details on the custom setting that I use), Acceleration/deceleration tracking, Tracking sensitivity, Lens drive when AF impossible, Orientation linked AF point (I love this feature), Highlight alert, Histogram display–do you know how to access both histograms at once?, Auto rotate, Image Jump, LCD Brightness, Info button display options, Custom Shooting Modes set-up, ISO Safety shift, using the Q button, setting up rear focus, and setting up your My Menu feature (among others).
The guide is–of course–written in my informal, easy-to-follow style.
Please note: Some Menu items are not covered in this guide for one of several reasons:
- They deal only with the creation of movies (not covered)
- They are irrelevant to nature photography.
- After spending hours studying the 7D II Instruction Manual and consulting others I have no clue as to the purpose or the reason for the existence of a given feature.
Though I recommend that the irrelevant and confusing items be left at the default settings, I do, in most cases, I refer you to the relevant page in the 7D II Instruction Manual. If you follow up, it just might turn out that you are a lot smarter than me. In those cases I would love to hear from you via e-mail. So far none of the above have prevented me from creating many spectacular images with my 7D II.
Please note that this guide does not contain a table of contents or an index. To search the document for a given topic simply hit Control F to search. When the Find box pops up, simply type the term that you are looking for into the field and hit Next. This will allow you to find what you are looking for quickly and efficiently.
If you purchase the 7D II UG and it helps you to create better images, please feel free to send no more than two 1200 pixel wide or 900 pixel tall sharpened JPEGs to me via e-mail along with your comments. I will be glad to do a short critique if requested.
Click here and scroll down for a free 7D Mark II User’s Guide AF Point Auto Switching Excerpt.
|
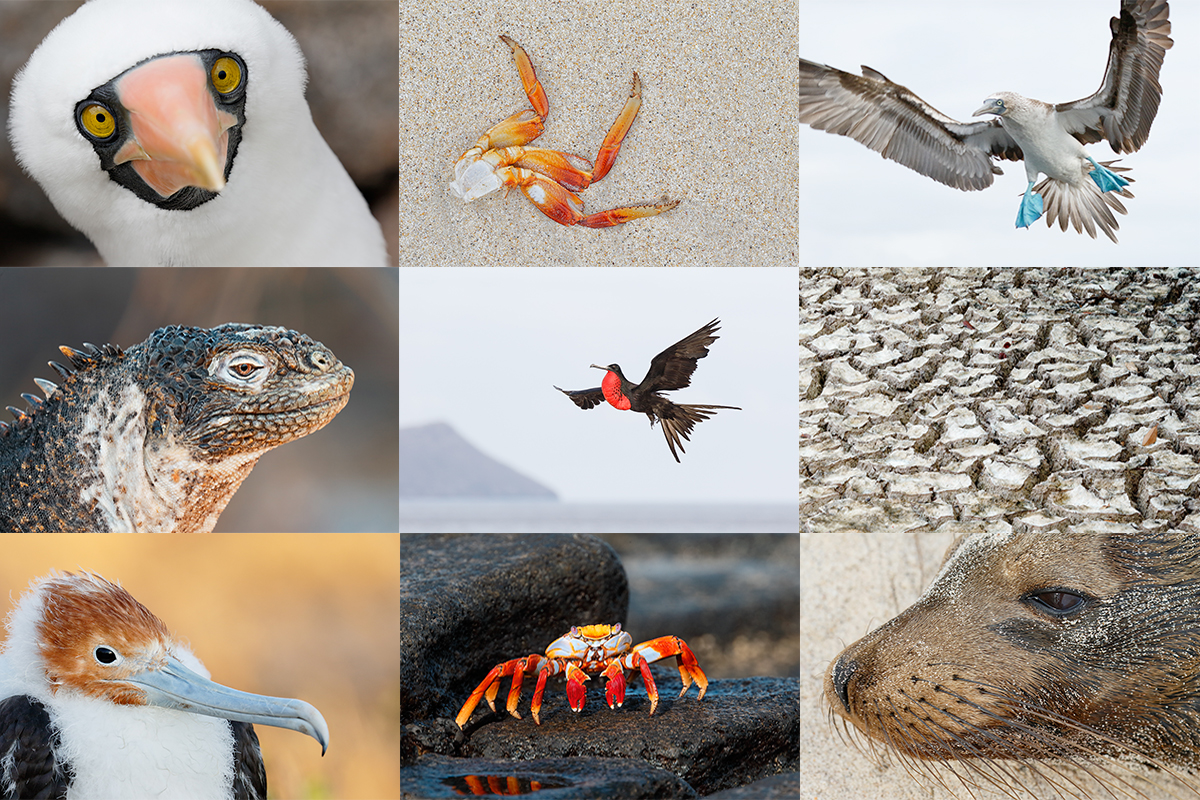
Tame birds and wildlife. Incredible diversity. You only live once…. |
Galapagos Photo Cruise of a Lifetime IPT/The Complete Galapagos Photographic Experience. August 8-22, 2017 on the boat. 13 FULL and two half-days of photography: $12,499. Limit: 13 photographers plus the leader: yours truly. Openings: 10.
Same great trip; no price increase! This trip needs nine to run; in the unlikely event that it does not, all payments to BAA will be refunded in full.
My two-week Galapagos Photo-Cruises are without equal. The world’s best guide, a killer itinerary, a great boat (the Samba), and two great leaders with ten Galapagos cruises under their belts. Pre-trip and pre-landing location-specific gear advice. In-the-field photo instruction and guidance. Jeez, I almost forgot: fine dining at sea!
The great spots that we will visit include Tower Island (including Prince Phillips Steps and Darwin Bay), Hood Island (including Punta Suarez, the world’s only nesting site of Waved Albatross, and Gardner Bay)—each of the preceding are world class wildlife photography designations that rank right up there with Antarctica, Africa, and Midway. We will also visit Fernandina, Puerto Ayora for the tortoises, Puerto Egas—James Bay, and North Seymour for nesting Blue-footed Boobies in most years, South Plaza for Land Iguanas, Floreana for Greater Flamingoes, and Urbina Bay, all spectacular in their own right. We visit every great spot on a single trip. Plus tons more. And there will be lots of opportunities to snorkel on sunny mid-days for those like me who wish to partake.
It is extremely likely that we will visit the incredible Darwin Bay and the equally incredible Hood Island, world home of Waved Albatross twice on our voyage. The National Park Service takes its sweet time in approving such schedule changes.
We will be the first boat on each island in the morning and the last boat to leave each island every afternoon. If we are blessed with overcast skies, we will often spend 5-6 hours at the best sites. And as noted above, mid-day snorkeling is an option on most sunny days depending on location and conditions. On the 2015 trip most snorkeled with a mega-pod of dolphins. I eased off the zodiac to find hundreds of dolphins swimming just below me. Note: some of the walks are a bit difficult but can be made by anyone if half way decent shape. Great images are possible on all landings with either a hand held 70-200mm lens and a 1.4X teleconverter or an 80- or 100-400. I sometimes bring a longer lens ashore depending on the landing. In 2017 I will be bring the Canon 400mm IS DO II lens. In the past I have brought either the 300mm f/2.8L IS II or the 200-400mm f/4 L IS with Internal Extender.
|
Do consider joining me for this once in a lifetime trip to the Galapagos archipelago. There simply is no finer Galapagos photography trip. Learn why above. |
An Amazing Value…
Do know that there are one week Galapagos trips for $8500! Thus, our trip represents a tremendous value; why go all that way and miss half of the great photographic locations?
The Logistics
August 6, 2017: We arrive a day early to ensure that we do not miss the boat.
August 7, 2017: There will be an introductory Galapagos Photography session and a hands on exposure session at our hotel.
August 8, 2017: We fly to the archipelago and board the Samba. Heck, on the 2015 trip some people made great images at the dock in Baltra while our luggage was being loaded!
August 22, 2017: We disembark late morning and fly back to Guayaquil midday; most will overnight there.
Most will fly home on the early morning of July 23 unless they are staying on or going elsewhere (or catching a red-eye flight on the evening of the 22nd).
$12,499 includes just about everything: all transfers, guide and park fees, all food on the boat, transfers and ground transportation, your flights to the archipelago, and three nights (double occupancy) in a top notch hotel in Guayaquil. If you are good to go, a non-refundable deposit of $5,000 per person is due immediately. The second payment of $4,000 is not due until 11/1/16. The final payment of $3449 per person will be due on 2/1/17. A $200 discount will be applied to each of the balances for couples or friends who register at the same time.
Purchasing travel insurance within 2 weeks of our cashing your deposit check is strongly recommended. On two fairly recent cruises a total of 5 folks were forced to cancel less than one week prior to the trip. My family and I use Travel Insurance Services and strongly recommend that you do the same.
Not included: your round trip airfare from your home to and from Guayaquil, beverages on the boat, phone calls, your meals in Guayaquil, personal items, and a $600/person cash tip for the crew and the guide—this works out to roughly $40/day to be shared by the 7 folks who will be waiting on us hand and foot every day for two weeks. The service is so wonderful that many folks choose to tip extra.
Please e-mail for the tentative itinerary or with questions. Please cut and paste “Galapagos 2017 Tentative Itinerary Please” into the Subject line.
Be sure to like and follow BAA on Facebook by clicking on the logo link upper right. Tanks a stack!
Typos
In all blog posts and Bulletins, feel free to e-mail or to leave a comment regarding any typos or errors. Just be right :).

