The Biggest Take-Away from Today’s Blog Post
For me, the Sony 400-800mm is an auxiliary lens (incredibly versatile as is it). But for many folks, a 600mm f/4 or a 400mm f/2.8, both priced well north of $10K, are simply not in the budget. For them, the 400-800 can be their primary workhorse lens for only $3K. As you will learn below, that will open up a new world of super-telephoto photography for them. Please remember to write for one of my affiliate links to earn a free copy of the BAA Sony 400-800mm Lens Guide.
Your Calls?
For me, two of today’s 12 featured images stand out as best. Which ones do you think that I like best? And which two do you prefer? Why for all?
|
|
|
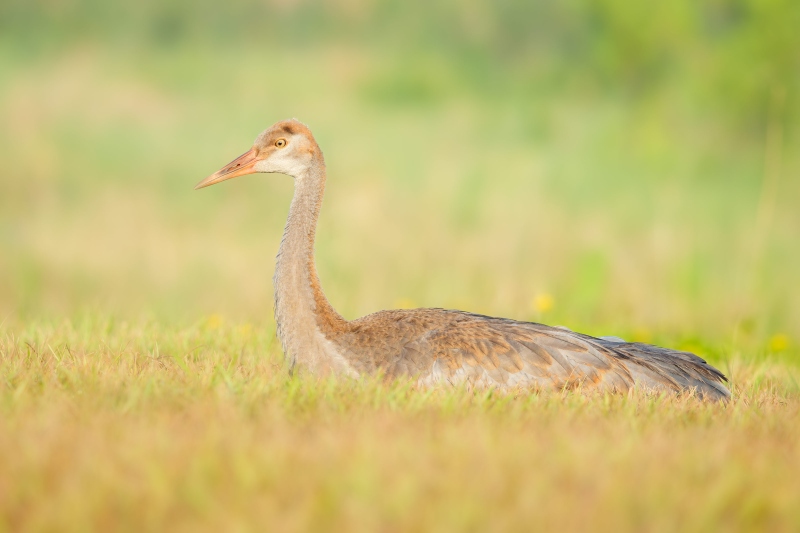
This image was created on 7 May 2025 down by the lake near my home at Indian Lake Estates, FL. Seated on the grass on the South Peninsula, I used the knee-pod technique with the hand held Sony FE 400-800mm f/6.3-8 G OSS lens (Sony E) (at 469mm) and The Latest Greatest Sony Flagship Body, the a1 II Mirrorless Camera. The exposure was determined by Zebras with ISO on the rear wheel — ISO 1600: 1/1000 second at f/8 (wide open) in Manual mode. RawDigger showed that the exposure was dead solid perfect. AWB at 7:54:42am on early sunny smoke/fog morning. Tracking: Spot XS AF/C with Bird-Eye/Face Detection performed perfectly. Click on the image to enjoy the larger, inexplicably sharper high-res version. Image #1: Sandhill Crane colt (about ten weeks old) resting |
You Might Not Realize That You Can Use Your Vehicle as an Exit Blind
When working from your car, you are usually shooting down at your subjects But if you simply get out with the intention of sitting on the ground, the bird or bird might fly away, or as was the case with Image #1, stand up. There are two ways to use your car as an exit blind:
1- If you think that the bird or birds are not super-skittish, pull the car to sun angle with your open window facing the subject. It is usually a good idea to make a few images off the BLUBB before attempting to get out. That also gives the subject a chance to get used to the lens to some degree. Next, open your door very slowly and wait a minute or so, again to get the bird accustomed to your presence. Then, ever-so-slowly, while holding your lens, get your feet on the ground and maneuver even more slowly onto the ground. This is much easier to do without a tripod than with a tripod so either the knee-pod or toe- or foot-pod techniques are often perfect. As the young crane was on a rise, I went the knee-pod route. Had I gone toe-pod, the lower half of the bird would have been hidden behind the grasses. So yes, it is possible to be too low.
2- If the bird or birds are super-skittish, get into position just short of sun angle with the driver’s side of the vehicle facing the sun rather than facing the subject as in #1 above. This time when you exit, you will be hidden behind your vehicle. Then, again, ever-so slowly, get on the ground and butt-crawl just past your vehicle. You should be very close to sun angle and ready to get to work.
In either case, if your stalking (and butt-crawling) skills are top-notch, you are often able to approach the subject as desired.
|
|
|
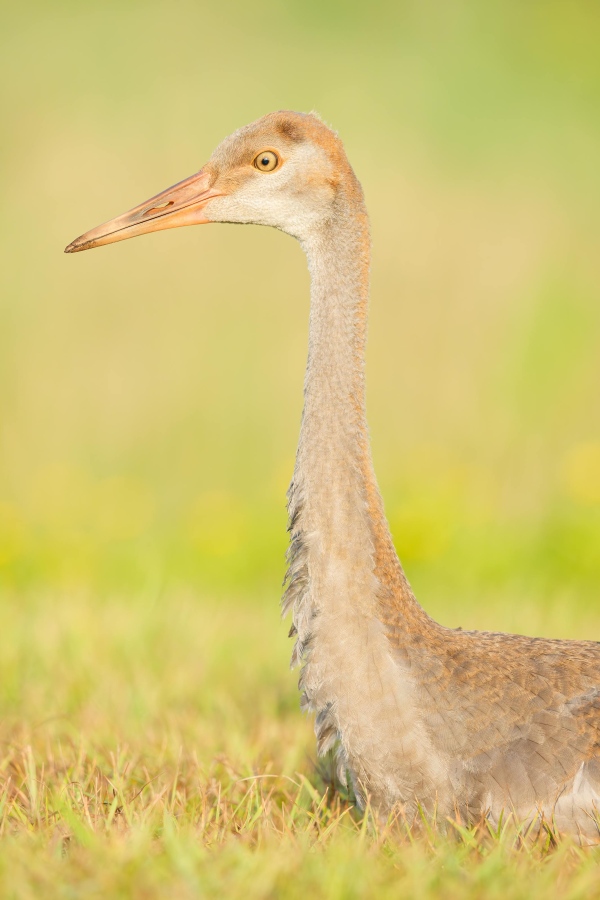
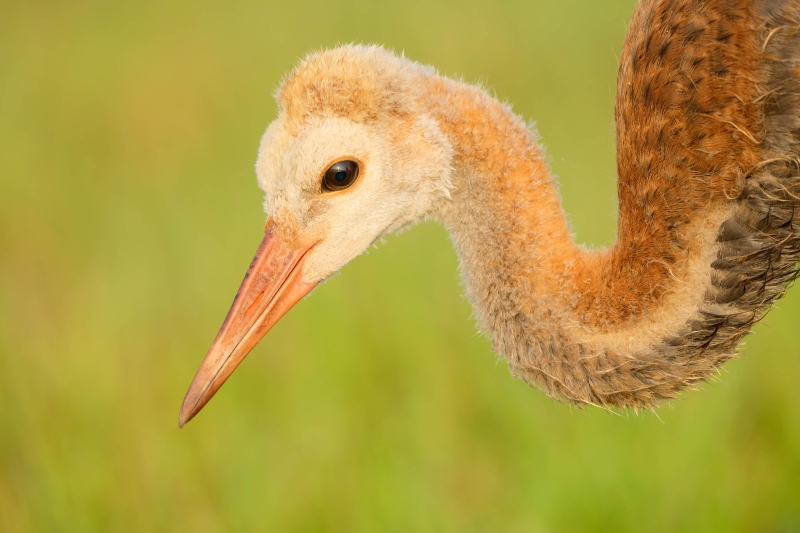
This image was created on 7 May 2025 down by the lake near my home at Indian Lake Estates, FL. Seated on the grass on the South Peninsula, I used the knee-pod technique with the hand held Sony FE 400-800mm f/6.3-8 G OSS lens (Sony E) (at 689mm) and The Latest Greatest Sony Flagship Body, the a1 II Mirrorless Camera. The exposure was determined by Zebras with ISO on the rear wheel — ISO 1600: 1/1000 second at f/8 (wide open) in Manual mode. RawDigger showed that the exposure was dead solid perfect. AWB at 7:54:42am on early sunny smoke/fog morning. Wide AF/C with Bird-Eye/Face Detection performed perfectly. Click on the image to enjoy the larger, inexplicably sharper high-res version. Image #2: Sandhill Crane colt (about ten weeks old) — vertical head and neck portrait of resting bird |
You Might Not Realize That You Can Soften the Background Simply by Zooming to a Longer Focal Length
Note above that though I made both images from the same spot at the same aperture, f/8, the background in #2 is much smoother and de-focused than in #1. Why? In such situations, the longer focal length — 689mm, will always result in a more pleasing background than the shorter focal length — 469mm.
|
|
|
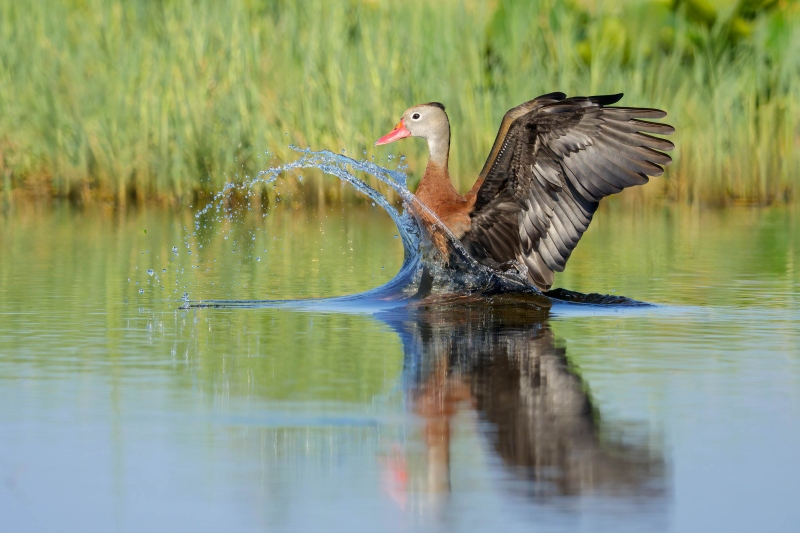
This image was also created on 7 May 2025 down by the lake near my home at Indian Lake Estates, FL. Seated on the sand on the beach left of the pier, I used the hand held Sony FE 400-800mm f/6.3-8 G OSS lens (Sony E) (at 474mm) and The Latest Greatest Sony Flagship Body, the a1 II Mirrorless Camera. The exposure was determined by Zebras with ISO on the rear wheel — ISO 2500: 1/4000 second at f/8 (wide open) in Manual mode. RawDigger showed that the exposure was perfect. AWB at 8:40:38am on then mostly sunny morning. Wide AF/C with Bird-Eye/Face Detection performed perfectly. Click on the image to enjoy the larger, inexplicably sharper high-res version. Image #3: Black-bellied Whistling Duck splashing down |
You Might Not Realize That Sony a-1 ii Bird Face-Eye Tracking is Far Superior to Sony a-1 Bird Face-Eye Tracking
The difference in fact, is startling. Another thing that you might not realize, is that when photographing most species of birds in flight (like the BBWD above), Bird Face-Eye Tracking rarely misses even when you are late getting on the subject. But with a very few species, most notably Roseate Spoonbill and Osprey (in my experience) the performance of the AF system of the a-1 ii is far from perfect even when you are on the subject early.
Note that with perched subjects or birds on the ground or swimming, the a-1 ii is virtually perfect with all species 100% of the time.
|
|
|
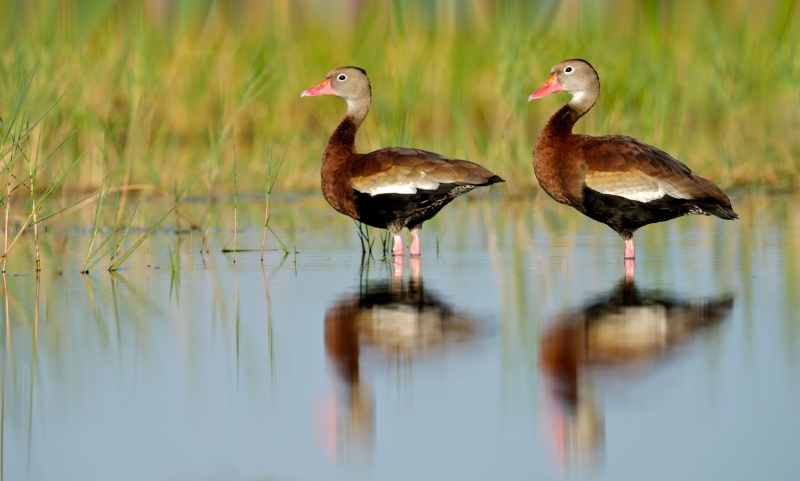
This image was created on 5 May 2025 down by the lake near my home at Indian Lake Estates, FL. Seated on the sand on the beach left of the pier, I used the toe-pod technique with the held Sony FE 400-800mm f/6.3-8 G OSS lens (Sony E) (at 488mm) and The Latest Greatest Sony Flagship Body, the a1 II Mirrorless Camera. The exposure was determined by Zebras with ISO on the rear wheel — ISO 1250: 1/1250 second at f/11 (stopped down one full stop) in Manual mode. RawDigger showed that the exposure was perfect. AWB at 7:57:33am on a sunny morning. Tracking: Spot XS AF-C with Bird-Eye/Face Detection performed perfectly. Click on the image to enjoy the larger, inexplicably sharper high-res version. Image #4: Black-bellied Whistling Duck pair |
You Might Not Realize That Stopping Down One Full Stop With a Super-Telephoto Lens Usually Does Not Help Much
With Image #4 (while focused on the eye of the right hand bird), I stopped down one full stop from f/8 to f/11 in hopes of rendering the face and eye of the left hand bird sharp. That approach did not work. I tried a contrast mask and some Topaz AI sharpening. The latter helped a bit.
|
|
|
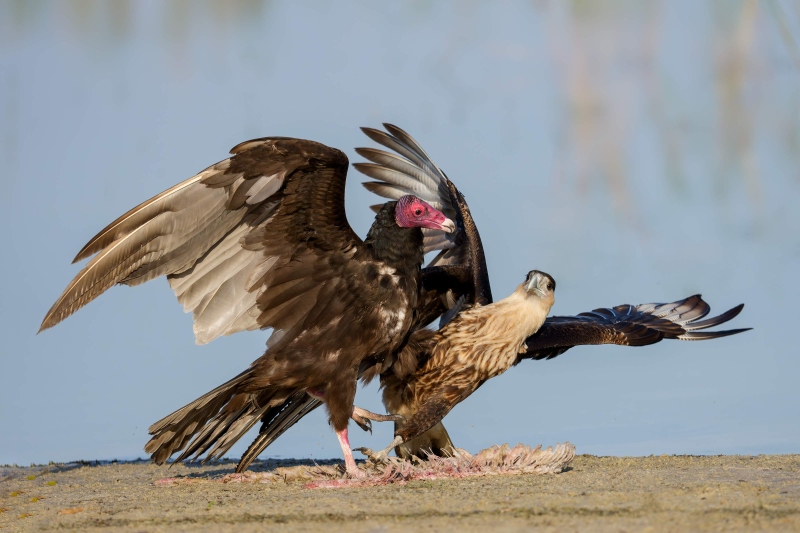
This image was created on 23 April 2025 down by the lake near my home at Indian Lake Estates, FL. Seated on the sand left of the pier, I used the knee-pod technique with the hand held Sony FE 400-800mm f/6.3-8 G OSS lens (Sony E) (at 607mm) and The Latest Greatest Sony Flagship Body, the a1 II Mirrorless Camera. The exposure was determined by Zebras with ISO on the rear wheel — ISO 1600: 1/3200 second at f/8 (wide open) in Manual mode. RawDigger showed that the exposure was dead solid perfect. AWB at 8:21:50am on a sunny morning. Tracking: Spot XS AF/C with Bird-Eye/Face Detection performed perfectly. Click on the image to enjoy the larger, inexplicably sharper high-res version. Image #5: Crested Caracara and Turkey Vulture squabbling over eel carcass |
You Might Not Realize That the Canon RF 200-800 is an Abomination
The Sony 400-800mm lens features internal focusing — the length of the lens does not change as you zoom in or out. Zooming is super-smooth and a quarter-turn twist of the wrist gets you quickly and smoothly from 800 to 400 and then back again. Though it is a pound lighter and $1,000 less than the Sony 4-8, I am baffled every time that I see someone using the Canon RF 200-800. When you zoom this lens from 200 to 800 the length of the lens increase by a whopping four inches (to more than 16 inches) making it impossible to balance on a tripod and causing huge handling problems as well when hand holding. Not to mention that it takes several turns of the zoom ring to get from 200 to 800. And even worse is the fact that the zoom mechanism is stiff even when the tension ring is set to smooth. Just like the RF 100-500. As I said, an abomination. At times, I am amazed by the power of brand loyalty.
Quickly zooming out to 607mm when the two birds in Image #5 began to go at it saved the day.
|
|
|
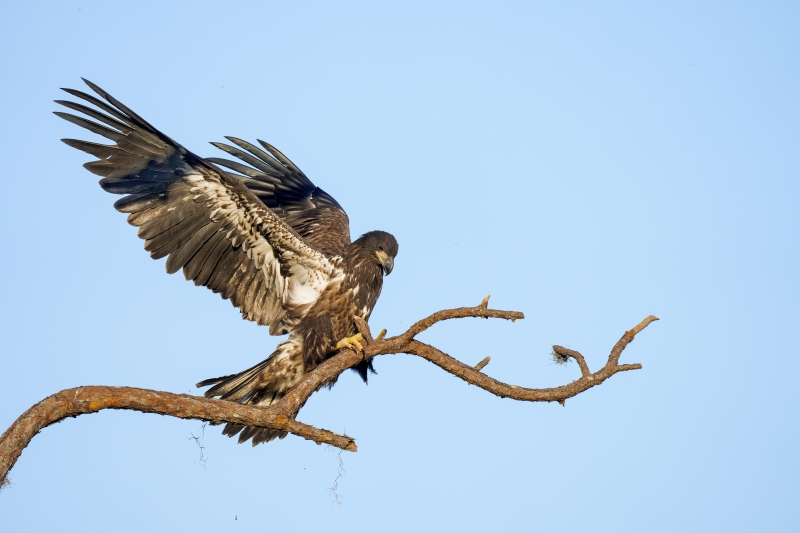
This image was created on 23 April 2025 down by the lake near my home at Indian Lake Estates, FL. Seated in the driver’s seat of my SUV, I used the BLUBB-supported/hand held Sony FE 400-800mm f/6.3-8 G OSS lens (Sony E) (at 696mm) and The Latest Greatest Sony Flagship Body, the a1 II Mirrorless Camera. The exposure was determined by Zebras with ISO on the rear wheel — ISO 1600: 1/3200 second at f/8 (wide open) in Manual mode. RawDigger showed that the exposure was dead solid perfect. AWB at 7:45:50am on a sunny morning. Wide AF/C with Bird-Eye/Face Detection performed perfectly. Click on the image to enjoy the larger, inexplicably sharper high-res version. Image #6: Bald Eagle in fresh juvenal plumage with wings raised |
You Might Not Realize the Cause of the Shadow Under the Bird’s Near-Wing
The shadow was — Unfortunately — caused by a branch well above the bird. Bad luck.
|
|
|
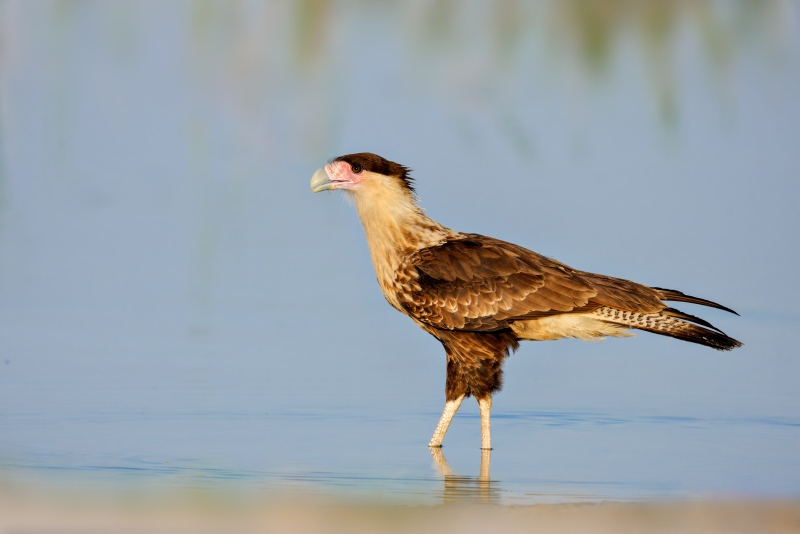
This image was created on 23 April 2025 down by the lake near my home at Indian Lake Estates, FL. Seated on the sand left of the pier, I used the knee-pod technique with the hand held Sony FE 400-800mm f/6.3-8 G OSS lens (Sony E) (at 720mm) and The Latest Greatest Sony Flagship Body, the a1 II Mirrorless Camera. The exposure was determined by Zebras with ISO on the rear wheel — ISO 1600: 1/3200 second at f/8 (wide open) in Manual mode. RawDigger showed that the exposure was dead solid perfect. AWB at 7:40:46am on a sunny morning with a faint cloud covering the sun. Wide AF/C with Bird-Eye/Face Detection performed perfectly. Click on the image to enjoy the larger, inexplicably sharper high-res version. Image #7: Crested Caracara juvenile in shallow water and the edge of Lake Walk-in-Water |
You Might Not Realize How Easy it is to Properly Optimize an Image that is Exposed Well to the Right
RawDigger showed that the brightness of the raw file was dead solid perfect. The raw file, however, looked washed out at best. The key to success — creating a pleasing vibrant master .TIF master file was simply adjusting the sliders under the Light tab as the first step of the raw conversion in Adobe Camera Raw. As detailed in both Digital Basics II and the Digital Basics III Video Series.
|
|
|
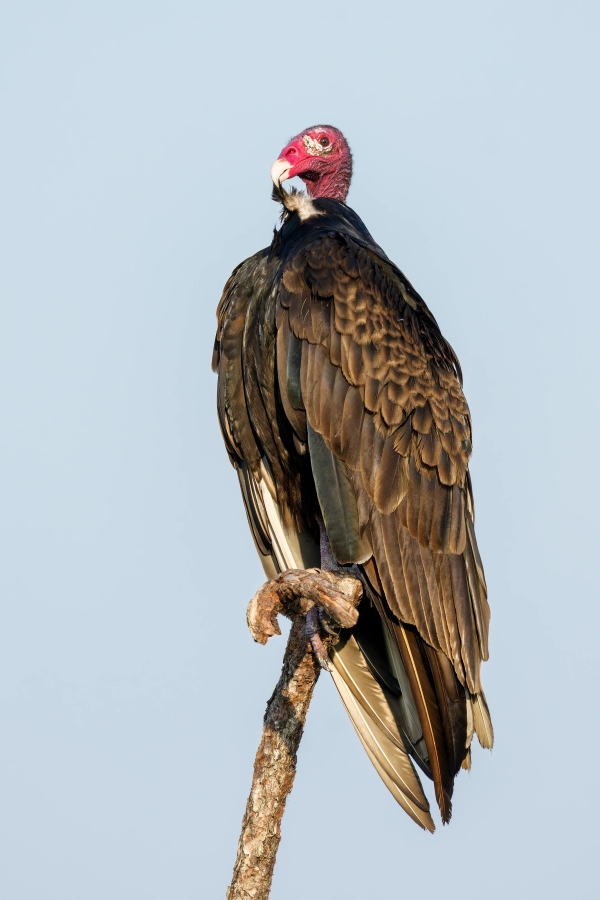
This image was created on 8 May 2025 down by the lake near my home at Indian Lake Estates, FL. Working from the front seat of my SUV, I used the BLUBB-supported Sony FE 400-800mm f/6.3-8 G OSS lens (Sony E) (at 800mm) and The Latest Greatest Sony Flagship Body, the a1 II Mirrorless Camera. The exposure was determined by Zebras with ISO on the rear wheel — ISO 1000: 1/1000 second at f/9 (stopped down 1/3-stop) in Manual mode. RawDigger showed that the exposure was perfect. AWB at 7:56:52am on a sunny morning with a faint cloud covering the sun. Upper center Tracking: Spot XS AF/C with Bird-Eye/Face Detection performed perfectly. Click on the image to enjoy the larger, inexplicably sharper high-res version. Image #8: Turkey Vulture adult preening neck feather |
You Might Not Realize This Use for the Vello Cable Release
With the lens firmly stabilized atop the BLUBB, my bum right shoulder cannot take minutes on end of being raised to keep my index finger on the shutter button. Especially when creating verticals — as a weight-saving measure, I never use a vertical grip with my super lightweight Sony mirrorless bodies.
For me, the solution is to reach into the console and grab one of my Vello RS-S2II Wired Remote Switch for Select Cameras with Sony Multi-Terminal Connectors. Then, I am able to keep my hand on my lap, work off the rear screen with my reading glasses on, and release the shutter button as needed.
And I do the same thing often when waiting for a great pose or action when working on a tripod.The Vello Cable release costs only a fraction of the various Sony versions; that’s why I can afford to own several. And, they work great all the time.
|
|
Image #8A: Unsharpened 100% crop of the Turkey Vulture adult preening neck feather image |
You Might Not Realize How Sharp the 400-800 G Lens Is
Sony GM lenses are supposed to be sharper than Sony G lenses. Arash Hazeghi, who used a large quality monitor to optimize his very fine images, feels that the Sony 600mm f/4 is noticeably sharper than his 400-800. I do all of my work on a MacBook Pro and can’t see any difference in the sharpness of 400-800 images when compared to images made with my 600mm f/4 GM lens.
Is that due to ignorance on my part?
|
|
|
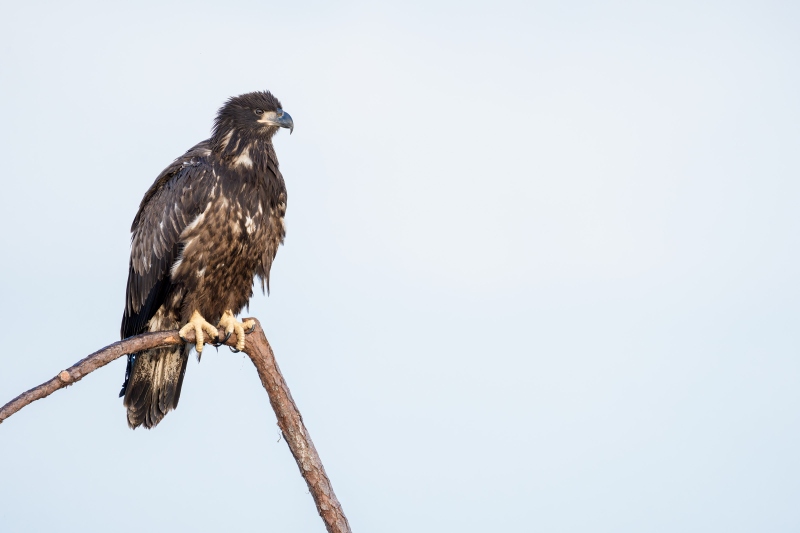
This image was created on 29 April 2025 down by the lake near my home at Indian Lake Estates, FL. Working from just outside my vehicle, I used the Robus RC-5570 Vantage Series 3 Carbon Fiber Tripod/Levered-Clamp FlexShooter Pro-mounted Sony FE 400-800mm f/6.3-8 G OSS lens (Sony E) (at 800mm) and The Latest Greatest Sony Flagship Body, the a1 II Mirrorless Camera. The exposure was determined by Zebras with ISO on the rear wheel — ISO 1600: 1/250 second at f/8 (wide open) in Manual mode. RawDigger showed that the exposure was dead solid perfect. AWB at 7:16:39am on a cloudy morning. Wide AF/C with Bird-Eye/Face Detection performed perfectly. Click on the image to enjoy the larger, inexplicably sharper high-res version. Image #9: Bald Eagle fresh juvenal plumage perched on dead pine tree branch |
You Might Not Realize That the the Sony 400-800 Can Be Effective on Cloudy Days and in Low Light
On cloudy days you need to pick your spots with the relatively slow (f/6.3 to f/9) 400-800. In order to create sharp images at relatively slow shutter speeds you need to employ excellent sharpness techniques and have the lens firmly supported. I exited my vehicle and grabbed my tall tripod so that I could reduce the angle of inclination to the young eagle perched well up on the pine tree that held the previous year’s nest by getting my lens as elevated as possible.
|
|
|
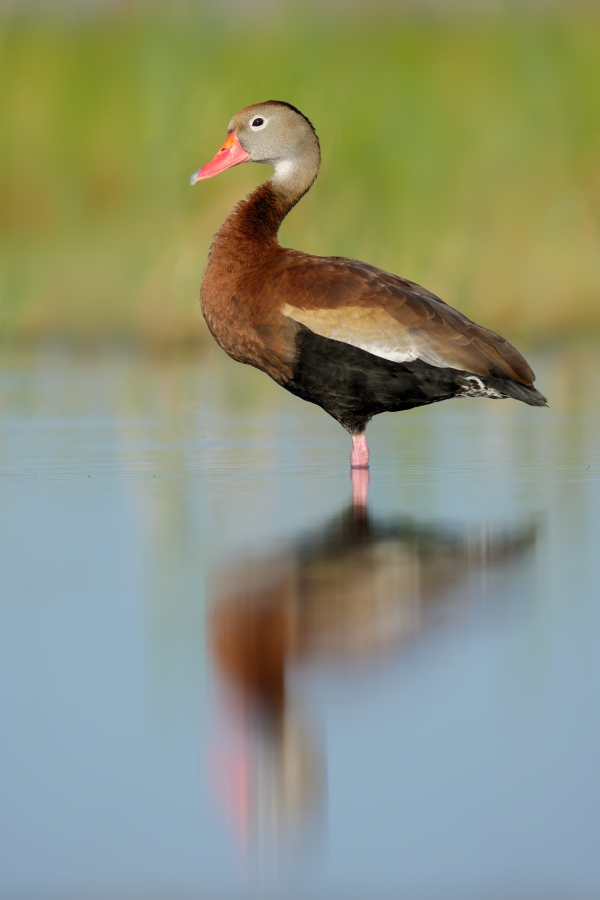
This image was created on 5 May 2025 down by the lake near my home at Indian Lake Estates, FL. Seated on the sand beach left of the pier, I used the toe-pod technique with the held Sony FE 400-800mm f/6.3-8 G OSS lens (Sony E) (at 800mm) and The Latest Greatest Sony Flagship Body, the a1 II Mirrorless Camera. The exposure was determined by Zebras with ISO on the rear wheel — ISO 800: 1/1250 second at f/9 (stopped down 1/3-stop) in Manual mode. RawDigger showed that the exposure was perfect. AWB at 8:20:19am on a sunny morning. Wide AF-C with Bird-Eye/Face Detection performed perfectly. Click on the image to enjoy the larger, inexplicably sharper high-res version. Image #10: Black-bellied Whistling Duck vertical with complete reflection |
You Might Not Realize That the Size of the Subject in the Frame is a Function of the Square of the Focal Length
If you are currently one of the 180- or 200-600 zoom lenses, your maximum focal length is 600mm. If you switch to a lens that reaches to 800mm (disregarding focus breathing), the size of the subject in the frame will be nearly doubled; the bird will be 1.77 times larger at 800mm than at 600mm. How is this possible when the focal length has only been increased by 33.55%? Because the size of the bird in the frame, the area is covers, is a function of the square of the focal length: 6 squared is 36, 8 squared is 64, and 64/36 =1.778 1.77. QED.
|
|
|
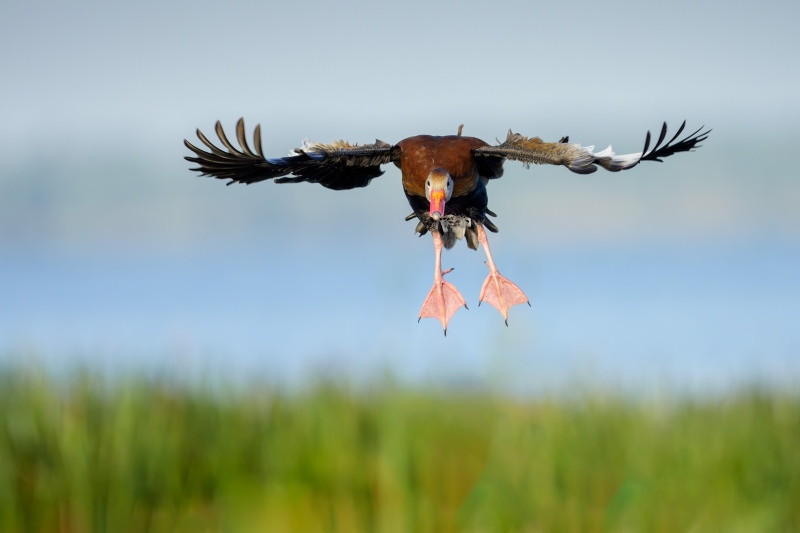
This image was created on 5 May 2025 down by the lake near my home at Indian Lake Estates, FL. Seated on the sand beach left of the pier, I used the held Sony FE 400-800mm f/6.3-8 G OSS lens (Sony E) (at 800mm) and The Latest Greatest Sony Flagship Body, the a1 II Mirrorless Camera. The exposure was determined by Zebras with ISO on the rear wheel — ISO 2500: 1/2500 second at f/8 (wide open) in Manual mode. RawDigger showed that the exposure was perfect. AWB at 7:53:28am on a sunny morning. Wide AF-C with Bird-Eye/Face Detection performed perfectly. Click on the image to enjoy the larger, inexplicably sharper high-res version. Image #11: Black-bellied Whistling Duck braking to land |
You Might Not Realize Why Zoom Lenses Can Be So Effective for Flight Photography
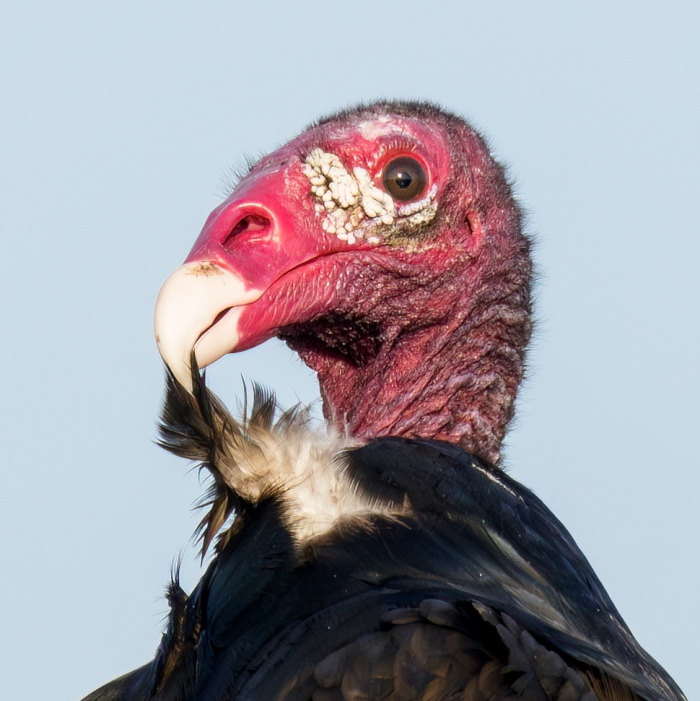
When utilizing the longest focal length of your telephoto zoom lens for flight photography — in this case 800mm, proper technique involves first zooming out to 600 or 700mm and then zooming in to 800mm (if needed). This technique makes it far easier to find and frame the bird and acquire focus.
|
|
|
This image was created on 7 May 2025 down by the lake near my home at Indian Lake Estates, FL. Standing on the sloped that leads down to the South Canal, I used the held Sony FE 400-800mm f/6.3-8 G OSS lens (Sony E) (at 800mm) and The Latest Greatest Sony Flagship Body, the a1 II Mirrorless Camera. The exposure was determined by Zebras with ISO on the rear wheel — ISO 2000: 1/1000 second at f/9 (stopped down 1/3-stop) in Manual mode. RawDigger showed that the exposure was perfect. AWB at 7:45:44am on a sunny morning. Wide AF-C with Bird-Eye/Face Detection performed perfectly. Click on the image to enjoy the larger, inexplicably sharper high-res version. Image #12: Sandhill Crane colt about 8 weeks old — head and neck portrait |
You Might Not Realize the Importance of Subject to Sensor Plane Juxtaposition
When working at close range, the best way to have sufficient depth of field to cover the subject is to make the image when the bird is exactly parallel to the imaging sensor. Not that stopping down 1/3-stop to f9 helped only marginally. It was very nice of this colt to pose for ten seconds as it searched for its next invertebrate meal.
Typos
With all blog posts, feel free to e-mail or to leave a comment regarding any typos or errors.



Hi Artie,
I really appreciate your professionalism and way of transmitting techniques and skills.
Your images are wonderful and I have been improving my skills thanks to you.
As Canon user, I would have to comment about the RF 200-800 mm, which so far I used for around 6 sessions.
It requires only 1/4th of round for zooming-out from 200 to 800 mm (not at all several turns of the ring zoom). On the Internet it is not the first time I found this wrong information.
Regarding the stability and weight balance while hand holding: I find this relatively great so far; however I cannot yet state about using with a tripod and comparing with other telephoto zoom lenses.
Kindest regards,
Alessio
Hi Alessio,
Many thanks for your kind words; they are appreciated. And thanks for correcting me on the power zoom ratio; I made a mistake by trusting info that I found on line 🙁 If you find using a long lens that changes length as you zoom in and out to be stable and well balanced, I can only attribute that to the fact that you have never used a similar lens with internal focus. I have seen numerous folks struggle in the field with this lens. I will make it a point to get my hands on the next one I see.
with love, artie
Hi, Artie. I think image #1 is one of your favorites. My two are 3 and 11, with 12 a very close third.
Thanks, David. I like Image #1 but it is not one of my two faves.
I’d have to admit that 12 is pretty good. And everyone loves the splashdown.
a
#3 made me immediately pause and enjoy. Beautiful color and the forward facing arc of water balanced the trailing wing.
Thanks, Wells. I am glad that you too liked the splash.
with love, a
#4 for reflections, color and composition. #5 for action between two species. Don’t find that often.
You’re not ignorant as to difference in sharpness between lenses. I can’t see any difference between my lenses on my 16in MacBook either. But when working on my 42″ and 48″ monitors, the differences are obvious.
Thanks. Are those your favorites or mine?
with love, artie
Whoops! I forgot about you, sorry! But I think you like #4 & #5 too!
Thanks, Anthony. I love those two but neither made my top two 🙂
with love, artie
Artie,
I’m not going to pretend that I can jump into your head and say what you prefer. I like #3 and #10 best. 3 because of the arrested action and 10 for the sharp bird and soft bokeh fire and background. Great work.
Thanks, Marr.. I figured that folks would love that splash. And #10 does not suck.
with love, artie