What’s Up?
Conditions were perfect on Saturday morning past as the fog cleared early and there was a significant wind from the east/southeast. I got nuthin. On Sunday, there was thick fog with a NW wind. I spent an hour with a foraging flock of Cattle Egrets doing mostly flight blurs as they moved north time and time again in search of tiny gnats. I created more than 1900 images and made one or two nice ones.
Be sure to scroll down to the bottom to learn about Volume IV of the Digital Basics IV Video Series.
Today is Monday 5 January 2026. Hey, I got the year right again! The forecast is for some fog and a breeze from the north. I am planning on a short session as I need to finish packing for San Diego. I hope that you too choose to have a wonderful and productive day and that you have fun too. Please remember that happiness is a choice — Byron Katie, The Work.Com (and as discussed in yesterday’s blog post).
If an item — a Delkin flash card or reader, a Levered-clamp FlexShooter Pro, or a Wimberley lens plate or low foot — for example, that is available from B&H and/or Bedfords, is also available in the BAA Online Store, it would be great, and greatly appreciated, if you would opt to purchase from us. We will match or beat any price. Please remember also to use my B&H affiliate links or to earn 3% cash back at Bedford by using the BIRDSASART discount code at checkout for your major gear purchases. Doing either often earns you free guides and/or discounts. And always earns my great appreciation.
Gear Questions and Advice
Too many folks attending BAA IPTs and dozens of photographers whom I see in the field and on BirdPhotographer’s.Net, are — out of ignorance — using the wrong gear, especially when it comes to tripods and more especially, tripod heads. And the same is true in spades when ordering new camera bodies or lenses. My advice will often save you some serious money and may help you avoid making a seriously bad choice. Please know that I am always glad to answer your gear questions via e-mail.. If you are desperate, you can try me on my cell at 863-221-2372. Please leave a message and shoot me a text if I do not pick up.
B&H Simplified
To ensure that I get credit for your B&H purchases, you can always click here. The tracking is invisible but using my affiliate links is greatly appreciated. And, with B&H, you can use your PayBoo card. You must use the website to order. You cannot get your free guides if you make a phone order. Once you have an item in your cart, you must complete the order within two hours. Huge thanks!
B&H
Many folks have written recently stating that they purchased a Sony a1 from B&H and would like their free membership in the Sony 1 Info and Updates Group, a $150.00 value. But when I check my affiliate account, their orders have not been there. When I let them know that they get credit for B&H purchases only if they use one of the many B&H affiliate links on the blog or begin their searches with this link, they are always disappointed. If in doubt, please contact me via e-mail and request a BH link. I am always glad to help and to guide you to the right gear.
Bedfords Simplified
Click here to start your search. Choose standard shipping, and when you get to the payment page, enter BIRDSASART in the discount code box and hit apply. You will be upgraded to free second day air Fed-Ex and receive 3% cash back on your credit card once your stuff ships. Using either my affiliate links is greatly appreciated and will often earn you free guides or discounts. To receive a free guide or free entry into a Sony Set-up and Info Notes e-Mail group, you need to shoot me your receipt via e-mail. The B&H receipts need to include the order number.
Bedfords Amazing BAA Discount Policy
Folks who have fallen in love with Bedfords can always use the BIRDSASART coupon code at checkout to enjoy a post-purchase, 3% off-statement credit (excluding taxes and shipping charges) on orders paid with a credit card. The 3% credit will be refunded to the card you used for your purchase when your product ships. Be sure, also, to check the box for free shipping to enjoy free Second Day Air Fed-Ex. This offer does not apply to purchases of Classes, Gift Cards, or prior purchases.
You can visit the Bedfords website here, shoot Steve Elkins an e-mail, or text him on his cell phone at (479) 381-2592.
|
|
|
This image was created on 26 December 2025 down by the lake near my home at Indian Lake Estates, FL. Working from the front seat of my SUV, I used the Tracking: Spot XS (moved and placed on the vulture tree)/AF-C with Bird-Eye/Face Detection performed perfectly. Click on the image to enjoy the larger, inexplicably sharper high-res version. Image #1: Vulture tree foggy sunrise silhouette
|
One Image/Five Important Lessons
1- First check the weather and then adjust your plans. I looked out the door to the pool deck and noted substantial fog so I left 15 minutes later than usual. With the developing color in the eastern sky, the vulture tree at the south end of the South Field was the obvious first stop.
2- Choose your mode wisely. I normally shoot these silhouettes in Shutter Priority mode. But, I wanted some additional depth of field so I went to Manual mode to make my life easier.
3- Why such a fast shutter speed? I had lots of light and I was hoping that a vulture or two would fly in.
4- Consider and analyze the elements of the image design carefully. I began shooting horizontals but realized that by going vertical and zooming out I could include the lily pads and add yet another layer to the complex composition.
5- Learning to use the Masking Feature in Adobe Camera Raw in both Photoshop and Lightroom will not only change the way that you process your images dramatically, it will affect the way you capture them in the field. And that is true not only for silhouettes but — as you have seen here recently (and below) — when shooting backlit subjects. Since Anita North taught me to use the Masking feature I have been looking for and working with backlit subjects more than I had been in the last four decades combined. I used multiple masks during the raw conversion and for the first time ever, used some masks on the JPEG as I was having trouble getting the look that I wanted. Check out Volumes III and IV of the Digital Basics IV Video Series below to learn how to use the Masking feature.
6- When the un-muted sun is out, you must keep it out of the frame; note the angled light showing that the sun is out of frame to our left.
Check out Anita’s great work on her Instagram page and in the very popular (5700+ views!) YouTube video here.
|
|
|
Click to enlarge. The Digital Basics IV Video Series by Arthur Morris/BIRDS AS ARTYou can save $50.00 by purchasing the entire 5-Volumes eries by clicking here. |
Digital Basics IV Video Series: $146.00 for all five videos/save $50.00
I have some fabulous new image optimization tips, techniques, and tricks to share. As the Digital Basics III Video Series proved to be so popular, I decided last fall to run it back in the form of Digital Basics IV. Digital Basics V is on the horizon.
My new workflow includes the use of the masking feature in Adobe Camera Raw (thanks to Anita North), the use of the Point Color eye dropper to tame super-saturated colors during raw conversions (discovered in tandem with Anita), a fabulous new Remove Tool trick that makes my favorite Photoshop Tool even more powerful than before -— that one discovered by me. In addition, I have recently begun doing some Curves work during my ACR raw conversions.
My basic workflow remains much the same as is detailed in both the Digital Basics II PDF and in the Digital Basics III Video Series:
1- Setting the Color Temperature (when and if needed).
2- Setting the White and Black Points and adjusting the Highlights and Shadows sliders.
3- Setting the Clarity and Dehaze sliders.
4- Fine-tuning color using the Hue/Saturation/Luminance Targeted Adjustment Tool, a huge step up from the Color Mixer Tool.
5- My 2-step noise reduction technique (with most images).
Once I have the .TIF file in Photoshop, I use my usual cadre of clean-up tools and techniques including the Remove Tool, the Clone Stamp (only rarely), Divide and Conquer, Quick Masking, Layer Masking, Gaussian Blurs, an expanded array of personalized keyboard shortcuts, and tons of other image optimization strategies and methods adapted from previous versions of Digital Basics. I also demonstrate the selective use of Topaz Sharpen AI utilizing the masking feature. And last but not least, I share my JPEG creation methodology.
|
|
|
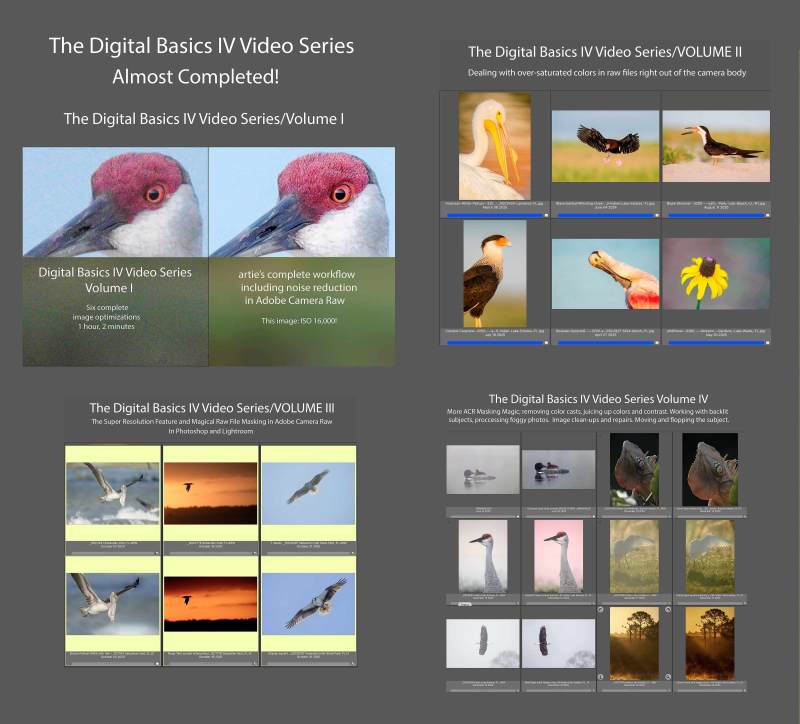
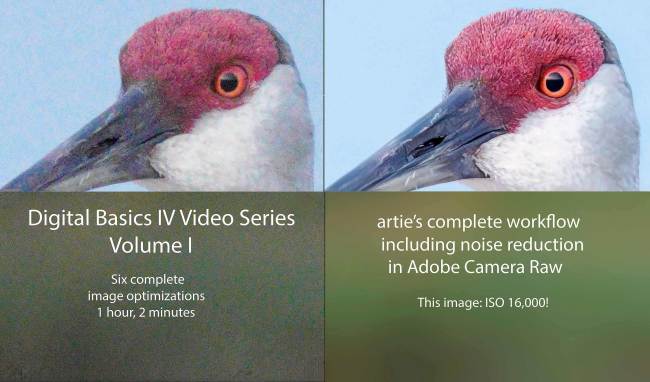
Click to enlarg and check out the noise reduction. Volume I of The Digital Basics IV Video Series by Arthur Morris/BIRDS AS ARTYou can purchase Volume I alone here for $49.00. |
Volume I of the Digital Basics IV Video Series
Volume I of the Digital Basics IV Video Series details the image optimizations of six images; it eliminates the confusion that resulted from the changes to AI Noise Reduction (under the Details tab) in the recent updates to Adobe Camera Raw (in both Photoshop 2025 Release 26.10.0 and the latest version of Lightroom). As you will learn in the Volume I video, the new interface represents a significant improvement as compared to those obtained with the Enhance dialogue box in previous versions of ACR. All the new stuff but for the use of the Point Color eye dropper to tame super-saturated colors during raw conversions is at least touched upon in Volume I, most of it in great detail. One hour, two minutes.
|
|
|
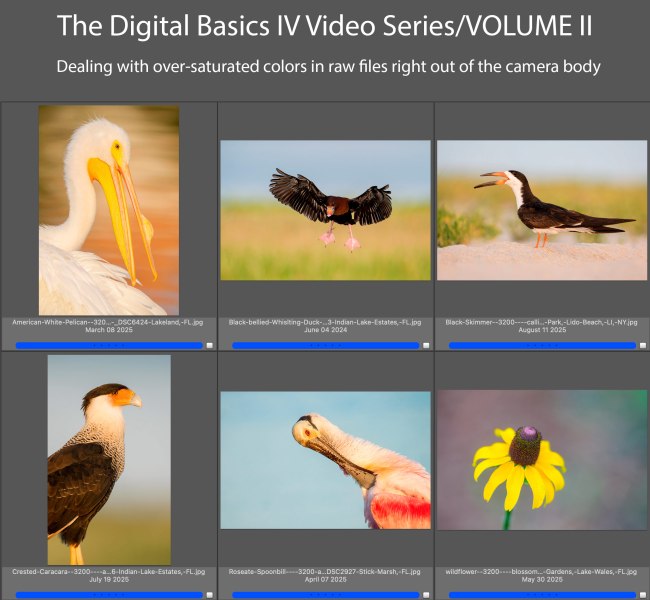
Click to enlarge. Volume II of The Digital Basics IV Video Series by Arthur Morris/BIRDS AS ARTYou can purchase Volume I alone here for $49.00. |
Volume II of the Digital Basics IV Video Series
Volume II of Digital Basics IV explains in detail how to handle images where some bright colors like reds, oranges, and yellows show as over-exposed as soon as you hold down the Alt or Option key and move the Whites slider to the right in Adobe Camera Raw. This is a commonly encountered problem for folks using Adobe Camera Raw either in Photoshop or Lightroom. The simple solution is to use the Point Color eyedropper the moment you encounter super-saturated colors in images right out of the camera. Raw files from all of the major dSLR and Mirrorless camera manufacturers will exhibit this problem. Depending on the system that you use, you may find that the certain colors are more problematic in one system than in another. Huge thanks to Anita North; working together, we came up with the Point Color Supersaturated Colors Fix. Just under one full hour.
|
|
|
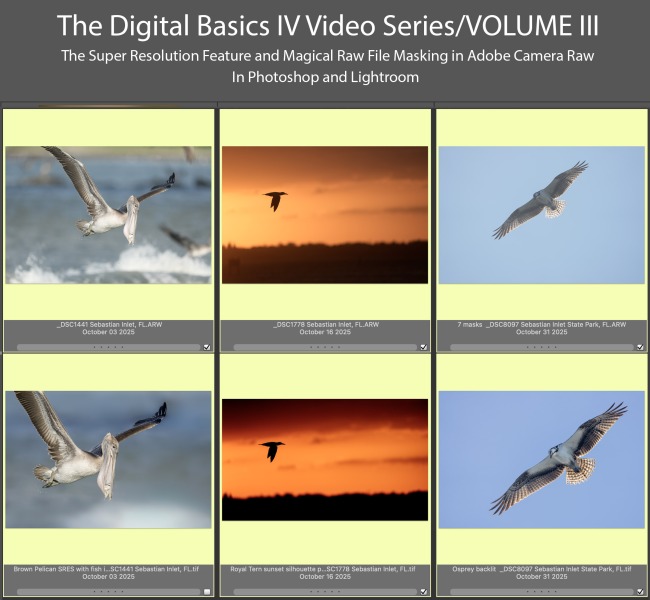
Click to enlarge. Volume III of The Digital Basics IV Video Series by Arthur Morris/BIRDS AS ARTYou can purchase Volume III alone here for $49.00. |
Volume III of the Digital Basics IV Video Series
Volume III of the Digital Basics IV Video Series goes into additional on making selections with the Masking feature in ACR in both Photoshop and Lightroom. Selections include the automatic one like Sky, Subject, and Background (and shows how they sometimes need to be refined). In addition, we cover as Linear and Radial Gradients and how to create your own masked area using the Brush Tool. This feature has transformed my workflow and I am now routinely using as many as six or seven masks on a single raw file. I am even using ACR masks to effectively do my Eye Doctor work. Also, you will learn when and how to use the new Super Resolution feature in Adobe Camera Raw to upsize your cropped .TIF files and the two effective ways to use the Remove Took. Just under one full hour.
|
|
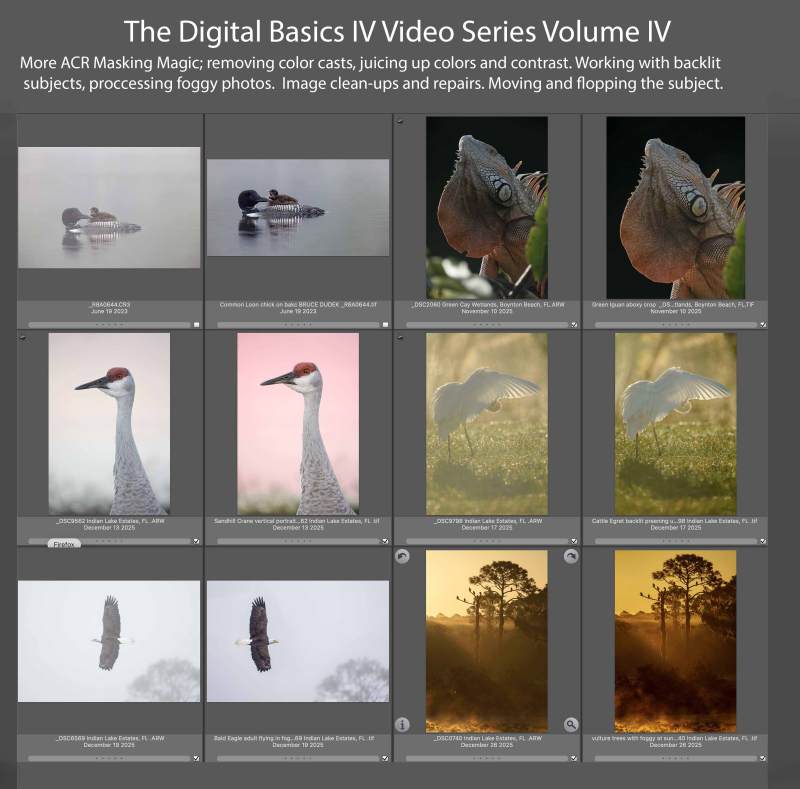
Volume IV of The Digital Basics IV Video Series by Arthur Morris/BIRDS AS ARTYou can purchase Volume IV alone here for $49.00. |
Volume IV of the Digital Basics IV Video Series
My current workflow includes the use of the masking feature in Adobe Camera Raw (thanks to Anita North), the use of the Point Color eye dropper to tame super-saturated colors during raw conversions (discovered in tandem with Anita), a fabulous new Remove Tool trick that makes my favorite Photoshop Tool even more powerful than before -— that one discovered by me. In addition, I have recently begun doing some Curves work during my ACR raw conversions.
My basic workflow remains much the same as is detailed in both DB II and in the DB III Video Series:
1- Setting the Color Temperature (when and if needed).
2- Setting the White and Black Points and adjusting the Highlights and Shadows sliders.
3- Setting the Clarity and Dehaze sliders.
4- Fine-tuning color using the Hue/Saturation/Luminance Targeted Adjustment Tool, a huge step up from the Color Mixer Tool.
5- My 2-step noise reduction technique (with most images).
Volume IV details the use the ACR Masking feature to selectively lighten the shaded side of backlit subjects, remove color casts, and juice up color (and contrast). In addition we cover and review the processing of foggy photos, the use of Quick Masks to flop and re-position a flying subject, the best ways to use of the Remove Tool, and a variety of repair and clean-up techniques. One hour, 18+ minutes.
There will be five volumes in DB IV, each featuring six complete image optimizations.
Typos
With all blog posts, feel free to e-mail or to leave a comment regarding any typos or errors.







Love the layering and complexity, really captures central Florida. BAA!
Thanks, Cliff. Me too. Funny thing is I headed down late that day because of the fog and left the house when the sky begin to brighten. Then the magic happened.
much love, artie