
Your Calls
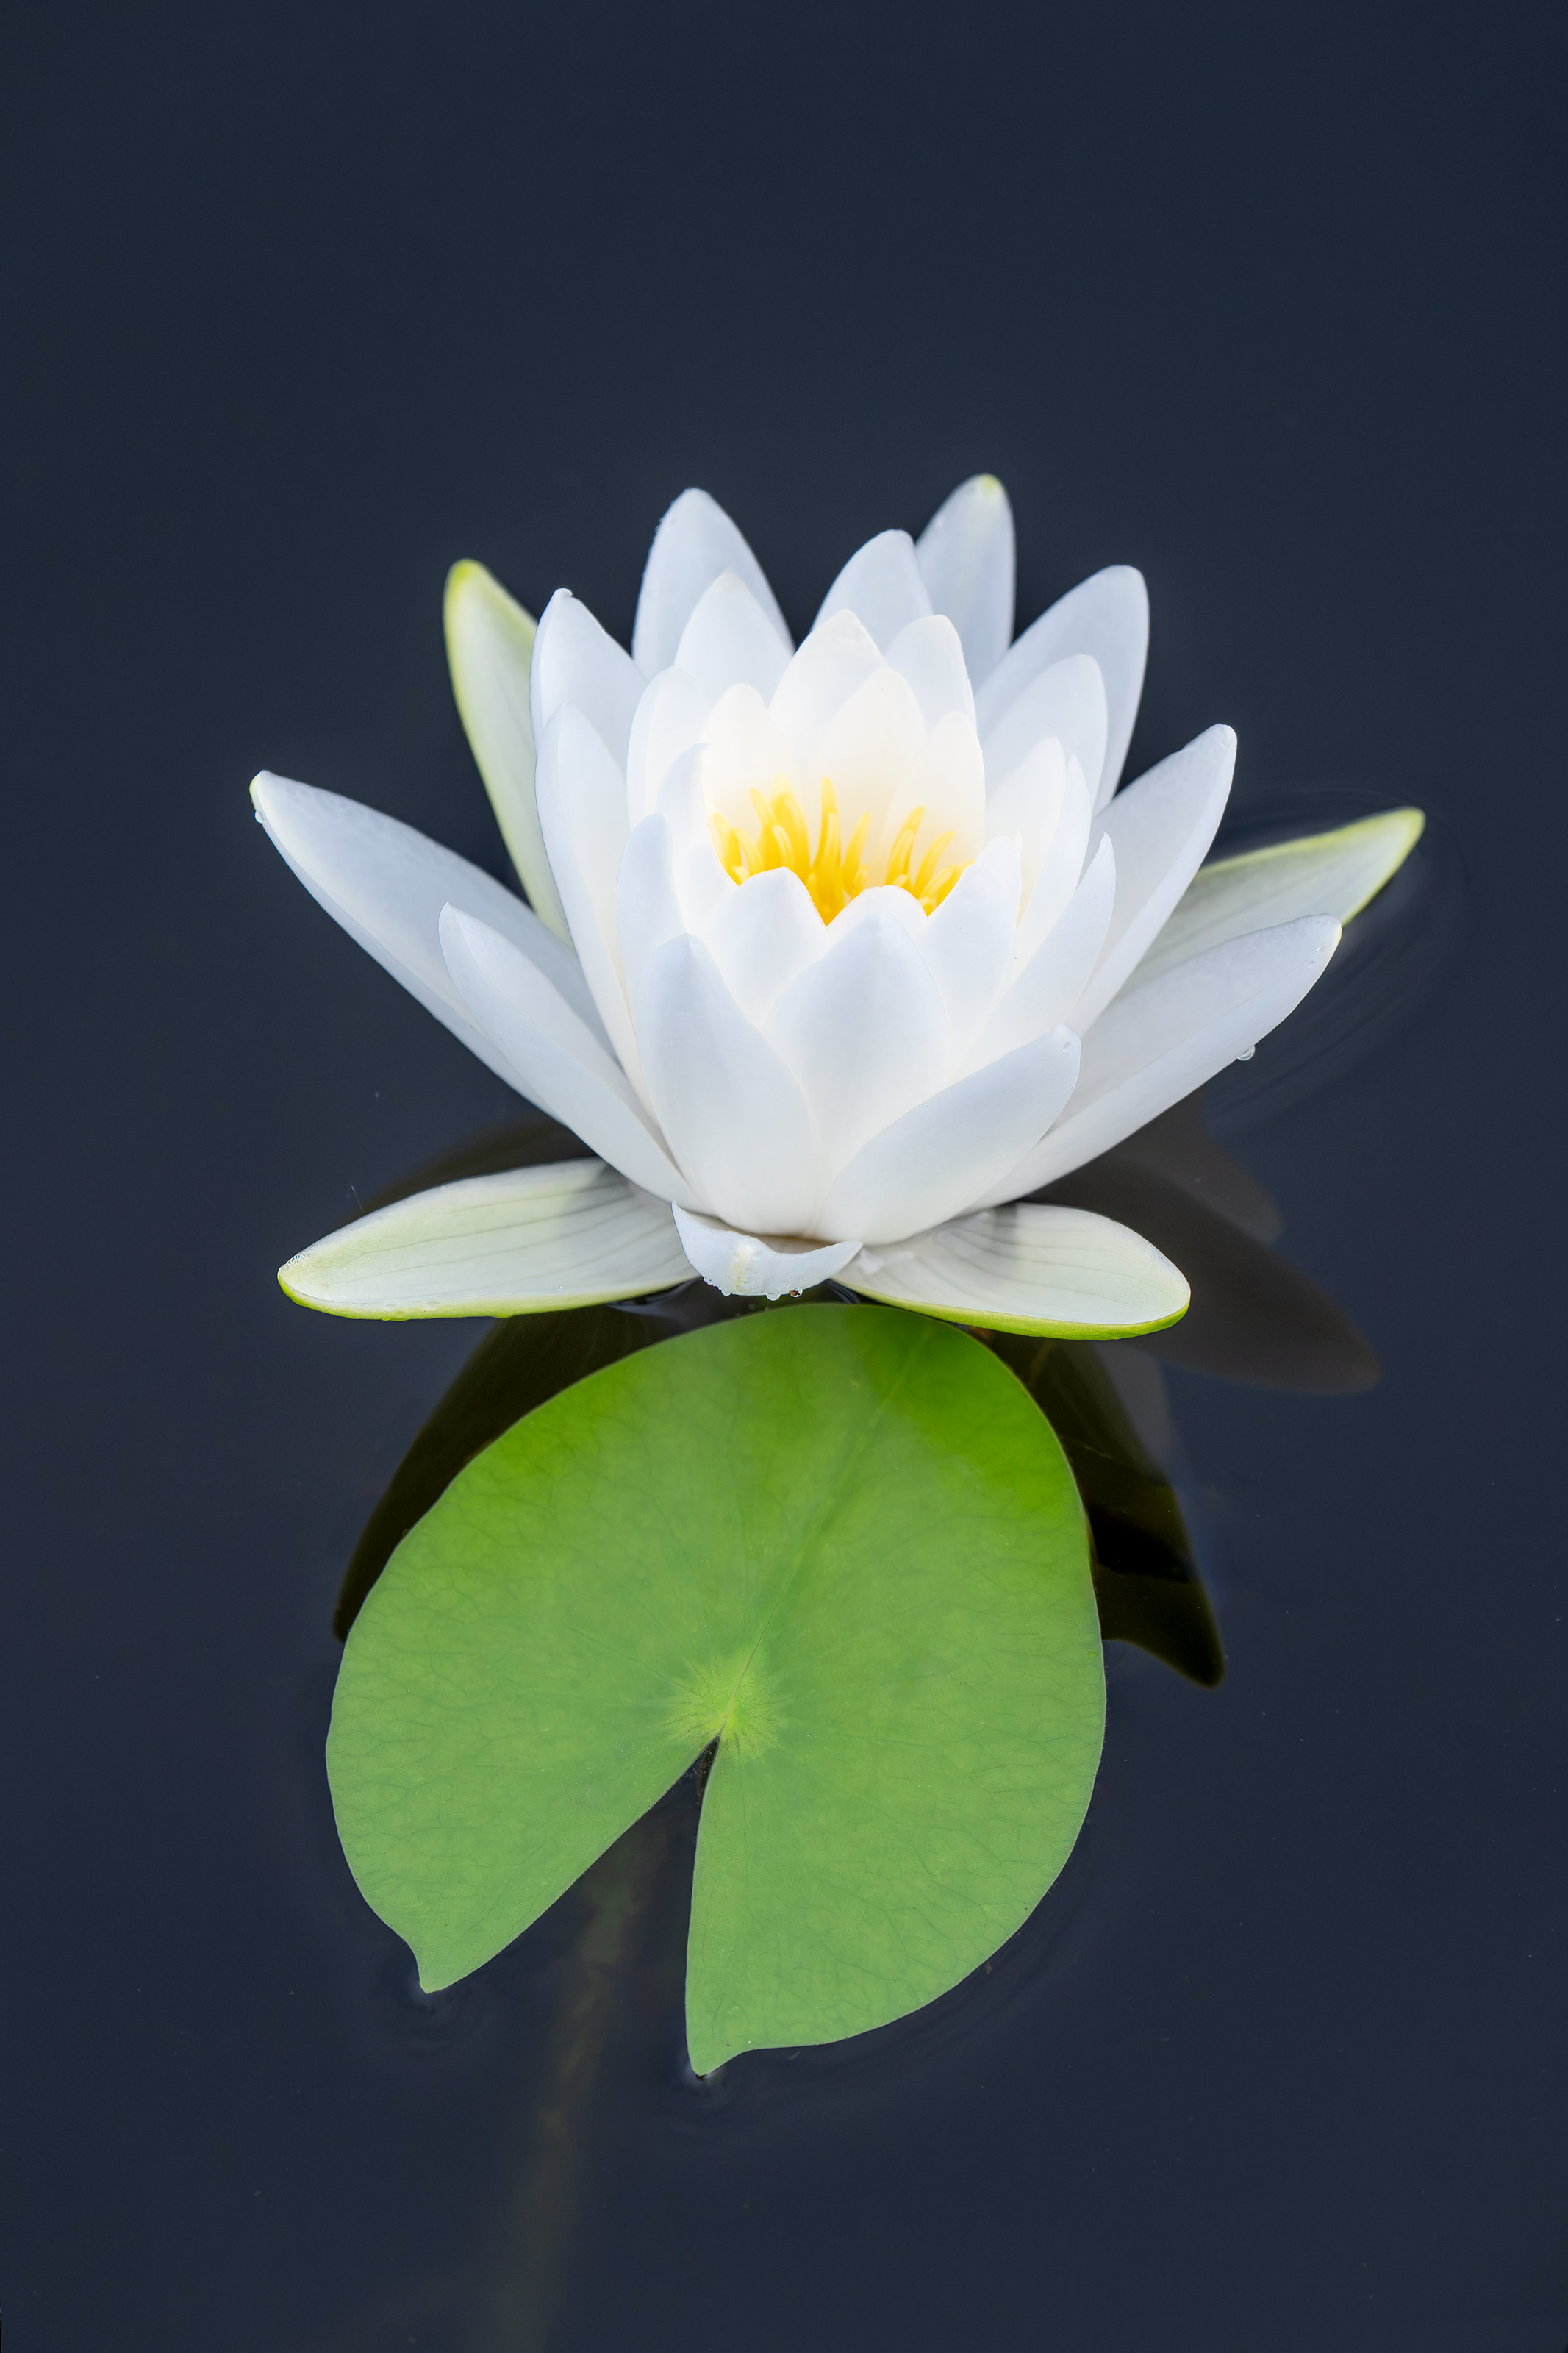
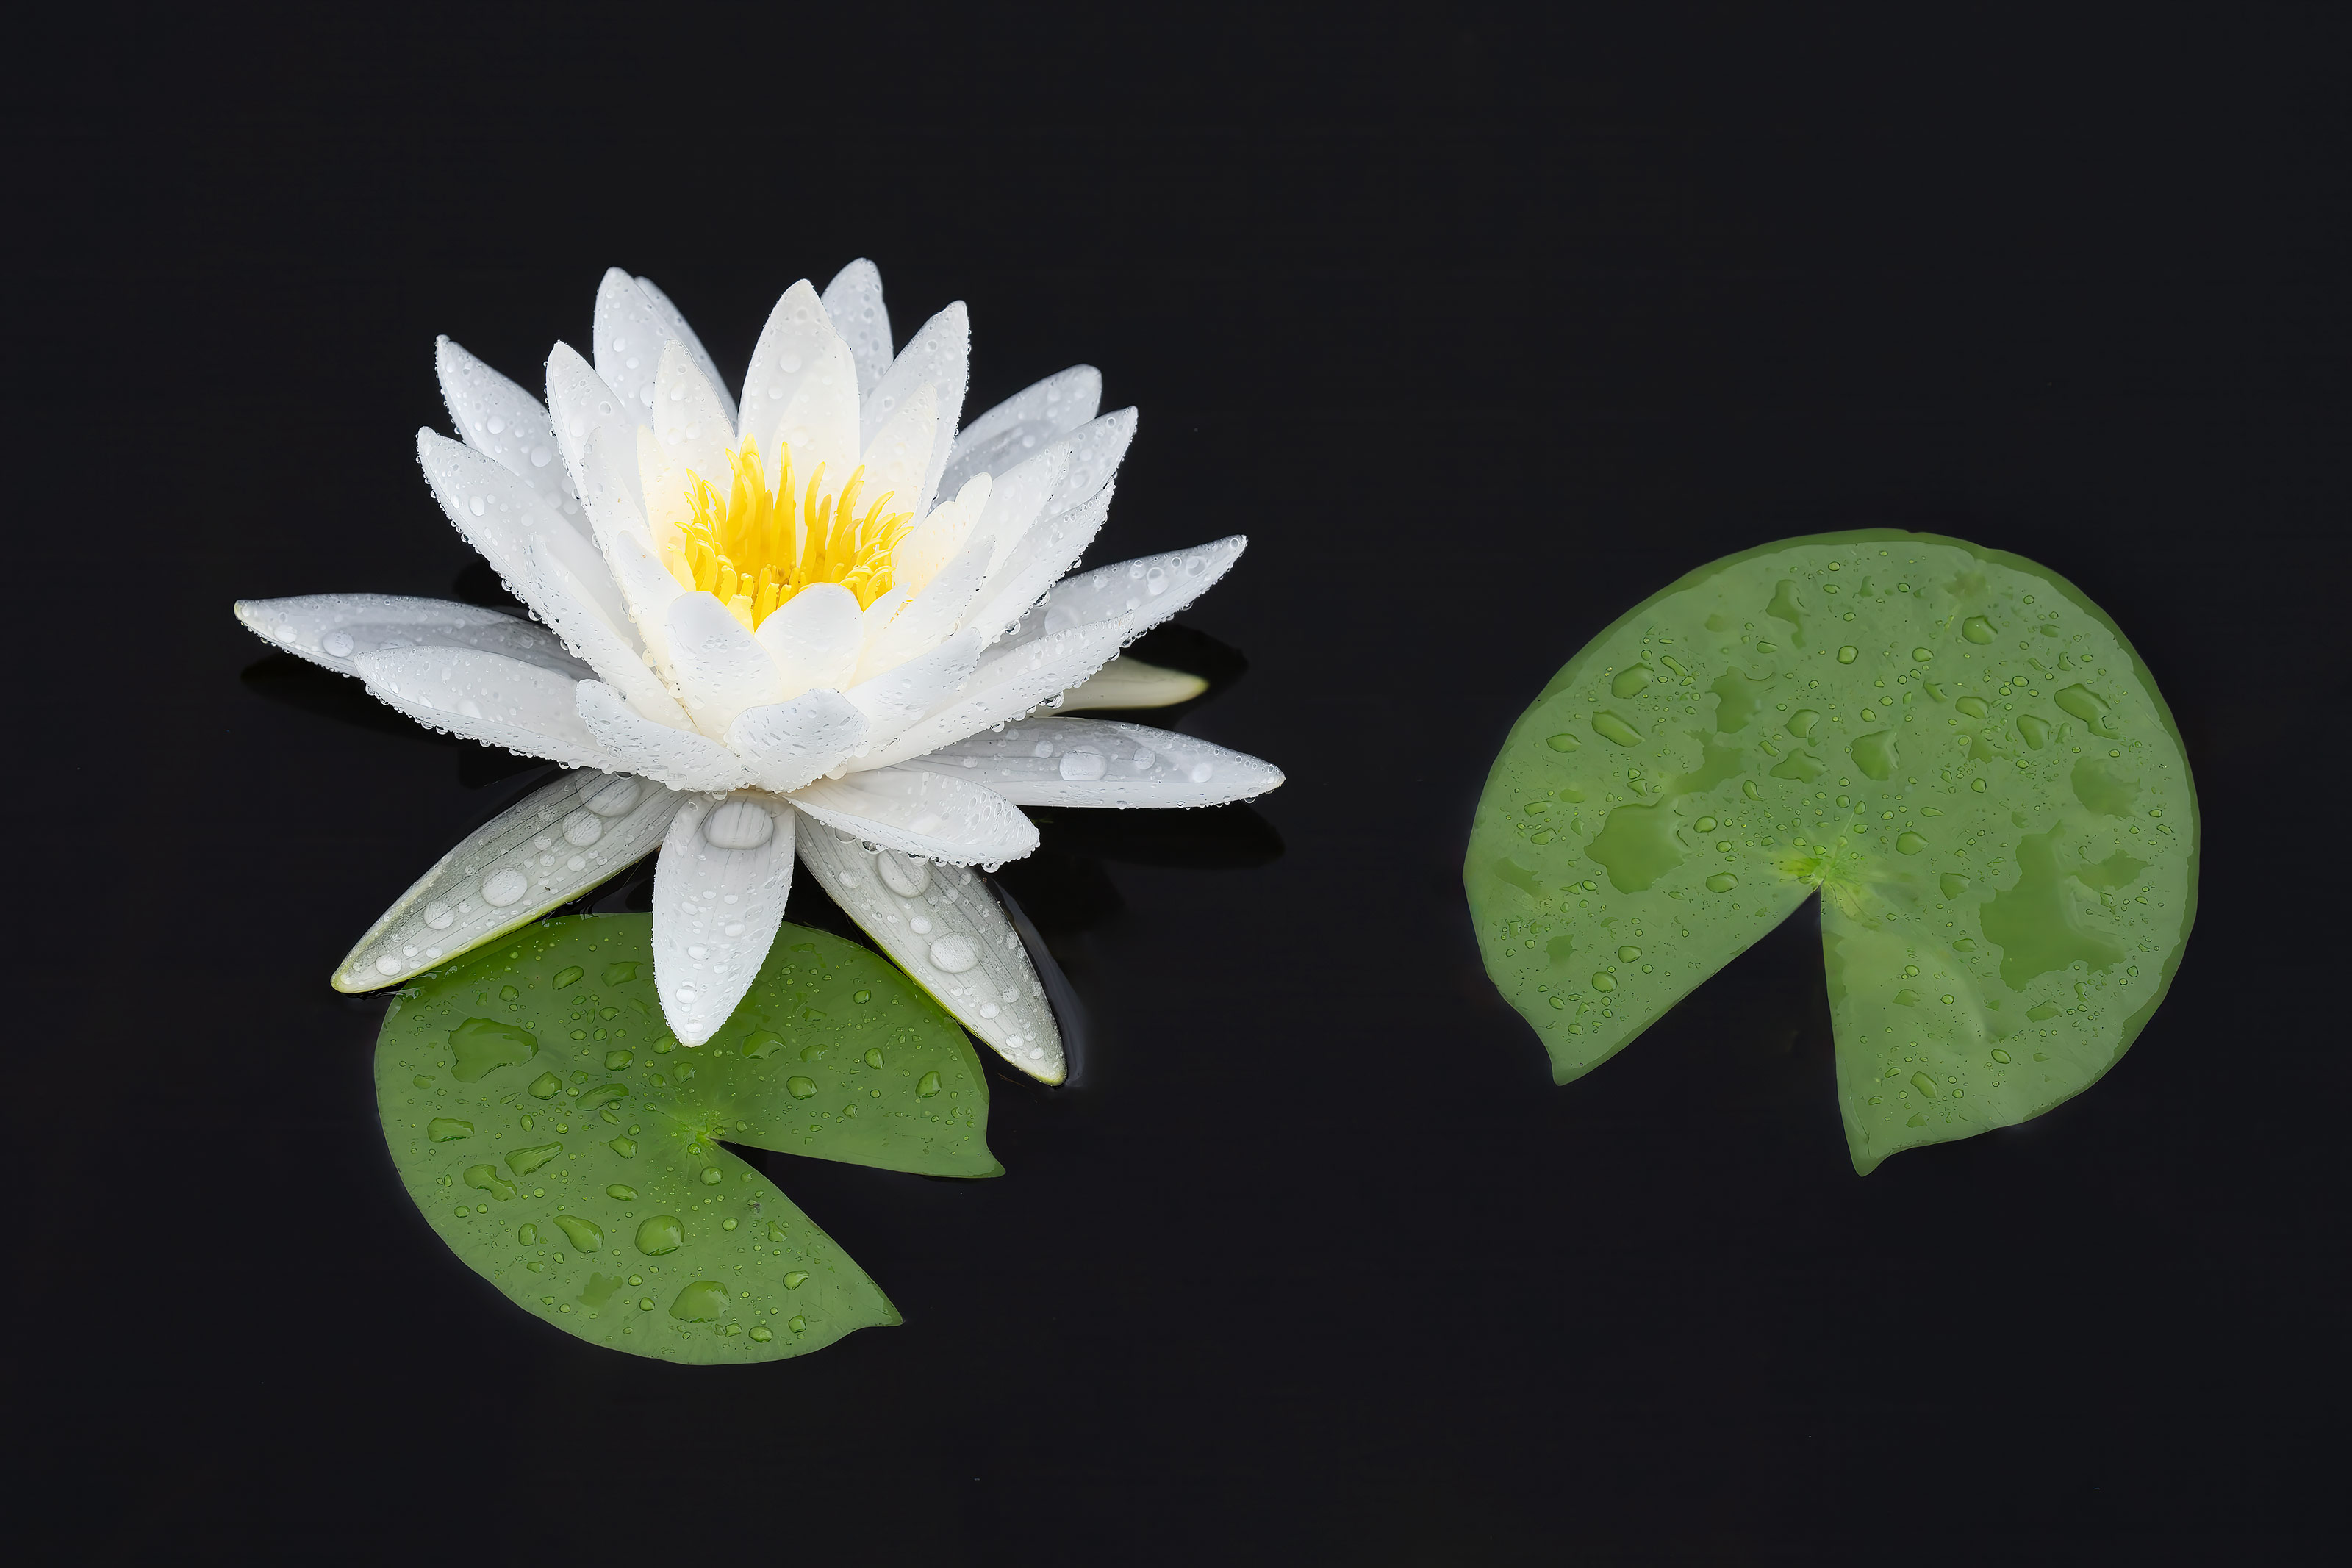
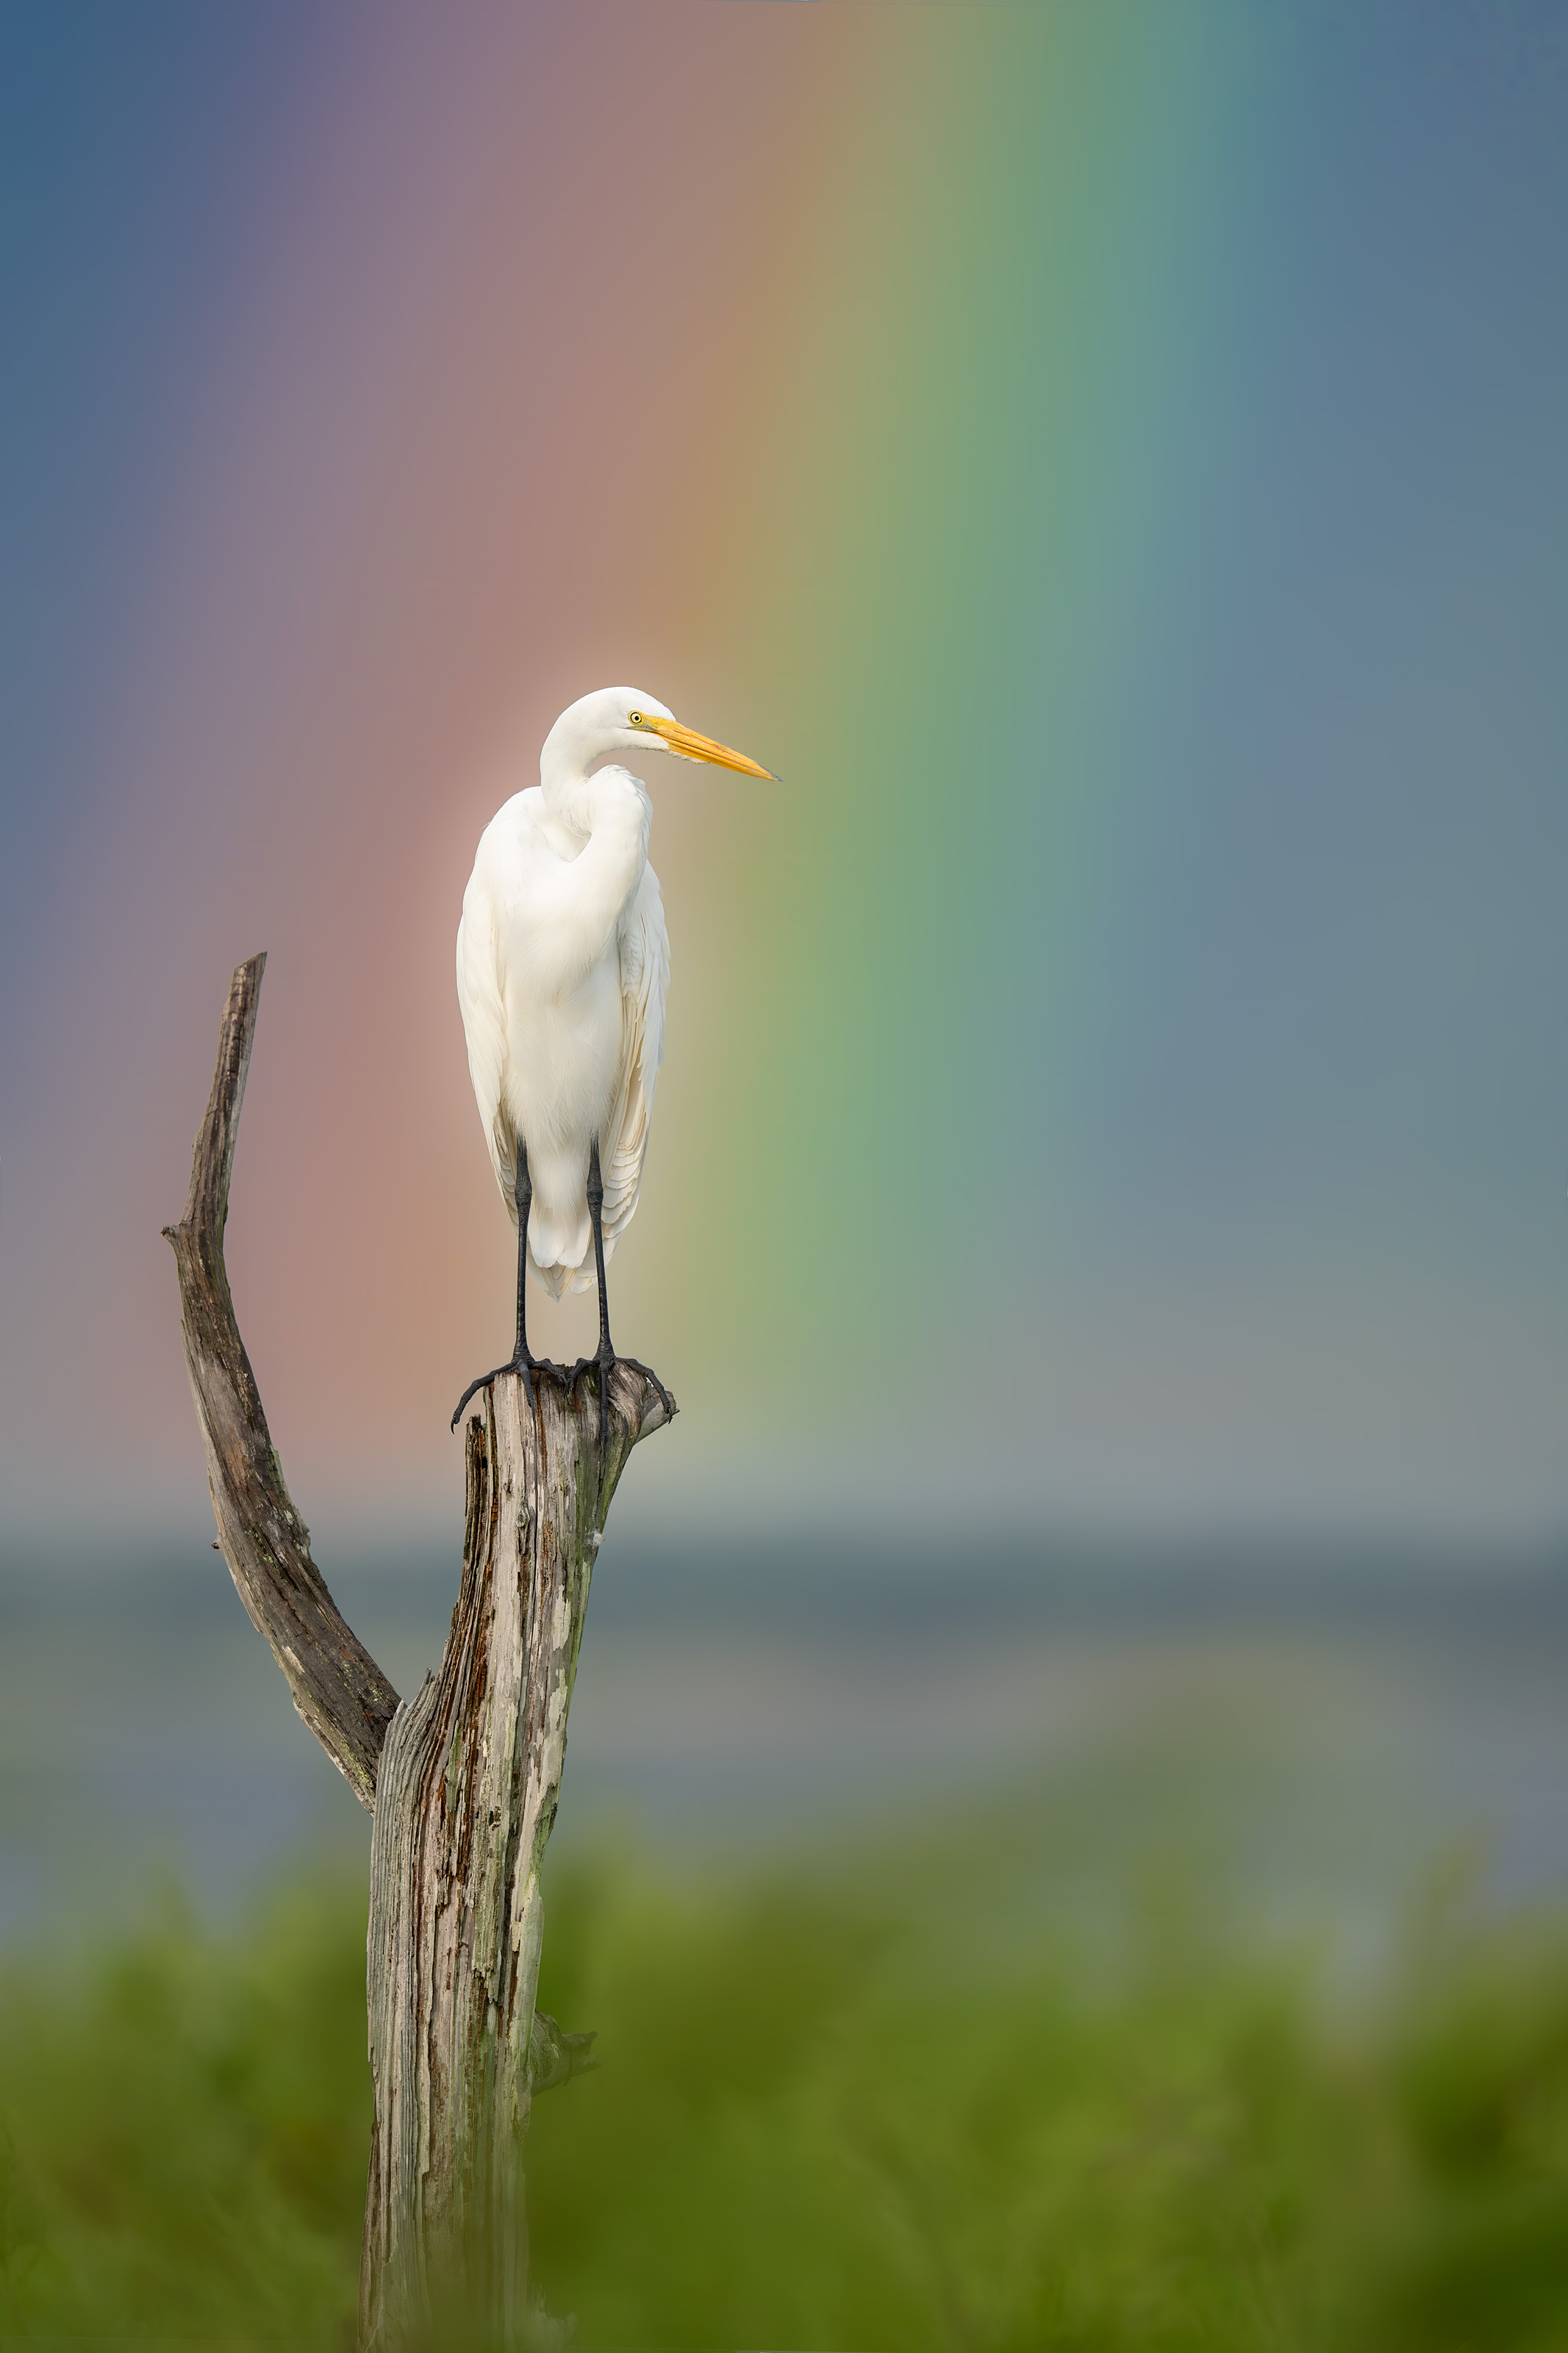
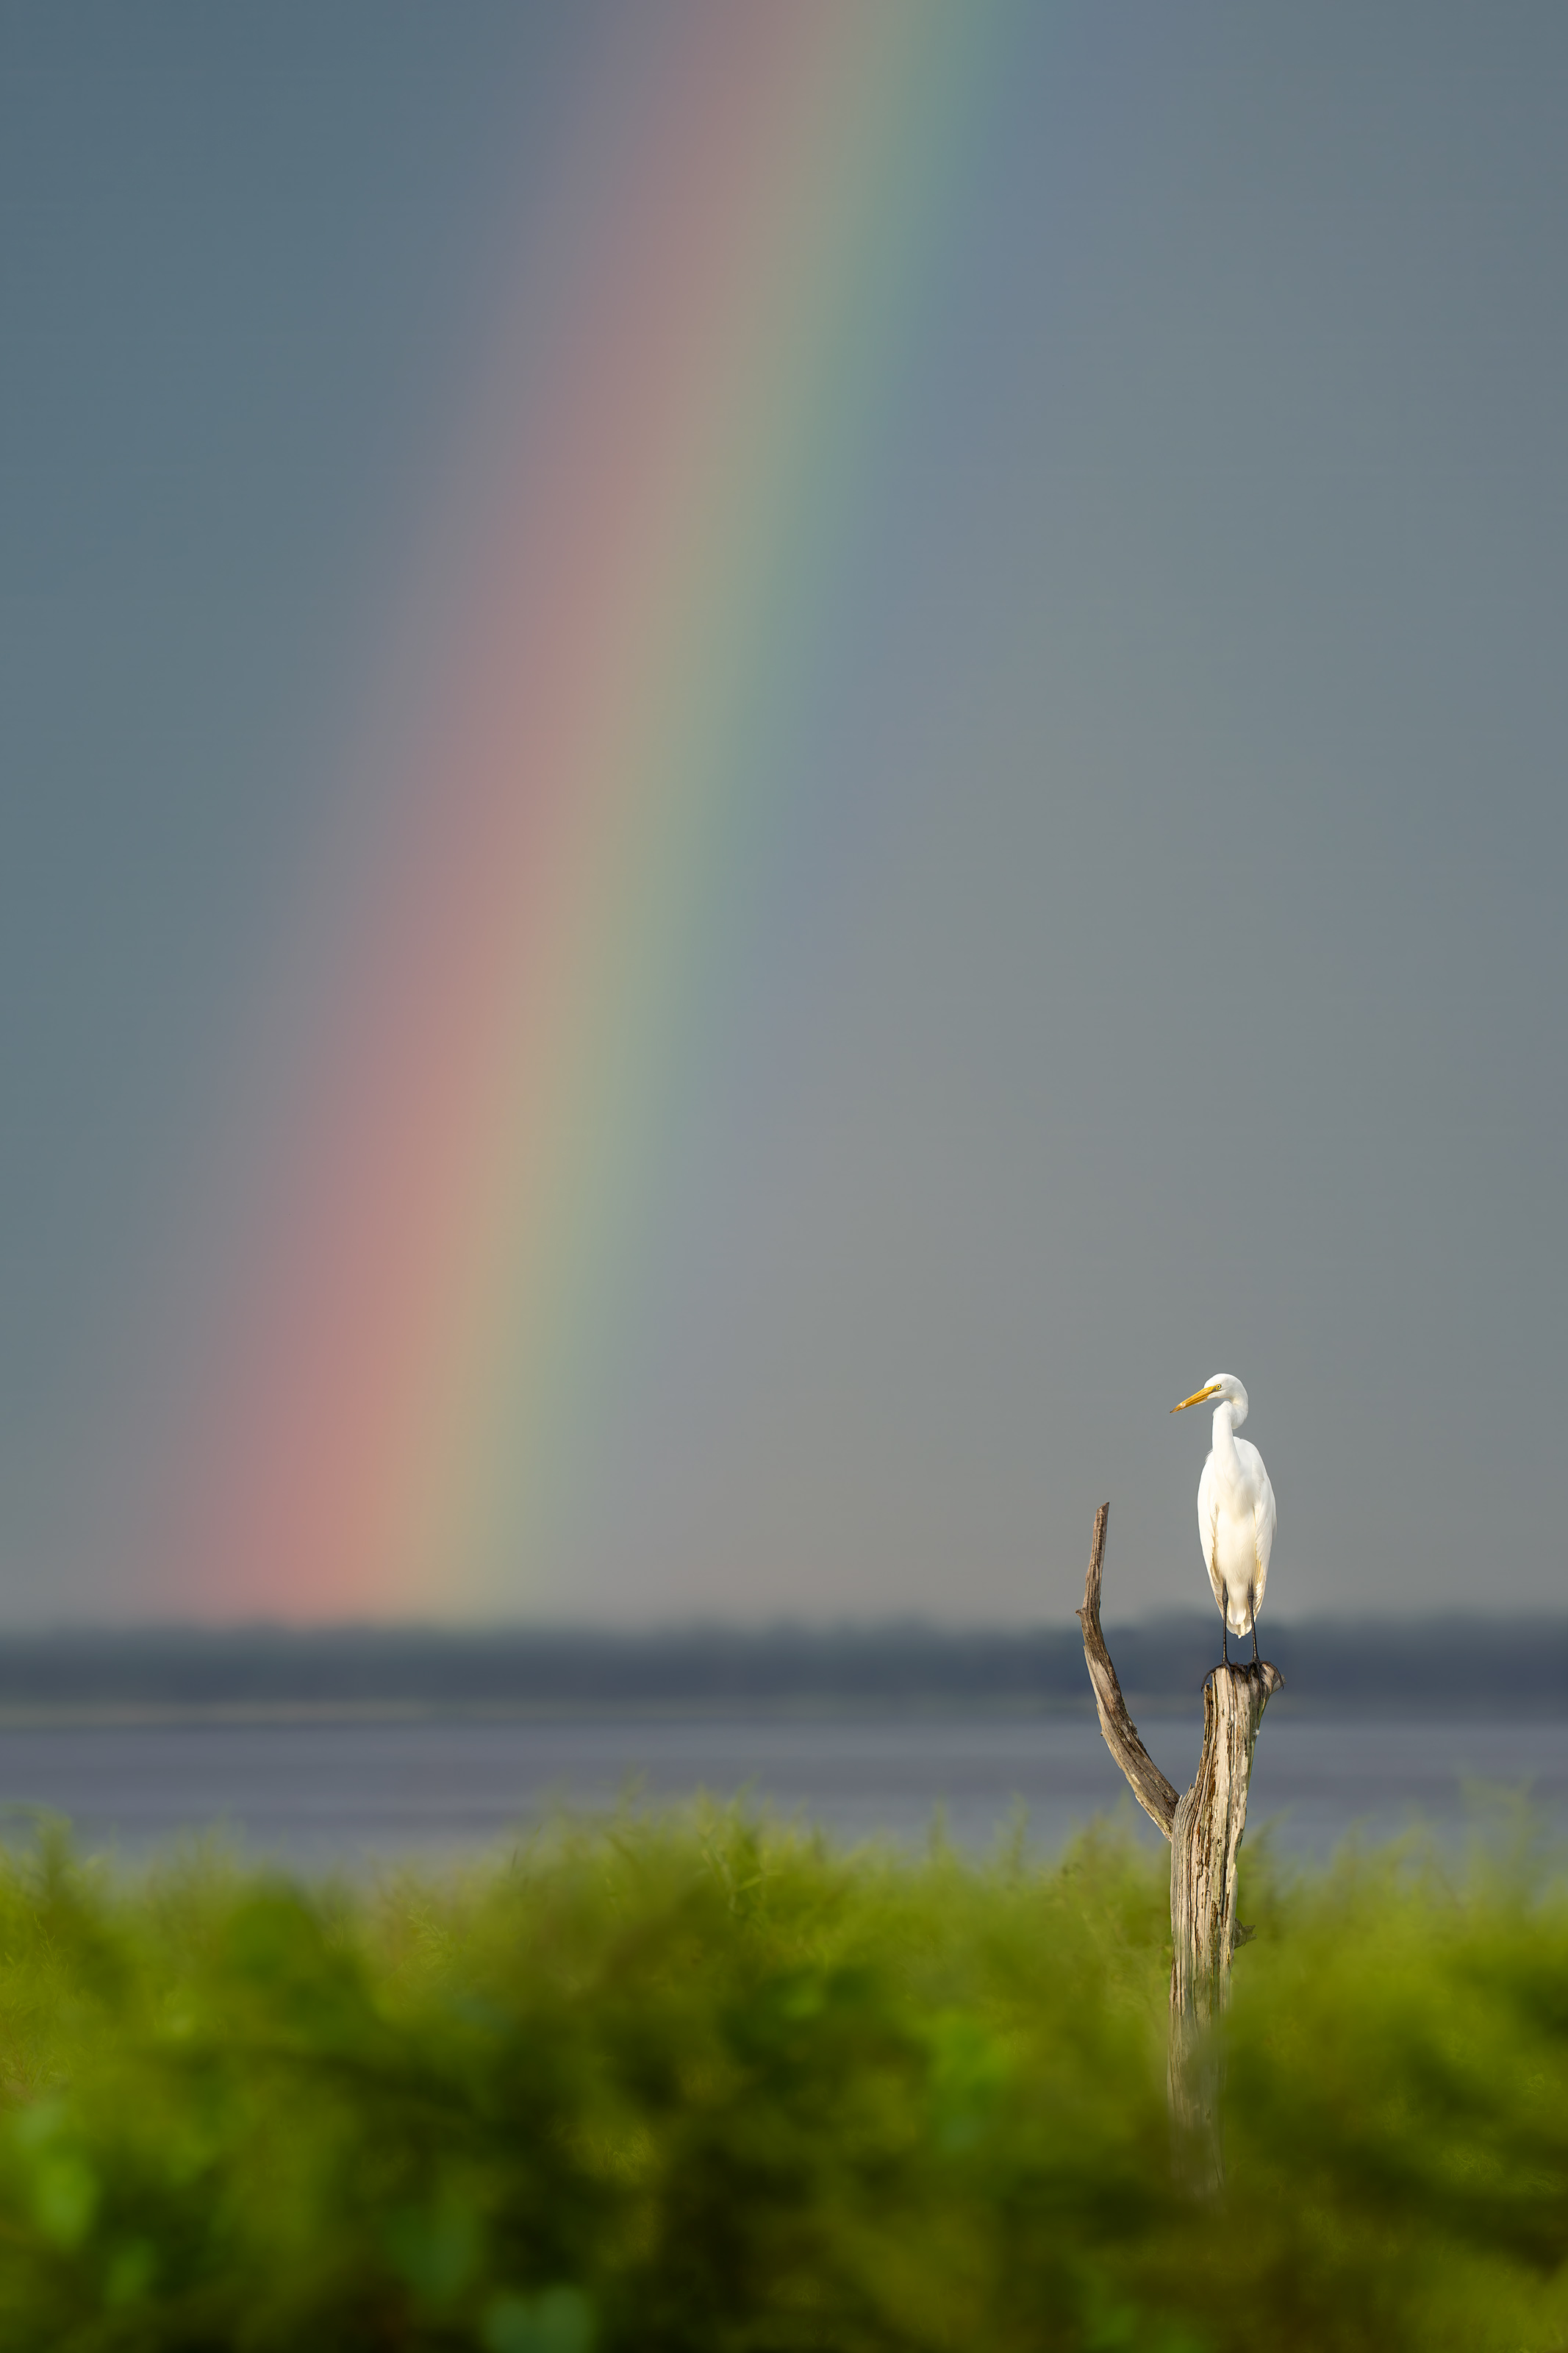
Which water-lily photo do you like best? Why? Which background do you prefer, the bluer background in Image #1 or the blacker background in Image #2? Which of the three rainbow images is your top pick? Please be so kind as to let us know why you made your choice.
In the Last Blog Post
Thanks for all the excellent comments left at The Extraordinary Featherweight Sony Super-telephoto Lens blog post. I was stunned that everyone who commented chose the small-in-the-frame, sidelit Great Egret image as their top pick. My favorite was #2, the adult crane with its bill open for the bright color scheme, the blue water background, and the out of focus green strips top and bottom. Second pick for me was the Anhinga for the incredible sharpies at 1200mm handheld with the new featherweight lens.
Summary
When you come across a good or a great situation, make lots of different images. Vary everything that you can:
1: Change your perspective. Move left or right. Or up or down. In your vehicle, with a miracle rainbow, moving the car often can pay big dividends.
2: Try different image designs and focal lengths if you have a zoom lens. If not, do the same thing by moving closer or farther away with a fixed focal length lens.
3: Try slightly different exposures.
4: Vary your apertures and shutter speeds. Consider creating an intentionally blurred image.
In most cases, a very few photos will jump off the screen as obviously best. Even when there are hundreds of images in a sequence.
Support BIRDS AS ART with your Everyday Online Shopping
Using the BAA Tip Jar Costs You Nothing
This You Tube video blog post took three hours to prepare not including the time spent photographing, picking my keepers, and optimizing the images. Consider using the BAA Tip Jar — it never costs you a single penny to help me out.
If you are like me, you enjoy the convenience of shopping online at Amazon without having to drive into town. The prices are competitive, and you can return anything you purchase for any reason (as long as you have not wrecked it).
If you enjoy learning from the blog posts, the YouTube videos, and the Instagram posts, or simply love being inspired by the images, the simplest and easiest way to support my efforts at BIRDS AS ART at no cost to you, is to use my generic Amazon link:
Whenever you make your routine household purchases — from groceries and coffee to backup batteries, household supplies, or electronics, making it a habit to click on our link first helps keep things running smoothly here. And again, it never costs you one penny to help me out.
Click here or on the Great (Photographic Accessory) Stuff tab on the lower, orange-yellow menu bar at the top of each blog post to learn about my favorite photo accessories. And more.
What’s Up?
It’s been sunny with cool temperatures and a north or NW wind every morning for the past week — those conditions make things difficult. Nonetheless, I have been out every morning testing the new featherweight lens and last night, my new Sony a7R VI Mirrorless Camera. Yesterday evening, after setting up the new body, I headed down to the lake for sunset. There were no birds on any of the perches for the clear orange glow as the sun touched down. I was lucky to find a crane family to work by getting down on the ground with the 400-800 in Shutter Priority mode.
I got a great deal of work done yesterday on the BAA 600mm f/6.3 Lens Guide and should be done sometime this week. Use one of my affiliate links to earn your free copy. My tips on dealing with temporary AF blindness with this lens are worth the price of admission. Understand also that I will be offering my settings for the Sony a7R VI Mirrorless Camera along with a Buttons and Dials Guide and a detailed INFO sheet free to those who purchase this new camera using one of my two affiliate links. I am really liking mine.
Today is Saturday 24 October 2026. The forecast is again calling for clear and cool again with a NW breeze. I will be heading down to the lake very early in hopes of getting some good stuff before the wind picks up. Whatever you opt to do today, I hope you choose to have fun and enjoy life. Please remember that happiness is a choice — Byron Katie – The Work.Com
If an item — a Delkin flash card or reader, a Levered-clamp FlexShooter Pro, or a Wimberley lens plate or low foot — for example, that is available from B&H and/or Bedfords, is also available in the BAA Online Store, it would be great, and greatly appreciated, if you would opt to purchase from us. We will match or beat any price. Please remember also to use my B&H affiliate links or to earn 3% cash back at Bedford by using the BIRDSASART discount code at checkout for your major gear purchases. Doing either often earns you free guides and/or discounts. And always earns my great appreciation.
Gear Questions and Advice
Too many folks attending BAA IPTs and dozens of photographers whom I see in the field and on BirdPhotographer’s.Net, are — out of ignorance — using the wrong gear, especially when it comes to tripods and more especially, tripod heads. And the same is true in spades when ordering new camera bodies or lenses. My advice will often save you some serious money and may help you avoid making a seriously bad choice. Please know that I am always glad to answer your gear questions via e-mail. If you are desperate, you can try me on my cell at 863-221-2372. Please leave a message and shoot me a text if I do not pick up.
Gemini
General information, copy editing, re-crafting, technical refinement, and formatting for this blog post were assisted by Gemini AI.
|
|
This image was created on 6 October 2026 by yours truly down by the lake near my home at Indian Lake Estates, FL. Standing at full height on the pier, I used the handheld Sony FE 100-400mm f/4.5 GM OSS lens with the Sony FE 1.4x Teleconverter (at 600mm) and The Latest Greatest Sony Flagship Body, the a-1 II Mirrorless Camera. The exposure was determined by Zebras with ISO on the rear wheel. ISO 1250: 1/400 second at f/9 (wide open) in Manual mode. AWB at 8:49:07am on a cloudy morning. Tracking: Spot S/AF-C performed perfectly. Click on the image to enjoy the larger high-res version. Image #1: Fragrant Water-lily blossom and pad |
The Situation
After walking the pier on a still, mostly cloudy Friday, I noticed an open, isolated water-lily blossom. With the TC in place, I began creating a variety of images. For this one, I moved well away from the flower and fit it into a vertical frame. I created more than fifty images made from various perspectives at different focal lengths. I kept just this one as it jumped off the screen at me.
Note: I generally do not like full sun for flower photography, far preferring clouds and shade because harsh shadows are eliminated. And that goes double for white flowers.
|
|
This image, of the same flower in Image #1, was created on 7 October 2026 by yours truly down by the lake near my home at Indian Lake Estates, FL. Standing at full height on the pier, I used the handheldSony FE 100-400mm f/4.5 GM OSS lens (at 340mm) and The Latest Greatest Sony Flagship Body, the a-1 II Mirrorless Camera. The exposure was determined by Zebras with ISO on the rear wheel. ISO 2500: 1/500 second at f/11 (stopped down 1 2/3-stops) in Manual mode. AWB at 10:03:34m on a cloudy morning Wide/AF-C with Bird-Eye/Face Detection performed perfectly. Click on the image to enjoy a larger high-res version. Image #2: Fragrant Water-lily blossom and two pads |
The Next Day
The next morning, in similar conditions, I came across the same blossom. From one day to the next, the wind had blown the lily pads around. As a result, for this one, going to horizontal was the obvious choice. Having seen my images from the previous day, I decided to stop down for some additional depth of field and overall sharpness. Again, my efforts yielded several dozen images. Again, I kept only a single image.
|
|
This image was created on 17 October 2026 by yours truly down by the lake near my home at Indian Lake Estates, FL. Working from the driver’s seat of my SUV I used the BLUBB-supported Robus RC-5570 Vantage Series 3 Carbon Fiber Tripod/Levered-Clamp FlexShooter Pro-mounted Sony FE 600mm f/4 GM OSS lens and The Latest Greatest Sony Flagship Body, the a1 II Mirrorless Camera. The exposure was determined by Zebras with ISO on the rear wheel: ISO 1000: 1/2500 sec. at f/4 (wide open) in Manual mode. AWB at 8:04:26am on a partly cloudy morning. Wide/AF-C with Bird-Eye/Face Detection performed perfectly. Click on the image to enjoy the larger, inexplicably sharper high-res version. Image #3: Great Egret on Bob Eastman’s v-perch with rainbow background |
The Miracle Rainbow
As I drove past the pavilion, a huge colorful rainbow appeared in the western sky. Jeez, I thought, I need a bird on one of the perches. Now! I glanced to my left toward the South Peninsula — there was a perched Great Egret but I could not tell if it was on a bush — way less than ideal, or on the dead tree that Bob had erected on his visit last fall. As I headed south I saw that the bird was on his v-perch and began to get excited. Rainbows often fade away in a moment.
The first thing that I did was to get the big lens on the BLUBB. Getting in position without doing that first may result in the bird leaving the scene as it reacts to the movement. That done, and in fear of flushing the bird, I made a wide right turn and approached very slowly. In the meantime the rainbow had gotten brighter and was doing its best to become a double rainbow.
I created about 150 images and kept seven.
Note: I never thought of adding even the 1.4X TC as that would have resulted in less rainbow.
High Level Image Design Question
Why do I wish that I had moved my SUV forward four or five inches?
|
|
This image was also created on 17 October 2026 by yours truly down by the lake near my home at Indian Lake Estates, FL. Working from the driver’s seat of my SUV for this one, I used the I used the handheld Sony FE 100-400mm f/4.5 GM OSS lens (at 260mm) and The Latest Greatest Sony Flagship Body, the a-1 II Mirrorless Camera. The exposure was determined by Zebras with ISO on the rear wheel: ISO 640: 1/1600 sec. at f/4.5 (wide open) in Manual mode. AWB at 8:11:17am on a partly cloudy morning. Wide/AF-C with Bird-Eye/Face Detection performed perfectly. Click on the image to enjoy the larger, inexplicably sharper high-res version. Image #4: Great Egret on Bob Eastman’s v-perch with rainbow background |
Going Wider
Looking for something different, I grabbed the 100-400 from the passenger seat and zoomed out while resting the lens hood on the big beanbag. I made several dozen images — mostly verticals, and varied the focal length. I kept one horizontal and one vertical.
|
|
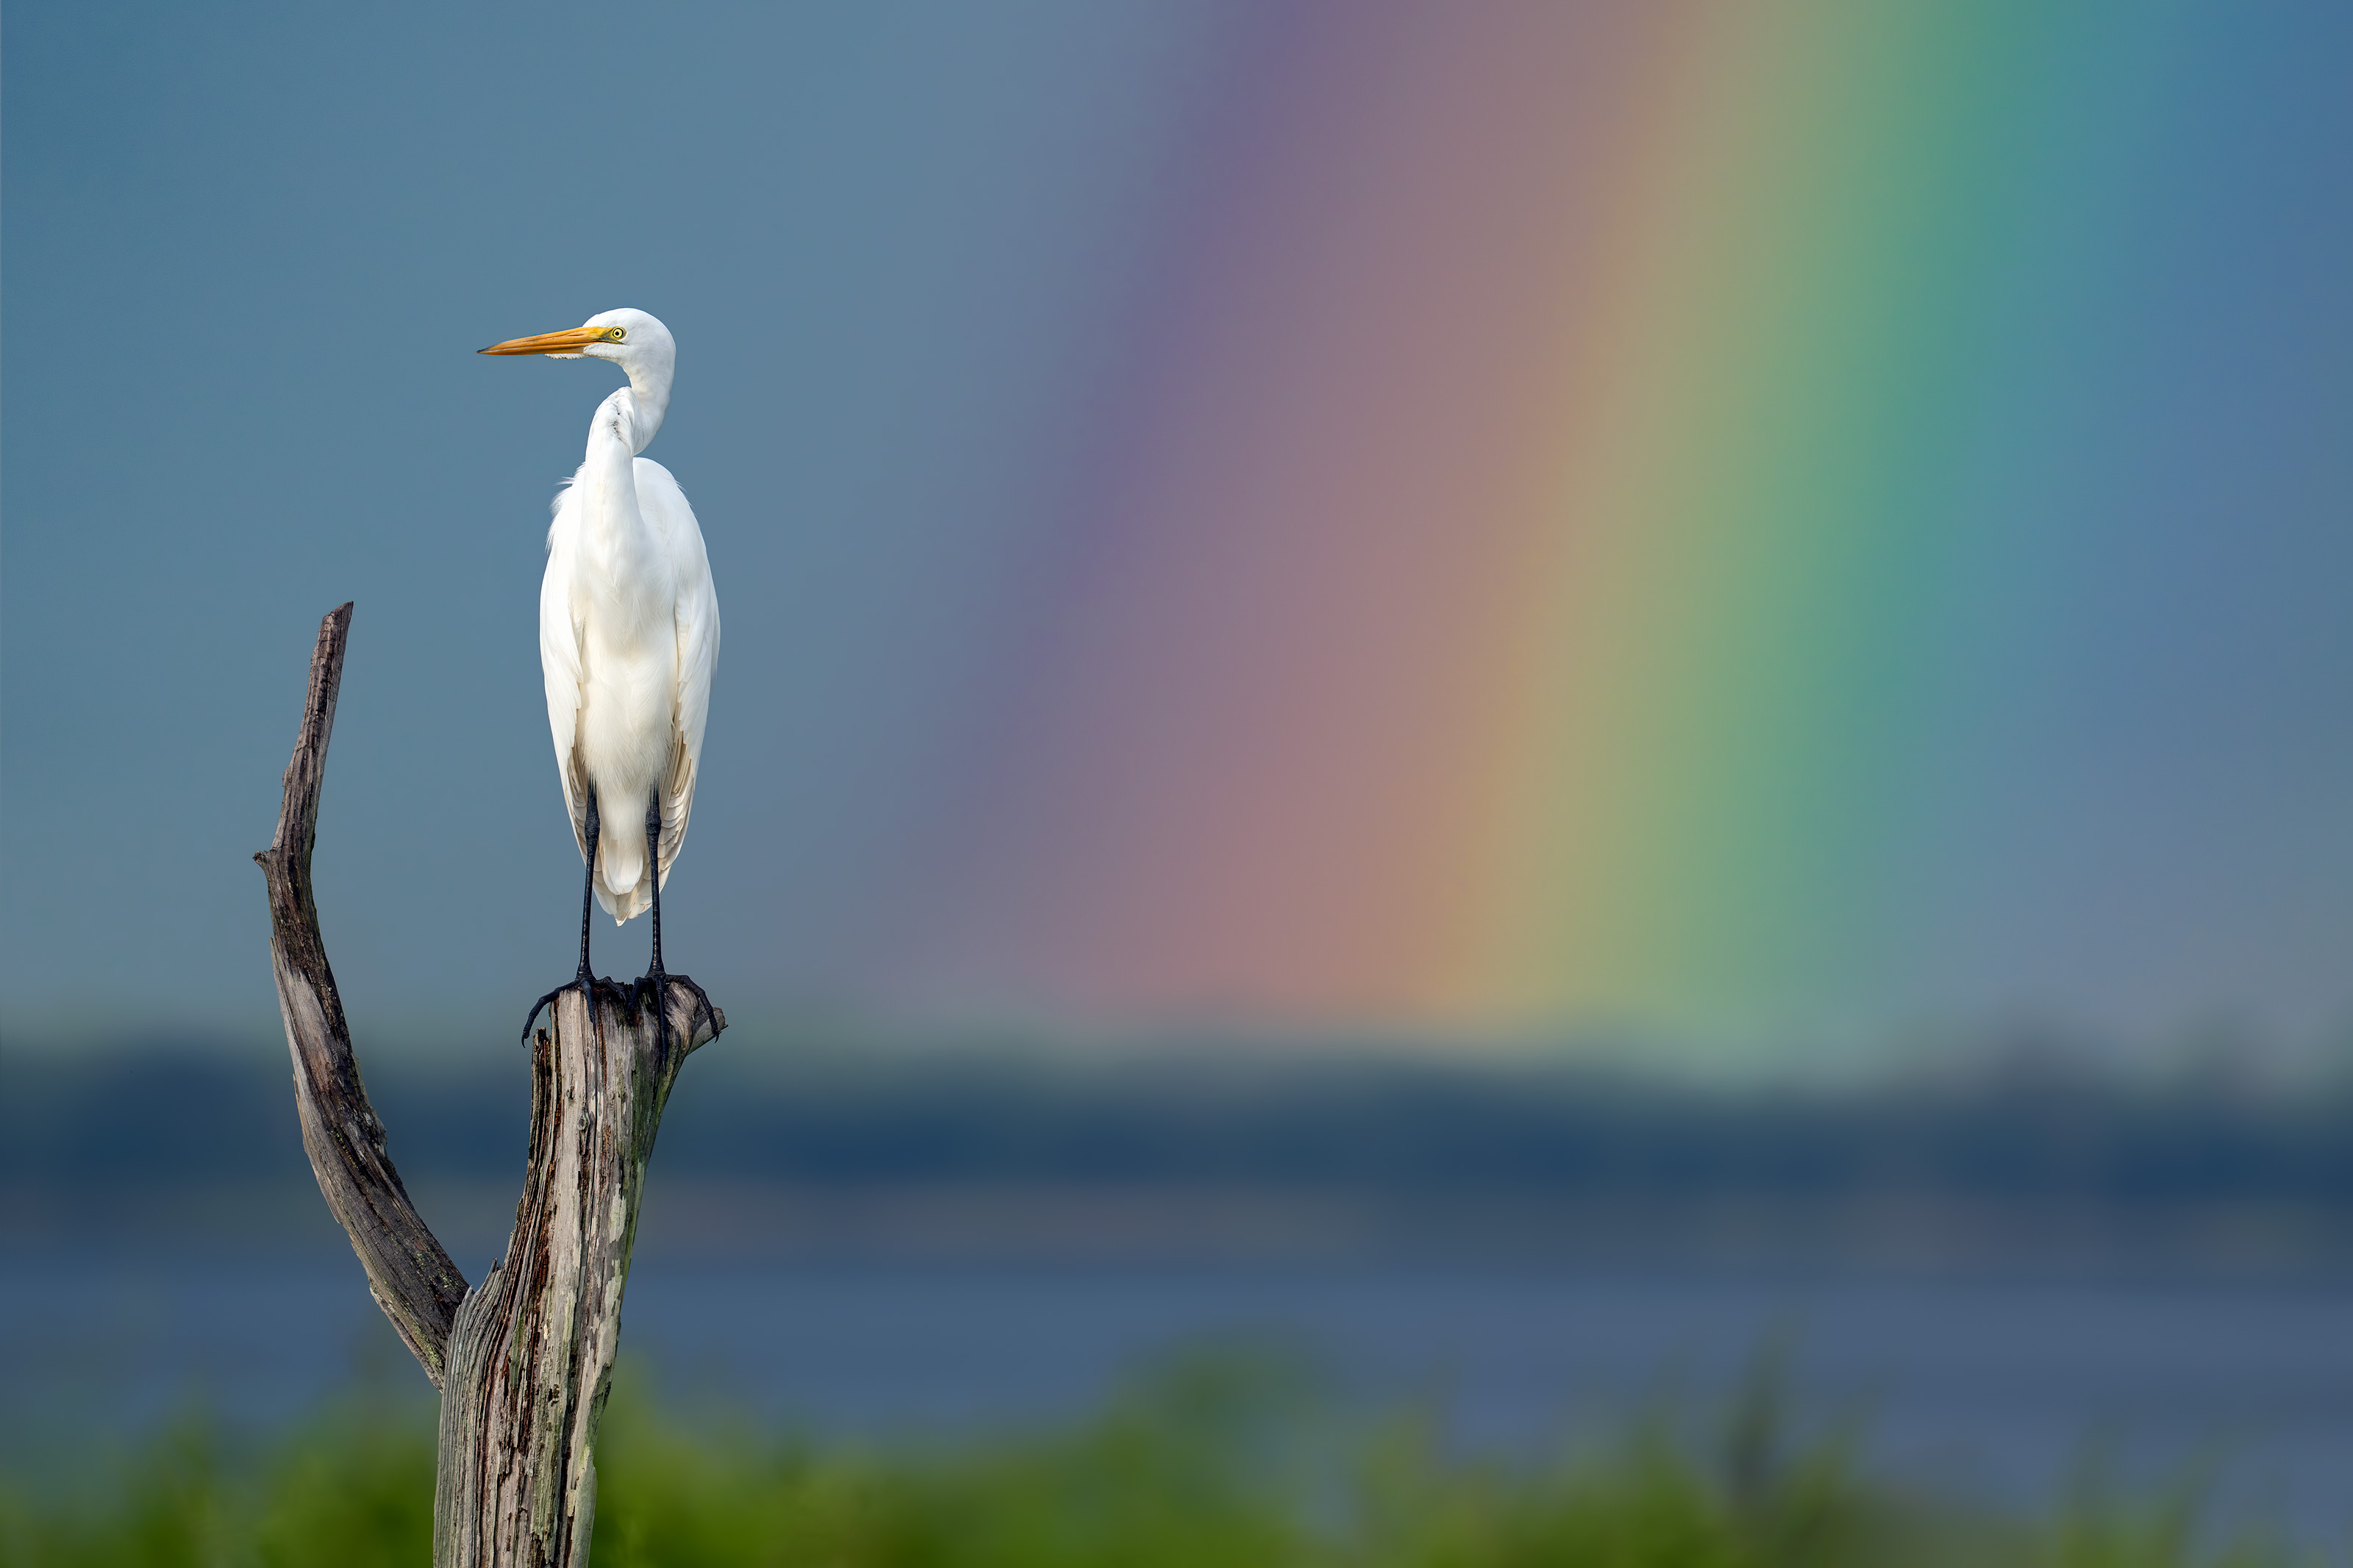
This image was created on 17 October 2026 down by the lake near my home at Indian Lake Estates, FL. Working from the driver’s seat of my SUV I used the BLUBB-supported Sony FE 600mm f/6.3 GM OSS Lens (Sony E) and The Latest Greatest Sony Flagship Body, the a-1 II Mirrorless Camera. The exposure was determined by Zebras with ISO on the rear wheel. ISO 640: 1/800 sec. at f/6.3 (wide open) in Manual mode. AWB at 8:13:00am on a then partly sunny morning. Wide/AF-C with Bird-Eye/Face Detection performed perfectly. Click on the image to enjoy the larger high-res version. Image #5: Great Egret on Bob Eastman’s v-perch with rainbow background |
The 600mm f/6.3
The miracle was that the rainbow persisted for nearly 15 minutes before it faded. Just for the fun of it, I grabbed the new featherweight super-telephoto and made a few images. I shared this one with you previously in the Featherweight Super-telephoto Lens: the 600mm f/6.3 GM blog post here. I guess you could explain the fact that I grabbed the 600mm f/6.3 rather than the 600mm f/4 that was right there for the taking by the “new toy syndrome …”
Picking the Keepers
In most cases, I varied my exposures by a third-stop — the lighter ones, exposed well to the right, were always best once they were optimized. The biggest factor by far, however, was head angle. I was surprised that nobody busted me for the fact that the bird in Image #5 was looking out of the frame. I pleaded with it to look to the north but the bird obviously did not hear me.
Adobe Camera Raw Masking Note
I have made more than a few bird photos with rainbow backgrounds over the years and have never been happy with any of them. Having learned to use Adobe Camera Raw (ACR) masks as detailed in The Digital Basics IV Video Series made it easy to juice up the rainbow while keeping the bird and the foreground totally neutral. Coming soon: a single Digital Basics V How-to-Video that will include a rainbow image optimization and lots of other great new image processing stuff that I have discovered recently.
Not to mention that I used ACR masks on each of the water-lily images to fine-tune the background color.
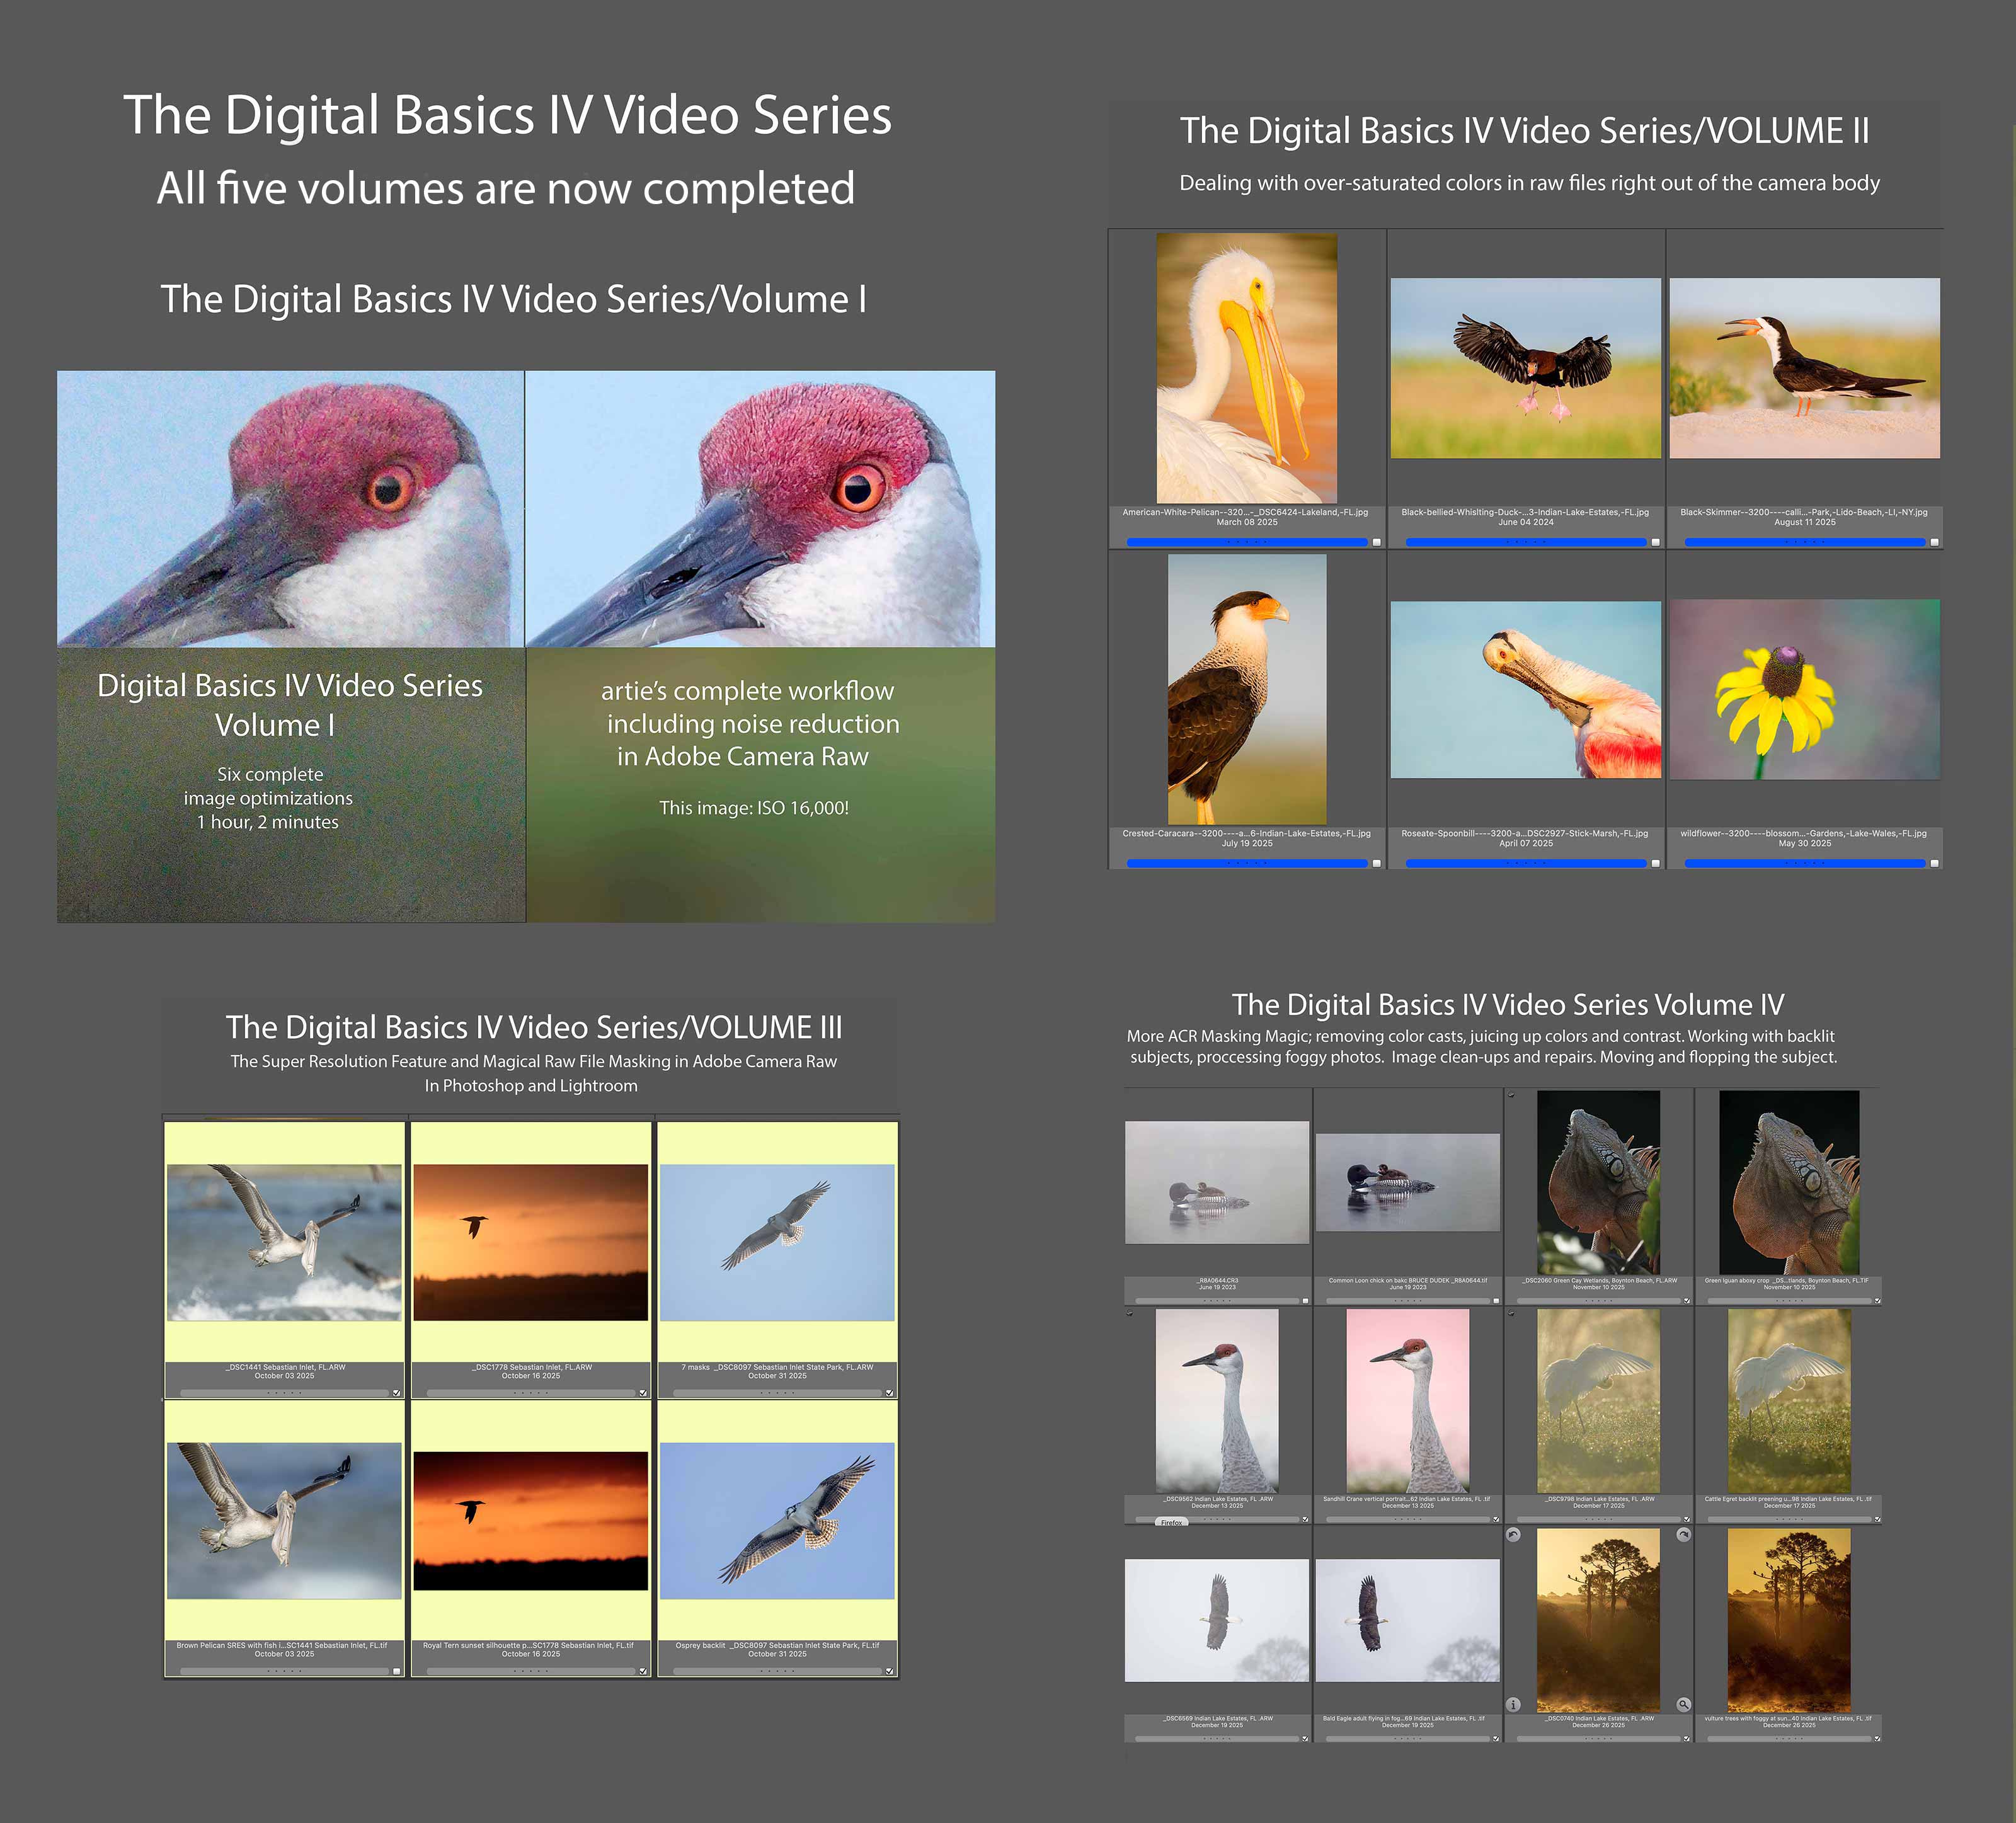
Learn about Adobe Camera Raw masking in the Digital Basics IV Video Series either below or by clicking here.
New to Photoshop? Save $186.00 by purchasing the entire Digital Basics Collection here. Scroll down to learn more.
|
|
Click to enlarge. The Digital Basics IV Video Series by Arthur Morris/BIRDS AS ARTYou can save $50.00 by purchasing the entire 5-Volume Series by clicking here. |
Digital Basics IV Video Series: $146.00 for all five videos/save $50.00
I have some fabulous new image optimization tips, techniques, and tricks to share. As the Digital Basics III Video Series proved to be so popular, I decided last fall to run it back in the form of Digital Basics IV. Digital Basics V is on the horizon.
My new workflow includes the use of the masking feature in Adobe Camera Raw (thanks to Anita North), the use of the Point Color eye dropper to tame super-saturated colors during raw conversions (discovered in tandem with Anita), a fabulous new Remove Tool trick that makes my favorite Photoshop Tool even more powerful than before -— that one discovered by me. In addition, I have recently begun doing some Curves work during my ACR raw conversions.
My basic workflow remains much the same as is detailed in both the Digital Basics II PDF and in the Digital Basics III Video Series:
1- Setting the Color Temperature (when and if needed).
2- Setting the White and Black Points and adjusting the Highlights and Shadows sliders.
3- Setting the Clarity and Dehaze sliders.
4- Fine-tuning color using the Hue/Saturation/Luminance Targeted Adjustment Tool, a huge step up from the Color Mixer Tool.
5- My 2-step noise reduction technique (with most images).
Once I have the .TIF file in Photoshop, I use my usual cadre of clean-up tools and techniques including the Remove Tool, the Clone Stamp (only rarely), Divide and Conquer, Quick Masking, Layer Masking, Gaussian Blurs, an expanded array of personalized keyboard shortcuts, and tons of other image optimization strategies and methods adapted from previous versions of Digital Basics. I also demonstrate the selective use of Topaz Sharpen AI utilizing the masking feature. And last but not least, I share my JPEG creation methodology.
I am quite proud of the Digital Basics IV Video Series.

|
The BIRDS AS ART Digital Basics Collection: $199.00. |
The BIRDS AS ART Digital Basics Collection
The best news is that learning to use the tools and techniques that I use to improve my images is made fairly simple for those who purchase, use and study the Digital Basics offerings from BIRDS AS ART. One of the great skills that I have been blessed with is writing coherent how-to instructions that can be followed easily by a third grader. Learn to unlock the potential in your images by purchasing the Digital Basics Collection here. The collection includes the Digital Basics II PDF, and all the videos in the Digital Basics III and the Digital Basics IV Video Series.
The original Digital Basics file was created in the mid-aughts when I saw countless numbers of folks creating sharp, nicely designed, well exposed images and then ruining them in Photoshop. I sold enough copies at $20.00 a pop to pay for my $68,000 lap pool! As my workflow changed and improved, various versions of Digital Basics were created to help folks learn to improve their images at the computer during post processing. Save an incredible $86.00 by purchasing the Digital Basics Collection here. Folks who own one or two of the three afore-mentioned products are invited to contact me via e-maill for personalized discount information.
Typos
With all blog posts, feel free to e-mail or to leave a comment regarding any typos or errors.









Image 3 is my favorite rainbow image although the egret might be a tad bright for my taste. The egret is looking into the frame as opposed to image 5, and although image 4 is a close second, I felt that the wider perspective might have made the egret a bit too small and placed the focus on the rainbow. Which is ok, just different. I wish image 5 had the egret looking into the frame. If so, that one would be my favorite.
Image 1 with just the single Lilly pad and vertical crop is preferred over the second image with two lily pads. The second lily doesn’t add anything other than some balance to the horizontal crop.
Artie, image 2 is awesome. I prefer image 4 overall with image 5 a close second, head position be dammed!