Your Fave?
Of today’s two featured images, which one is stronger? Image #1, the habitat shot? Or Image #2, the head portrait? Leave a comment and let us know why you made your choice.
What’s Up?
Again, not much. Yesterday was the first day in months that I did not make a single image. I spent a good part of Friday working on and sending e-mail #9 to the ONY Alpha a1 Set-up and Info group.
Today is Saturday 17 April 2021. I was glad to learn that DeSoto IPT regular Jim Miller will be joining Donna Bourdon and me on the second DeSoto IPT. I was also glad to learn that Bill Wingfield sold his Canon EOS 5DS along with both series III teleconverters. I will begin working on second edits of six-plus-months of consolidated image folders. Wherever you are, and whatever you are doing, I hope that you have a great day.
This blog post took about an hour to prepare and makes 115 consecutive days with a new one. Please remember to use my B&H affiliate links or to save money at Bedfords by using the BIRDSASART discount code at checkout. Doing either often earns you free guides or discounts, and always earns my great appreciation.
|
|
|
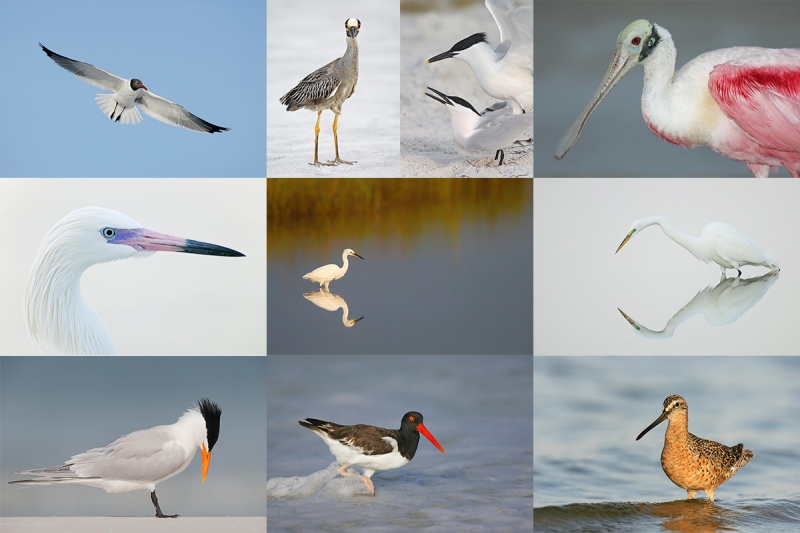
All of the images were created at Fort DeSoto in April or early May. Click on the card to enjoy a larger version. Fort DeSoto IPT card A |
Fort DeSoto Spring IPT #2
Fort DeSoto Spring IPT #2. 3 1/2 DAYS. MON 26 APR thru the morning session on THURS 29 APR 2021. $1499 includes three lunches. Limit: 6. Openings: 4.
Not only am I conversant in all three major camera systems used in the US — Nikon, Canon, and SONY (sorry Andy Rouse …), I have used all three within the past four years. Those include both SONY and Canon mirrorless. On both of these IPTs you will learn how to get the best exposure, how to get the most out of your AF system, and how to get close to free and wild birds. And tons more.
|
|
|
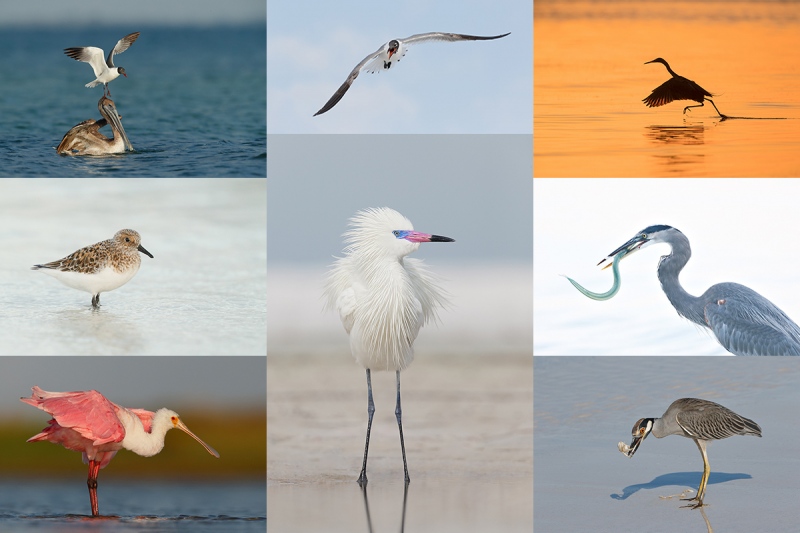
All of the images were created at Fort DeSoto in April or early May. Click on the card to enjoy a larger version. Fort DeSoto IPT card B |
A $499 deposit is required to hold your spot for this IPT. You can send a check (made out to “BIRDS AS ART) to us here: BIRDS AS ART, PO Box 7245, Indian Lake Estates, FL, 33855, or call Jim or Jennifer at the office with a credit card at 863-692-0906. Your balance, payable only by check, is due immediately after you sign up. If you have any questions, please feel free to contact me via e-mail. If you cancel due to COVID 19 concerns, all of your payments will be refunded.
|
|
|
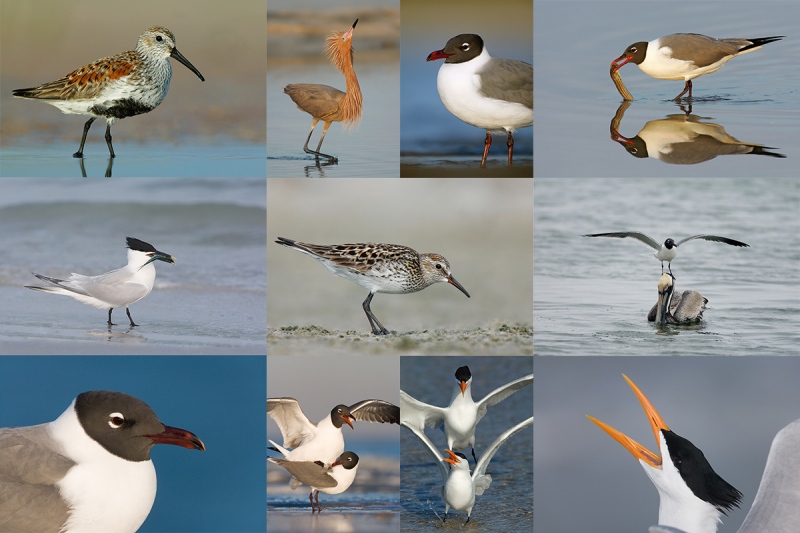
All of the images were created at Fort DeSoto in April or early May. Click on the card to enjoy a larger version. Fort DeSoto IPT card C |
Fort DeSoto Spring IPTs Expected Species
With any luck, we should get to photograph the following species: Laughing, Ring-billed, Herring, and Lesser Black-backed Gull; Royal, Sandwich, and Forster’s Tern: Great, Snowy, and white and dark morph Reddish Egret and Great Blue, Little Blue, and Tricolored Heron; Yellow-crowned Night-Heron, Wood Stork, Roseate Spoonbill, and Brown Pelican. We will see and photograph lots of shorebirds including American Oystercatcher, Black-bellied, Wilson’s, Semipalmated, Snowy, and Piping Plover, Marbled Godwit, Willet, Dunlin, Red Knot, Sanderling, and Western and possibly White-rumped Sandpiper.
|
|
|
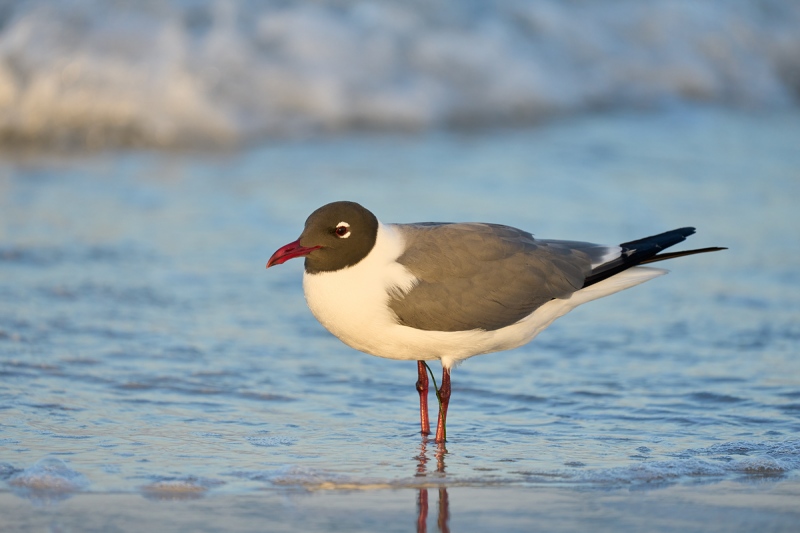
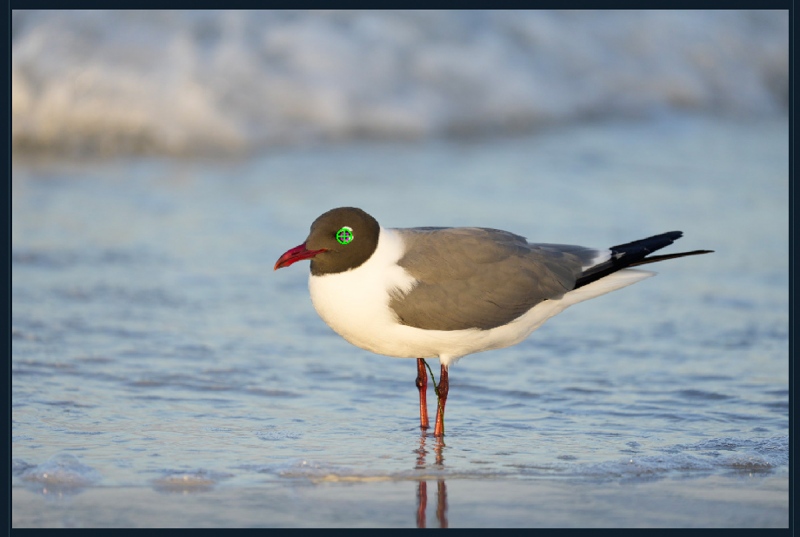
This image was created on 10 April 2021 on the first DeSoto IPT. I used the hand held Sony FE 200-600mm f/5.6-6.3 G OSS lens (at 600mm) and The One, the Sony Alpha 1 Mirrorless digital camera. ISO 800. Exposure determined via Zebras with ISO on the rear dial: 1/1000 sec. at f/6.3 (wide open) in Manual mode. AWB at 7:4am on a sunny morning. Wide/AF-C was active at the moment of exposure and nailed the focus. Click on the image to see a larger version. Image #1: Laughing Gull in full breeding plumage standing in the shallow Gulf |
The Situation
With my #1 DeSoto morning location severely lacking birds on our first morning, we headed straight to my #2 spot on Day 2. And we killed. Parts of this very productive beach are in the shade for perhaps twenty minutes after sunrise. On 10 April there were about 80 Laughing Gulls on the beach. One of the tricks to creating successful images is to approach birds (or pairs) that are off by themselves. I was lucky that this gorgeous bird was both isolated and almost completely in the sun. I think that there is a faint shadow on the rear of the bird.
I began the morning with the hand held 200-600 with one of my two Alpha a1 bodies. Though four clicks slower than the 600 GM (f/6.3 as compared to f/4.0), the 2-6 is much smaller and lighter and thus easier to hand hold, and if far more versatile. In addition, it is easier to get up and down off the beach with the much more versatile 2-6.
Aside from the gorgeous gull and the sweet light, the breaking wave above the bird and the tiny wavelet in front of the bird, make this one a winner. You can learn a ton about managing and working with breaking waves in your images in the here. You will learn why some breaking waves are image killers while others are actually make an image stronger. The line, as they say, is a fine one. Both of today’s featured images were selected as keepers from the 2434 photos I created during the morning session at DeSoto on 10 April. You can learn about the video below.
|
|
Image #1A: Screen capture showing AF Point for the Laughing Gull in full breeding plumage standing in the shallow Gulf image |
SONY Alpha a1 AF
Set up correctly, the subject detection, face tracking, and animal eye tracking AF system of the a1 is currently second to none. The results above are typical and can usually be obtained effortlessly.
|
|
Image #1B: RawDigger screen capture for the Laughing Gull in full breeding plumage standing in the shallow Gulf image |
RawDigger
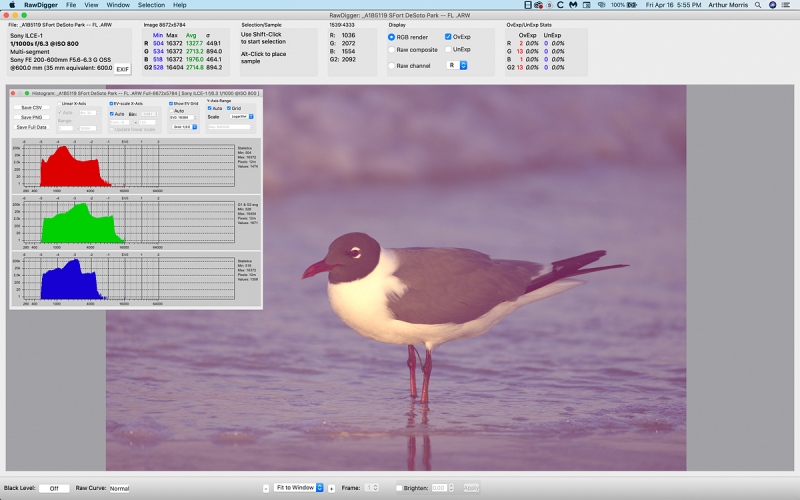
It would be impossible to over-state how much I have learned by studying RawDigger and how much better my exposures have become since I started with the program almost a year ago. The raw file brightness for Image #1 is dead solid perfect with the G channel just inside the 16000 line. The 29 OvExp pixels are all in the specular highlight in the gull’s eye. Those, out of 51,000,000. The brightness of the raw file for Image #2 is about /6 stop too dark. In other words, pretty much perfect.
RawDigger — not for the faint of heart …
Nothing has ever helped me learn to create perfect exposures to the degree that RawDigger has. I think that many folks are reluctant to learn that most of their images are underexposed by one or more full stops and that highlight warnings in Photoshop, Lightroom, Capture One, and your in-camera histogram are bogus as they are based on the embedded JPEGs. Only your raw files tell the truth all the time. Heck, I resisted RawDigger for several years … Once you get over that feeling, RawDigger can become your very best exposure friend no matter what system you are using. On the recent IPTs and In-the-Field sessions, we have demonstrated that fact. Convincingly.
The RawDigger (pink) Adapted Histogram
In the RawDigger e-Guide, you will learn exactly how to set up the Adapted “pink” RawDigger Histogram and how to use it to quickly and easily evaluate the exposure or raw file brightness of images from all digital cameras currently in use. RawDigger was especially helpful to me as I have struggled with R5 exposures and learned my new camera body, the Sony Alpha a1.
|
|
RawDigger e-Guide with Two Videos |
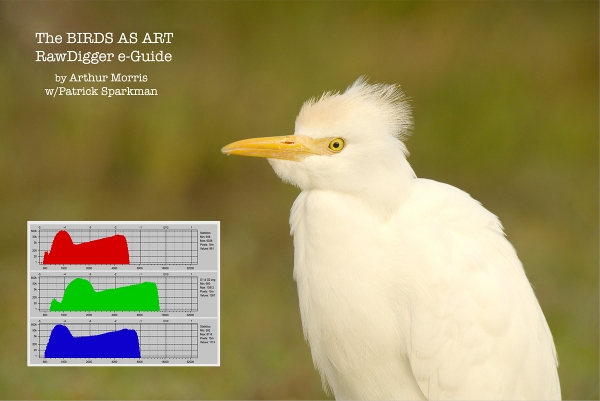
The RawDigger e-Guide with Two Videos
by Arthur Morris with Patrick Sparkman
The RawDigger e-Guide was created only for serious photographers who wish to get the absolute most out of their raw files.
Patrick and I began work on the guide in July 2020. At first we struggled. We asked questions. We learned about Max-G values. We puzzled as to why the Max G values for different cameras were different. IPT veteran Bart Deamer asked lots of questions that we could not answer. We got help from RawDigger creator Iliah Borg. We learned. In December, Patrick came up with an Adapted Histogram that allows us to evaluate the exposures and raw file brightness for all images created with all digital camera bodies from the last two decades. What we learned each time prompted three complete beginning to end re-writes.
The point of the guide is to teach you to truly expose to the mega-Expose-to-the-Right so that you will minimize noise, maximize image quality, best utilize your camera’s dynamic range, and attain the highest possible level of shadow detail in your RAW files in every situation. In addition, your properly exposed RAW files will contain more tonal information and feature the smoothest possible transitions between tones. And your optimized images will feature rich, accurate color.
We teach you why the GREEN channel is almost always the first to over-expose. We save you money by advising you which version of RawDigger you need. We teach you how to interpret the Max G values for your Canon, Nikon, and SONY camera bodies. It is very likely that the Shock-your-World section will shock you. And lastly — thanks to the technical and practical brilliance of Patrick Sparkman — we teach you a simple way to quickly and easily evaluate your exposures and raw file brightness using an Adapted RawDigger histogram.
The flower video takes you through a session where artie edits a folder of images in Capture One while checking the exposures and Max-G values in RawDigger. The Adapted Histogram video examines a series of recent images with the pink histograms and covers lots of fine points including and especially how to deal with specular highlights. The directions for setting up the Adapted Histogram are in the text.
If we priced this guide based on how much effort we put into it, it would sell it for $999.00. But as this guide will be purchased only by a limited number of serious photographers, we have priced it at $51.00. You can order yours here in the BAA Online Store.
|
|
|
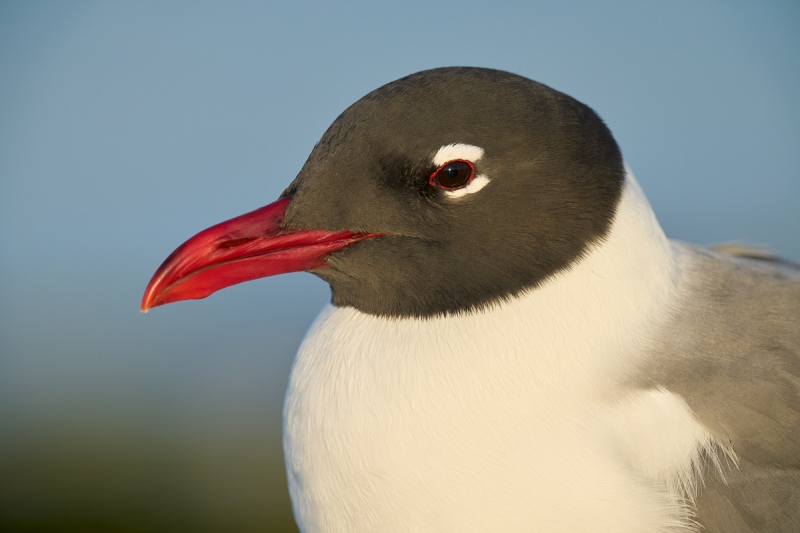
This image was created on 10 April 2021 on the first DeSoto IPT. For this one I used the Induro GIT 304L/Levered-clamp FlexShooter Pro-mounted Sony FE 600mm f/4 GM OSS lens, the Sony FE 2.0x Teleconverter, and The One, the Sony Alpha 1 Mirrorless digital camera. ISO: 1000. The exposure was determined by Zebras with Exposure Compensation on the rear wheel: 1/1000 sec. at f/8 (wide open) in Manual mode. AWB at 7:52am on a clear sunny morning. Wide/AF-C was active at the moment of exposure and again performed to perfection. Image #2: Laughing Gull in breeding plumage head portrait |
Head Hunting
I couldn’t help myself. See so many drop dead gorgeous breeding plumage Laughing Gulls (along with several Royal and Sandwich Terns), I quickly made my way back to my SUV, grabbed my 600 GM, the 2X TC, and my second a1 body and headed back to the beach. The birds are amazingly tame so I sat in the sand and moved around on my butt to get on sun angle. To create Image #2, I pulled the legs of the tripod in a bit to raise the lens and include a strip of the green seaweed along the bottom of the frame.
I am pretty sure that the bird in Image #2 is the most beautiful Laughing Gull I have ever had the privilege to photograph. The good news is that there will be lots more just like this one when I return to Fort DeSoto for the second IPT at the end of this month.
|
|
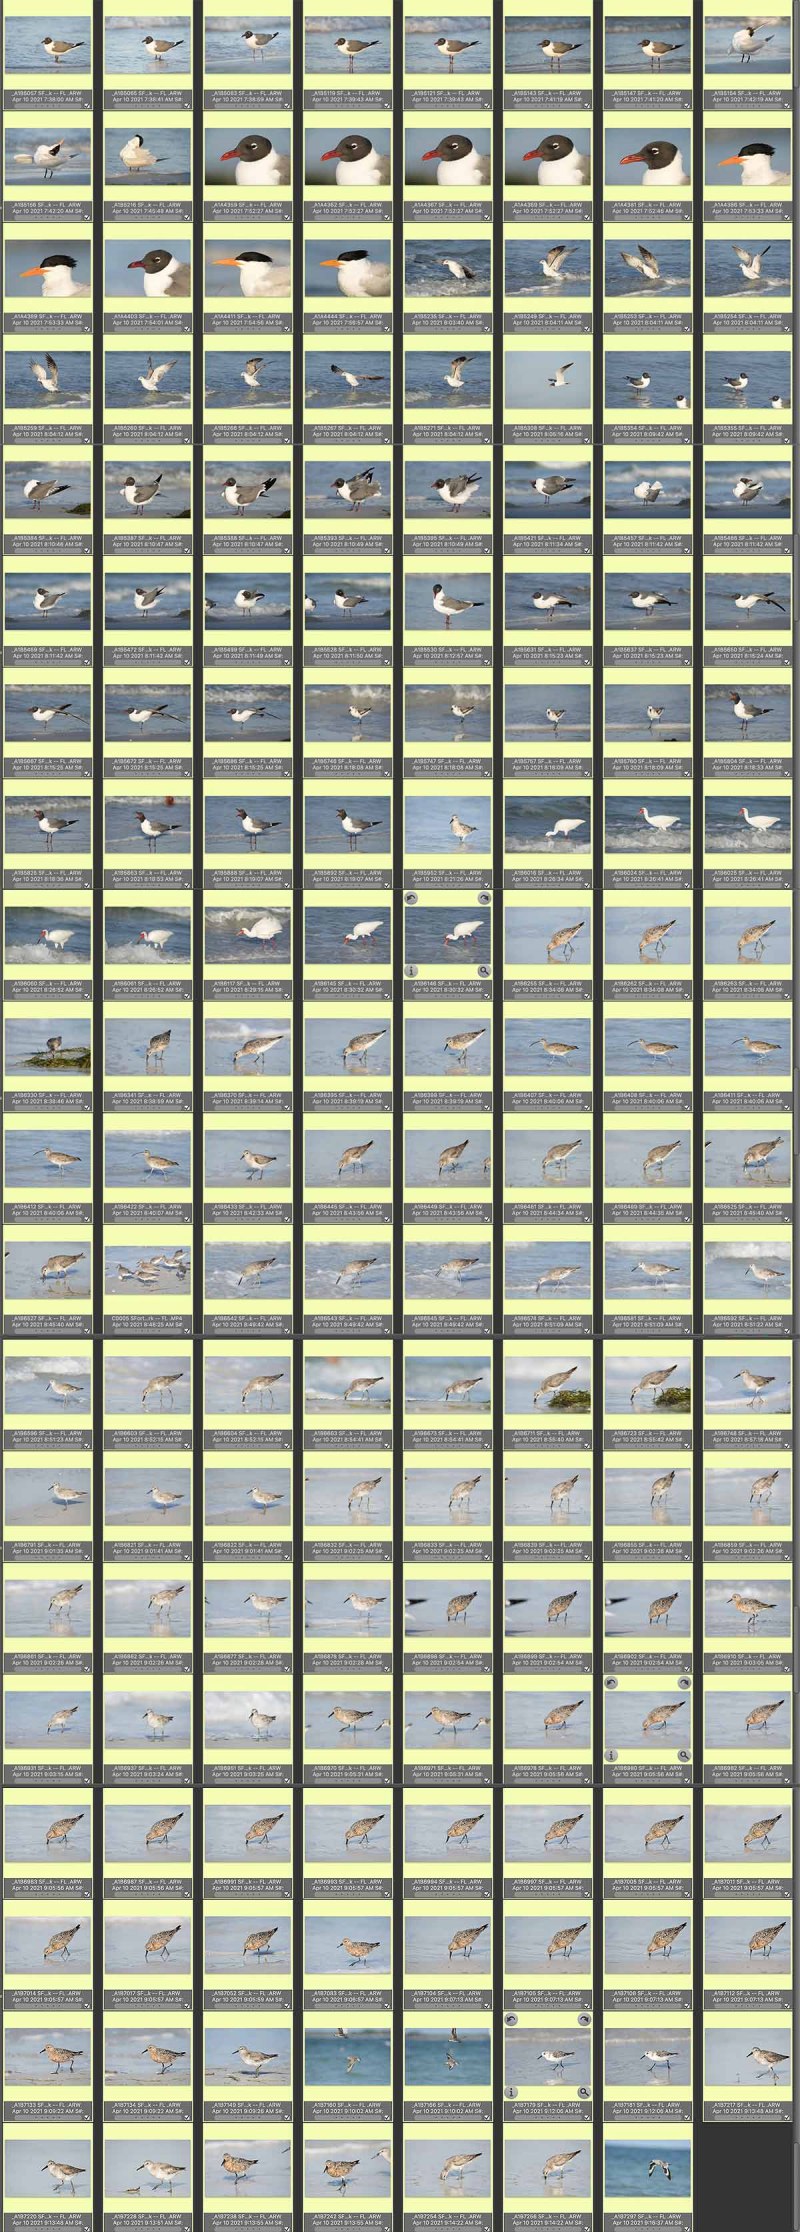
The 159 keepers from 2434 images created during the morning session of the 1st Fort DeSoto IPT on 10 April 2021 |
How Do You Handle So Many Large Image Files at 30 frames per second?
Should I slow down my frame rate so I have fewer images to edit?
You should not slow down your frame rate for bird photography. Ever. The difference between a family jewel and an insta-delete can be miniscule. Things often change dramatically in a tiny fraction of a second. The more frames you have of an action or flight series, and even a seemingly static pose, the greater your chances of getting one that you like. Or love! The DeSoto Picking Your Keepers Video below can help you to dramatically improve your editing skills.
I have been suggesting for two decades that folks need to edit their folders in a timely fashion. That usually means getting the work done before they head out to the next session. If you get behind you will quickly be buried by thousand of 45 and 50MP files …
The Laughing Gull/Red Knot (and more) DeSoto Picking Your Keepers Video
$30.00 here in the BAA Online Store
On 12 April — a DeSoto IPT morning session — I wound up with 238 keepers out of 3729 images. I still have a 1756 image file from 7 April and an 1149 image folder from 6 April to edit. Both of those from Stick Marsh. I think that I will combine the spoonbill flight shots from those two and do a second picking your keepers video for blurs and flight shots.
With the popularity of the mega-high megapixel/blazingly fast frame rate camera bodies, you need to be able to pick your keepers quickly and efficiently to avoid being buried in tens of thousands of images and to keep from filling so many hard drives that you cannot find a single image. I have lots of friends in that situation … The Canon R5 (20 fps @ 45MP) and the Sony Alpha a1 (30 fps at 51MP) are the main culprits. I think that John Johnson created more than 7000 images during the morning session on 10 April. (Oh, what a morning that was!) But even 15 fps bodies @ 22 or 24 MP can swamp you quickly if your editing (picking your keepers) skills are sub-par. And though storage is cheap, it is easy to fill multiple HDs in todays’ world. The only solution to these problems is to learn to edit quickly and ruthlessly.
In the Laughing Gull/Red Knot DeSoto Picking Your Keepers Video, you will sit at my side as I blaze through the two thousand four hundred thirty four images in Capture One, tagging the keepers and then deleting the untagged rejects. Many folks have asked, Why not tag the rejects to be deleted rather than tag the keepers? A look at the stats above provide the answer: on average, I am deleting well more than 90% of the images I create. Tagging the keepers is a lot less work!
As regular readers know, I am forced to pick my keepers in Capture One because SONY does not embed a full sized JPEG into each raw file. Canon and Nikon both embed a full-sized JPEG in each raw file at the moment the image is created. Without a large embedded JPEG in all of my SONY image files, they cannot be enlarged to check the sharpness in either Photo Mechanic or BreezeBrowser. But the stuff you will learn on the video will help you with your editing regardless of the browsing program that you use. My methods will even work in PhotoShop Bridge or Lightroom.
In the video, I let you know why I chose to keep one or two images from a ten or fifteen frame sequence while deleting many similars. Two huge factors involved are head angle and the position of breaking waves or wavelets. Both are discussed at great length. The video is one hour, thirteen and one-third minutes long. Rest assured that had I not been yakking so much to teach y’all what to look for, it would have taken me just a fraction of that time to edit the 2434 images. In fact, when I picked my 12 April morning keepers from the 3729 captures, it took me exactly 21 minutes (on the clock!)
You will see how the bird’s nictitating membrane can ruin an image. You will learn that faulty compositions and clipped wingtips or feet result in insta-deletes. You will see that my single biggest problem is placing the bird too low in the frame … You will learn my shooting strategies — when and why I hold the shutter button down on occasion. You will see how a second bird intruding into the frame will usually but not always result in a deletion. There is also lots of natural history and ID info in the video, along with processing strategies and tips.
You can purchase your copy of the Laughing Gull/Red Knot (and more) DeSoto Picking Your Keepers Video here in the BAA Online Store. Or you can order by calling Jim at 863-221-2372 with your credit card in hand.
Typos
With all blog posts, feel free to e-mail or to leave a comment regarding any typos or errors.



Number 2 for me. The colors in the head, bill, ring around the eye and white feathers pop against the blue and green in the background.
It is the head portrait for me. Including the green on the bottom of the image really does it. The complimentary red around the eye stands out well. Definitely one of the nicest images I have seen in a while.
#2, portrait. To me, #1 is just another bird on the beach shot. Very common.
Love the portrait 🙂 I especially like how you composed the shot with the background colors in mind. Really makes a difference rather than having just a plain blue background.
Portrait for me too because both bird and camera eye levels are on the same plane making a strong connection between viewer and bird. Gorgeous bird and soft background with vegetation strip along the bottom, not halfway up the bird. That low green strip emphasizes the bird’s size. An all blue background would lessen the bird’s size and connection with the viewer. Beautiful.
Art: Hard to choose between two such different images, both equally well executed. But, I’m going with the portrait — it has such an intimate feel.
Though I like both images, my litmus test is always which image would I rather have on the wall greeting my guests. Though some “environmental” images are quite powerful, the head shot is the winner here for color, impact, and primacy.