
Backstories & More on the Sony α UNIVERSE Article Images
As regular readers know, I was honored recently when my Mastering Avian Flight Photography with Sony Alpha Gear article was featured on the Sony α UNIVERSE website. In this 10-minute video, I walk you through each image in detail — sharing key flight photography lessons and discussing alternative exposure methods for helping those folks not using Sony Zebra technology.
Interested in joining me for In-the-Field instruction? Text 863-221-2372 for details on upcoming trips!
Note: with the Common Tern backshot in the fog, I should have said, “I made hay while the sun did not shine.”
Note also: Copy editing, re-crafting, technical refinement, and formatting for this blog post and the article were assisted by Gemini AI.
What’s Up?
On Monday and Tuesday morning past, I got some really neat stuff on Black Vulture; I will be sharing some of those images here with you soon under the guise of “working the subject.” On Tuesday evening, I had dinner with my friend of more than two decades, Kay Kaylor. We dined at the wonderful Oar Restaurant in Vero Beach.
On Wednesday morning, I visited Sebastian Inlet State Park to check out the new bridge situation. Ladies and gentlemen, fall Osprey photography for the next six years will be far more difficult than it has been. We will no longer be able to hop in our cars and get from the South Jetty to the Northwest Cove in five minutes. It is looking pretty much as if you will need to walk close to 1/2 mile over a soft sand beach to access the South Jetty. And access to Northwest Cove is currently quite limited (and might very well get worse as time goes by).
I still need to get packing for my AUTO Train trip on Saturday; I will be spending nearly all of August at Nickerson Beach photographing skimmers, terns, oystercatchers, and more. Whatever you opt to do, I hope that you choose to have fun and enjoy life. Please remember that happiness is a choice — Byron Katie – The Work.Com
If an item — a Delkin flash card or reader, a Levered-clamp FlexShooter Pro, or a Wimberley lens plate or low foot — for example, that is available from B&H and/or Bedfords, is also available in the BAA Online Store, it would be great, and greatly appreciated, if you would opt to purchase from us. We will match or beat any price. Please remember also to use my B&H affiliate links or to earn 3% cash back at Bedford by using the BIRDSASART discount code at checkout for your major gear purchases. Doing either often earns you free guides and/or discounts. And always earns my great appreciation.
Gear Questions and Advice
Too many folks attending BAA IPTs and dozens of photographers whom I see in the field and on BirdPhotographer’s.Net, are — out of ignorance — using the wrong gear, especially when it comes to tripods and more especially, tripod heads. And the same is true in spades when ordering new camera bodies or lenses. My advice will often save you some serious money and may help you avoid making a seriously bad choice. Please know that I am always glad to answer your gear questions via e-mail. If you are desperate, you can try me on my cell at 863-221-2372. Please leave a message and shoot me a text if I do not pick up.
|
|
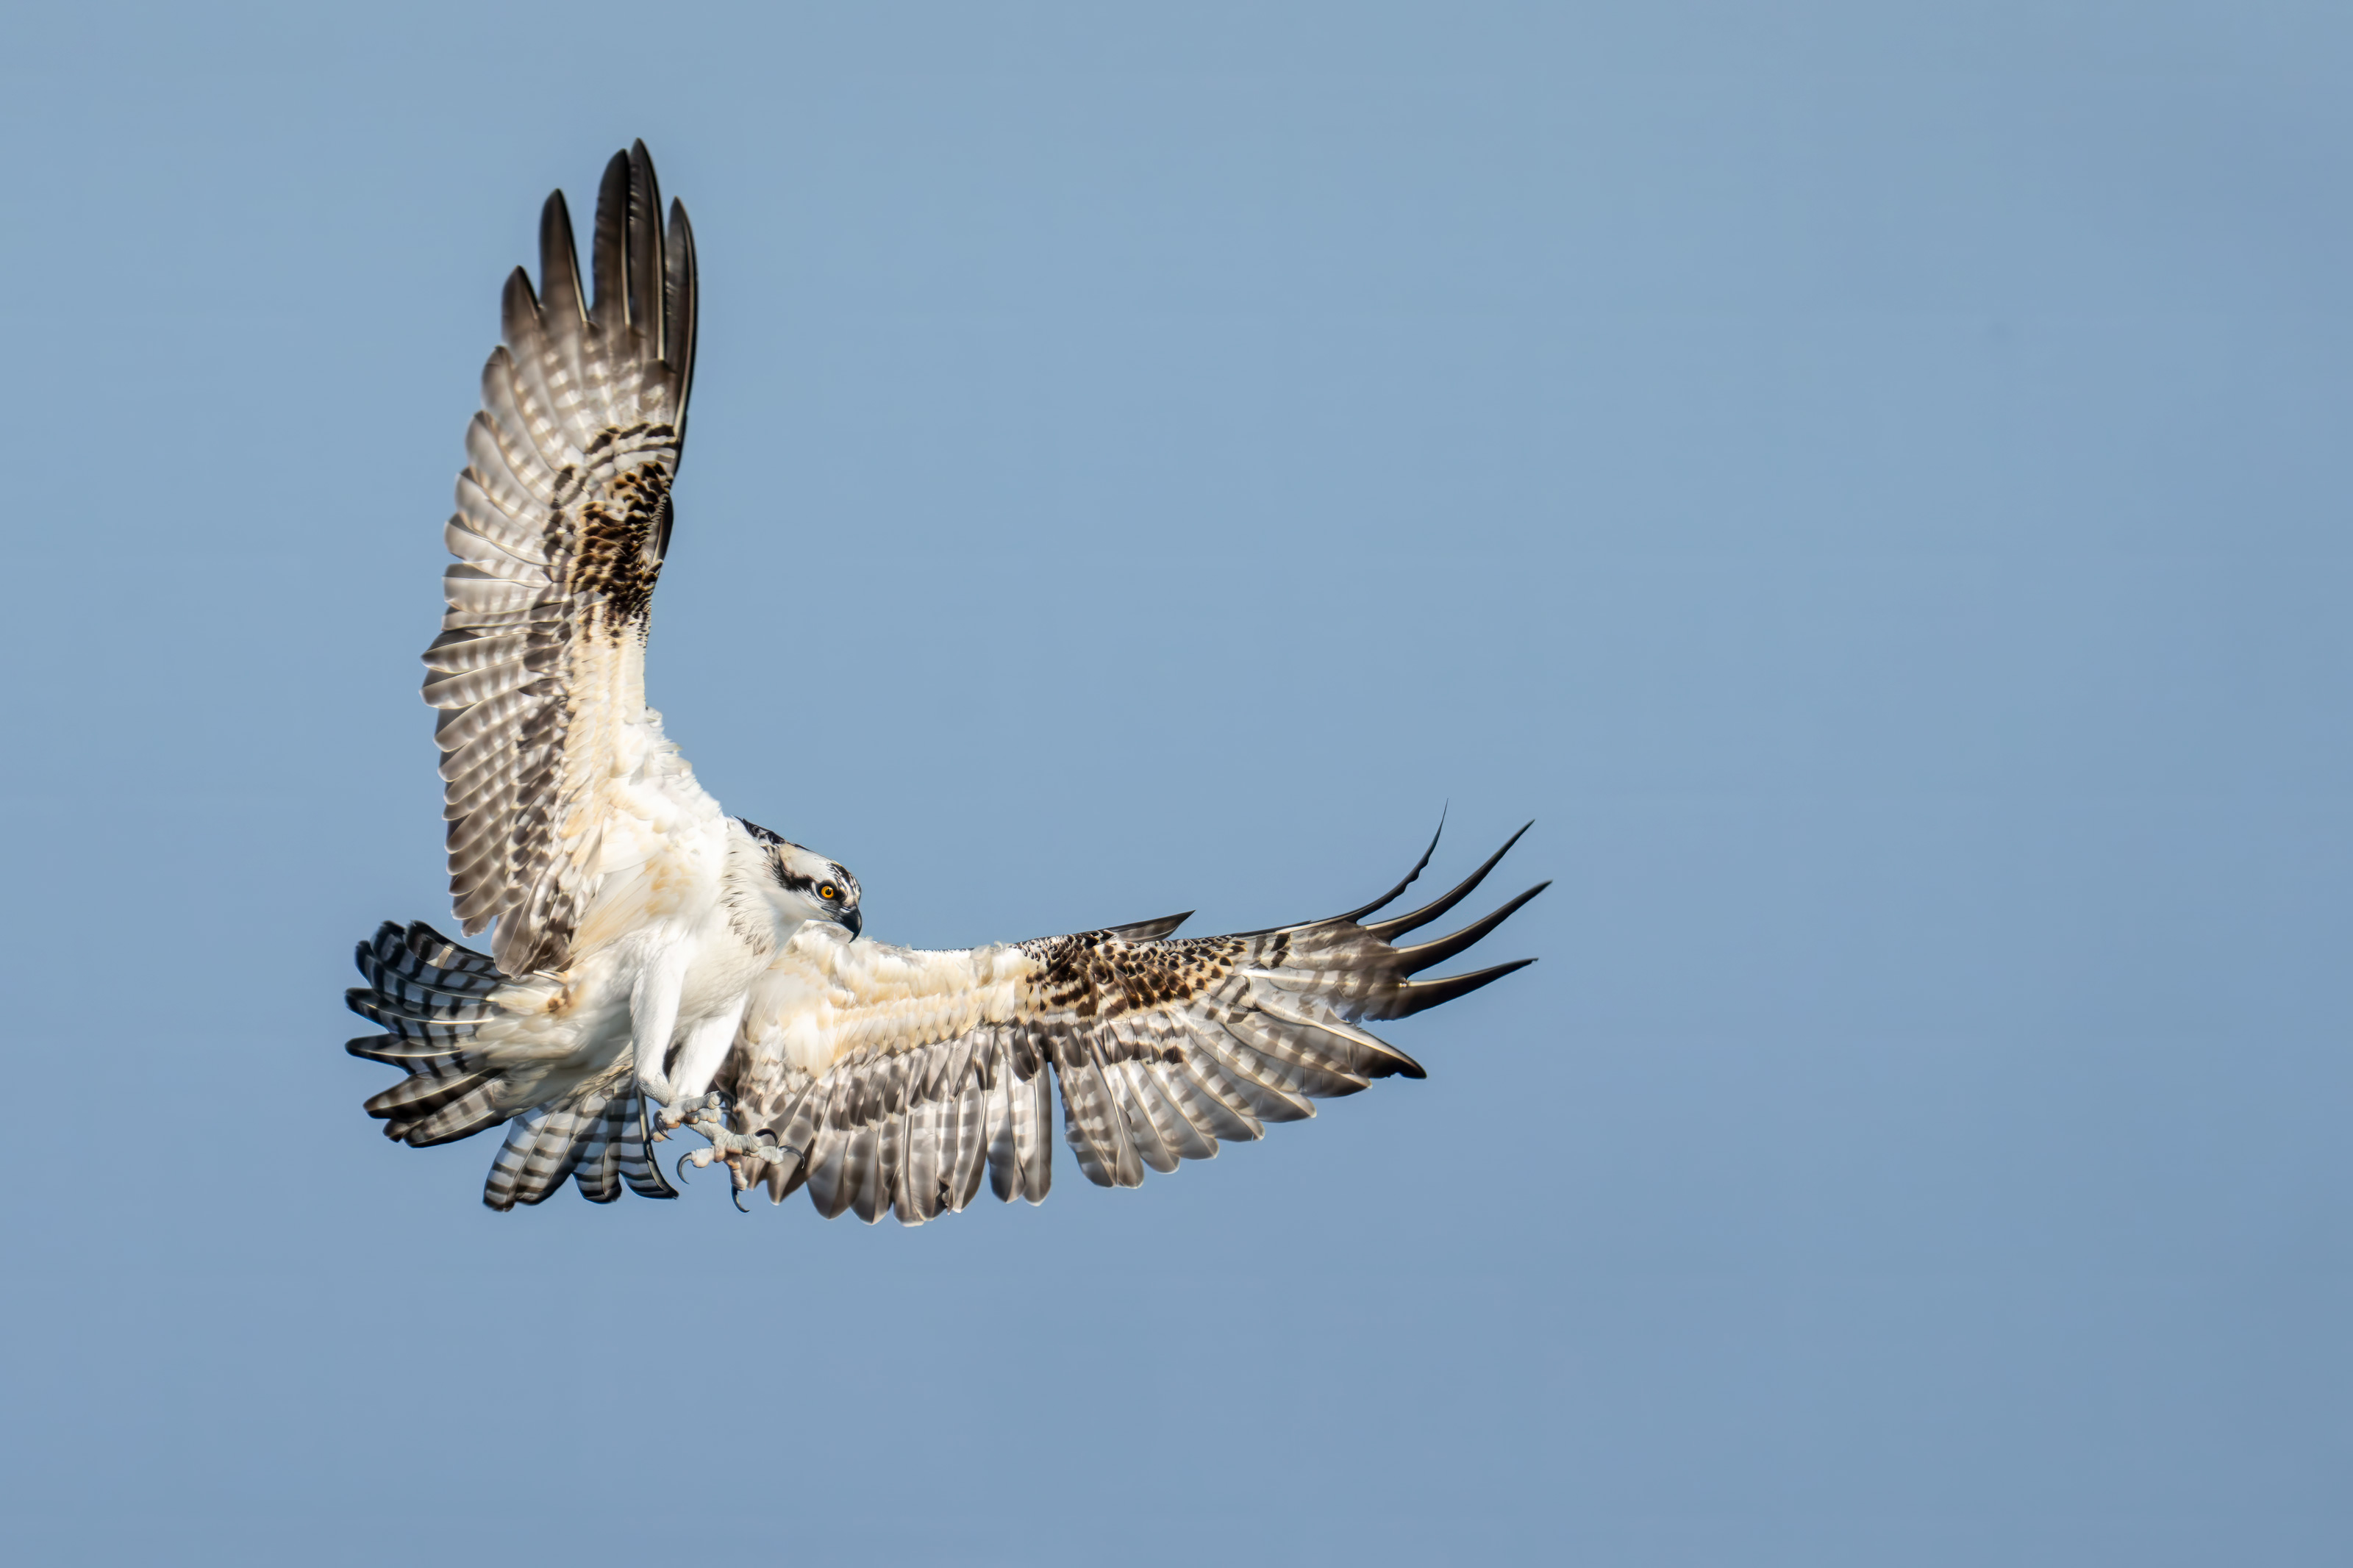
This image was created on 24 July 2026 by yours truly down by the lake near my home at Indian Lake Estates, FL. Standing at full height on the beach at South of the Pier Bay, I used the handheld Sony FE 100-400mm f/4.5 GM OSS lens with the Sony FE 2x Teleconverter (at effective 1020mm) and The Latest Greatest Sony Flagship Body, the a-1 II Mirrorless Camera (in APS-C crop mode). The exposure was determined by Zebras with ISO on the rear wheel. ISO 2500: 1/3200 second at f/9 (wide open) in Manual mode. AWB at 8:05:45am on sunny morning. Wide/AF-C with Bird-Eye/Face Detection performed perfectly. Click on the image to enjoy the larger high-res version. Image #1 and only: Osprey with talons extends while landing on pier railing |
Shoot Flight Aggressively!
In the days of film, I would never have even considered pressing the shutter button on this one. My brain has never forgotten that back in the year 2000 — factoring in the cost of film and processing — it cost 52 cents every time you pressed the shutter button. That was more than $18 a roll!
But I am getting better. As noted in the video, the bird was at least 30 degrees off the sun angle. With digital, though, you have absolutely nothing to lose. I fired off 15 frames, and 14 of them were insta-deletes.
The lesson: Be aggressive when photographing birds in flight! If you wait for everything to be perfect, you will wind up with nothing nine times out of ten. And remember: digital is free. (Not counting the $10K, $20K, or $30K you’ve spent on gear, of course!)
|
|
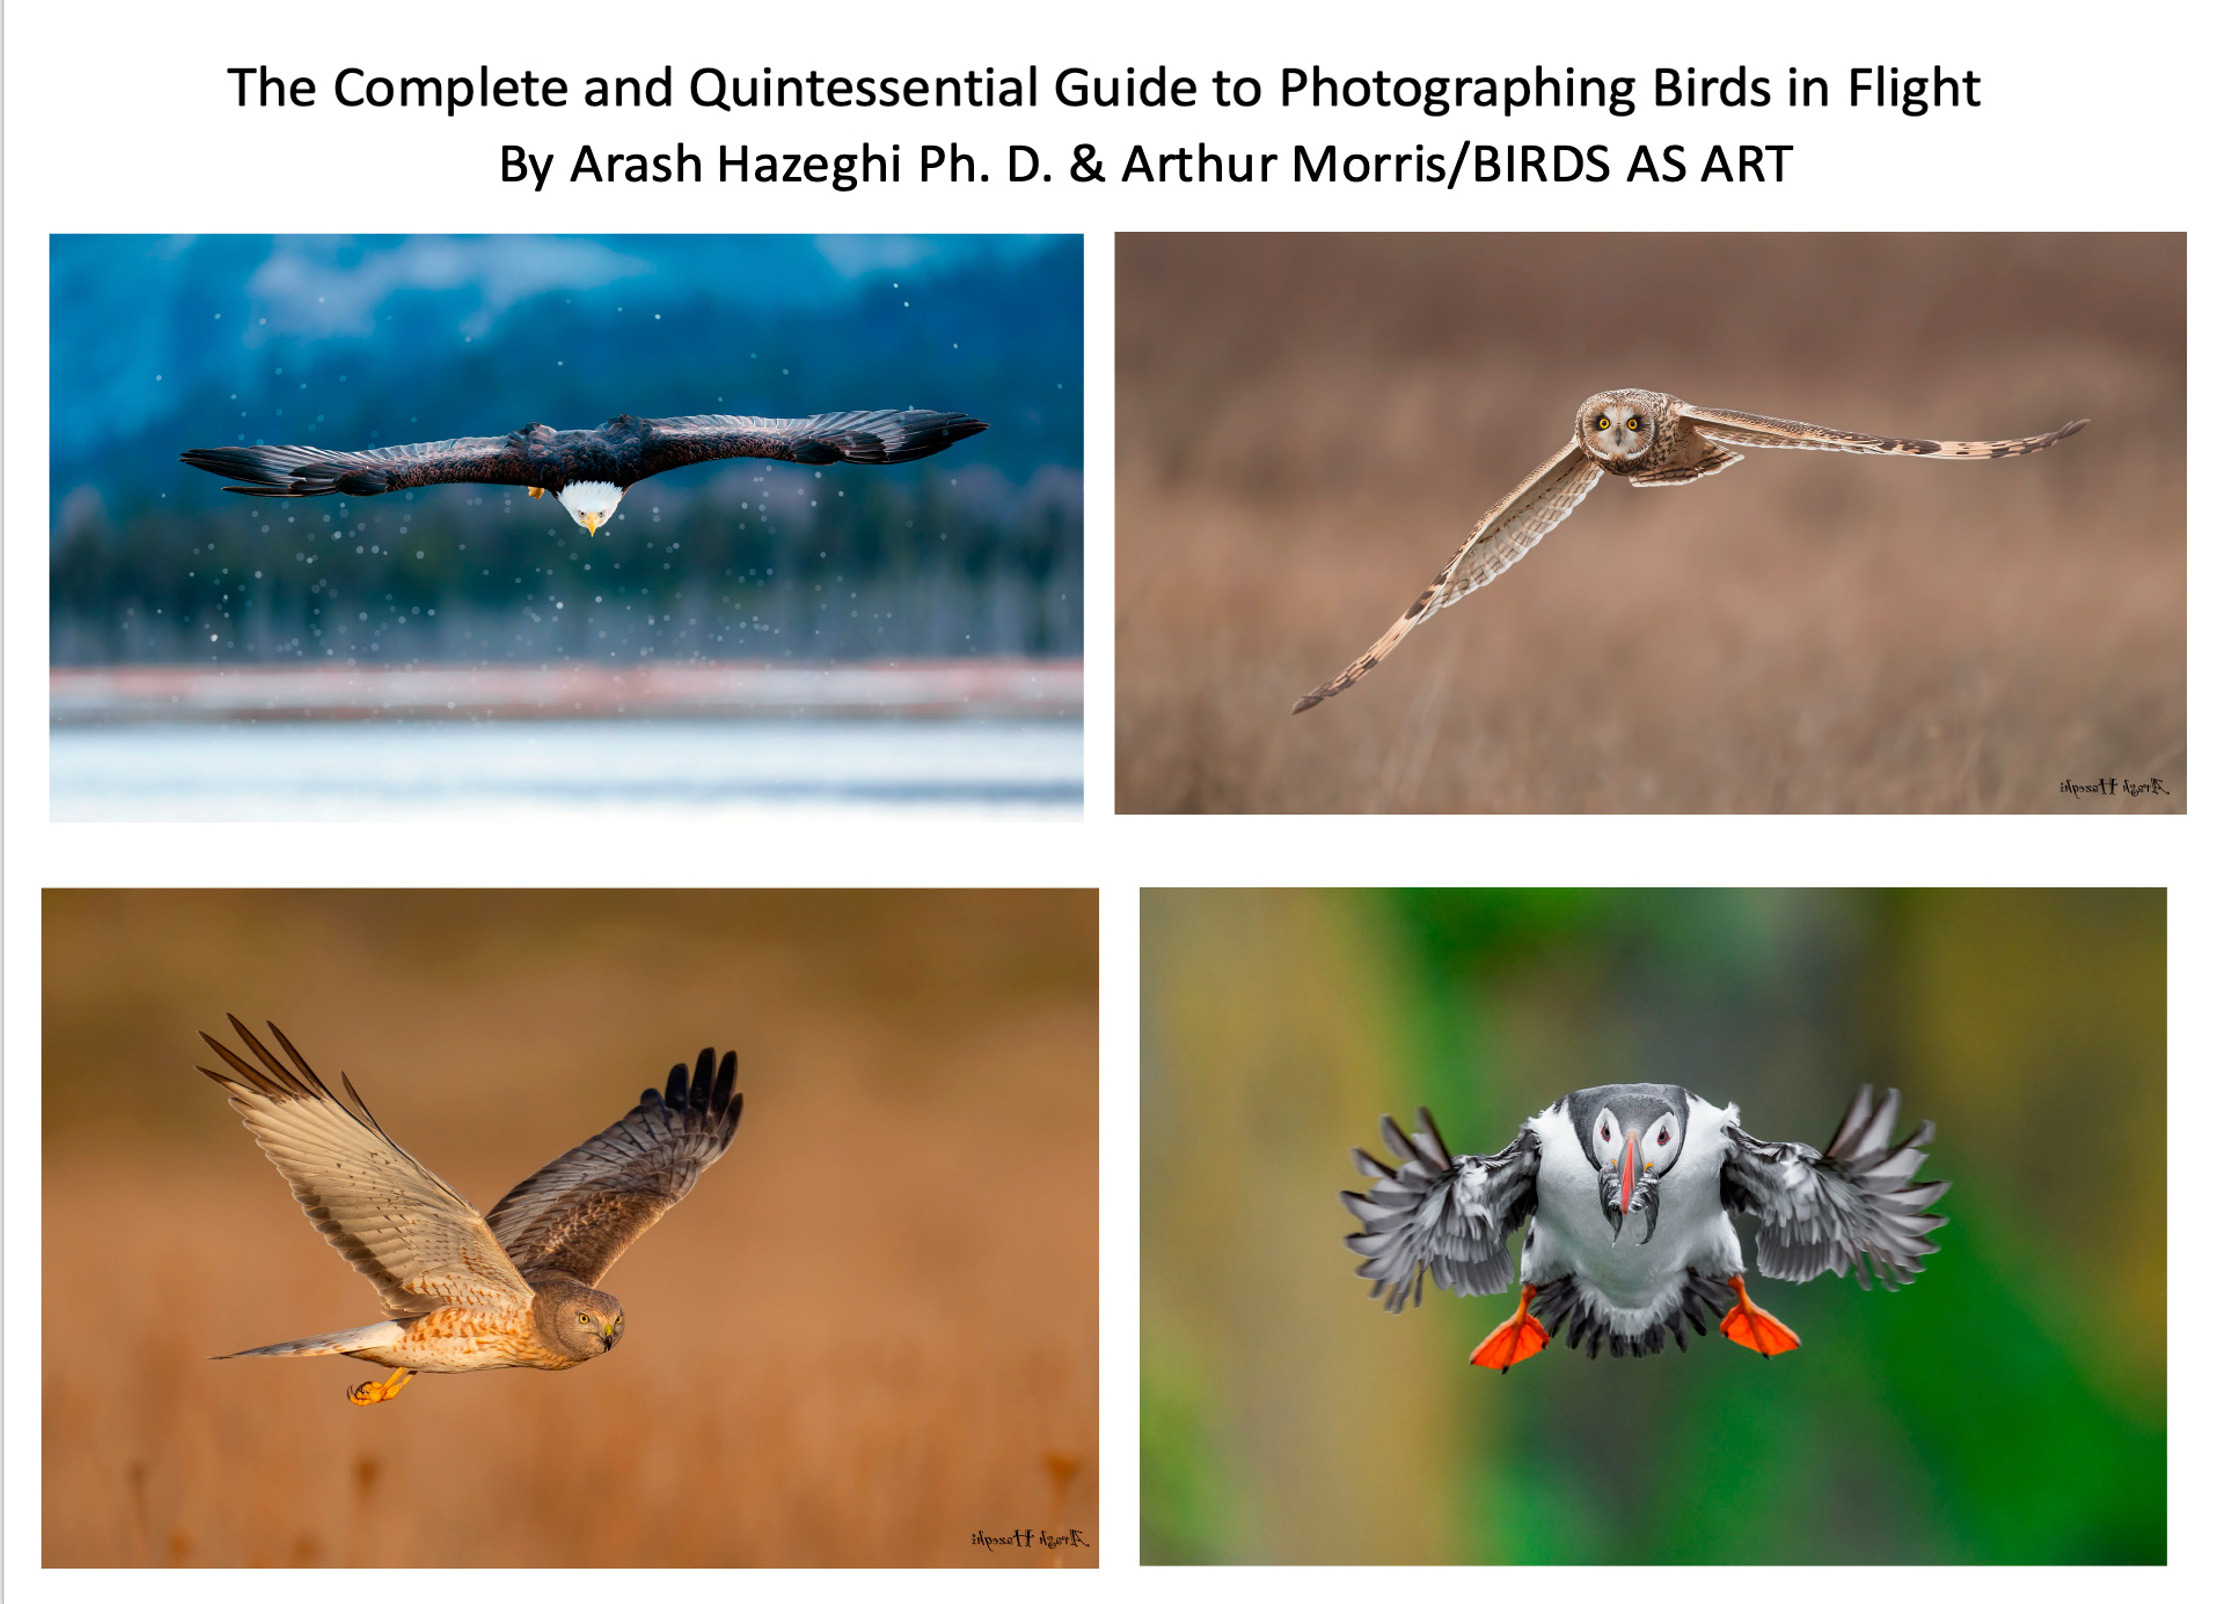
The title says it all. Purchase your copy here. The Complete and Quintessential Guide to Photographing Birds in Flight
|
The Complete and Quintessential Guide to Photographing Birds in Flight: $99.00
I had long dreamed of becoming a great flight photographer. When using dSLR gear, making sharp images was a huge problem. Most of the time, the camera bodies simply were not up to snuff. Things have changed dramatically with mirrorless technology. The high-end mirrorless camera bodies now feature science fiction-like autofocus systems and frame rates of 30, 40, and even 125 fps. Nowadays, getting the eye sharp is no longer a problem. The problem more often involves selecting the strongest image from a long series of sharp images.
The truth, however, is that there is a lot more than owning a Canon EOS R1, a Nikon Z9, or a Sony a-1 ii to consistently creating great photographs of birds in flight. Some of the biggest factors to success include gear choice, shooting strategies, and understanding the importance of sky conditions and wind speed and direction. Once you have the techniques and technical aspects down pat and can routinely create sharp images, learning the importance of flight poses, wing positions, backgrounds, and subject placement and image design enable you to create and then select superb flight images. And you guessed it, each of those topics and tons more are covered in detail in The Complete and Quintessential Guide to Photographing Birds in Flight.
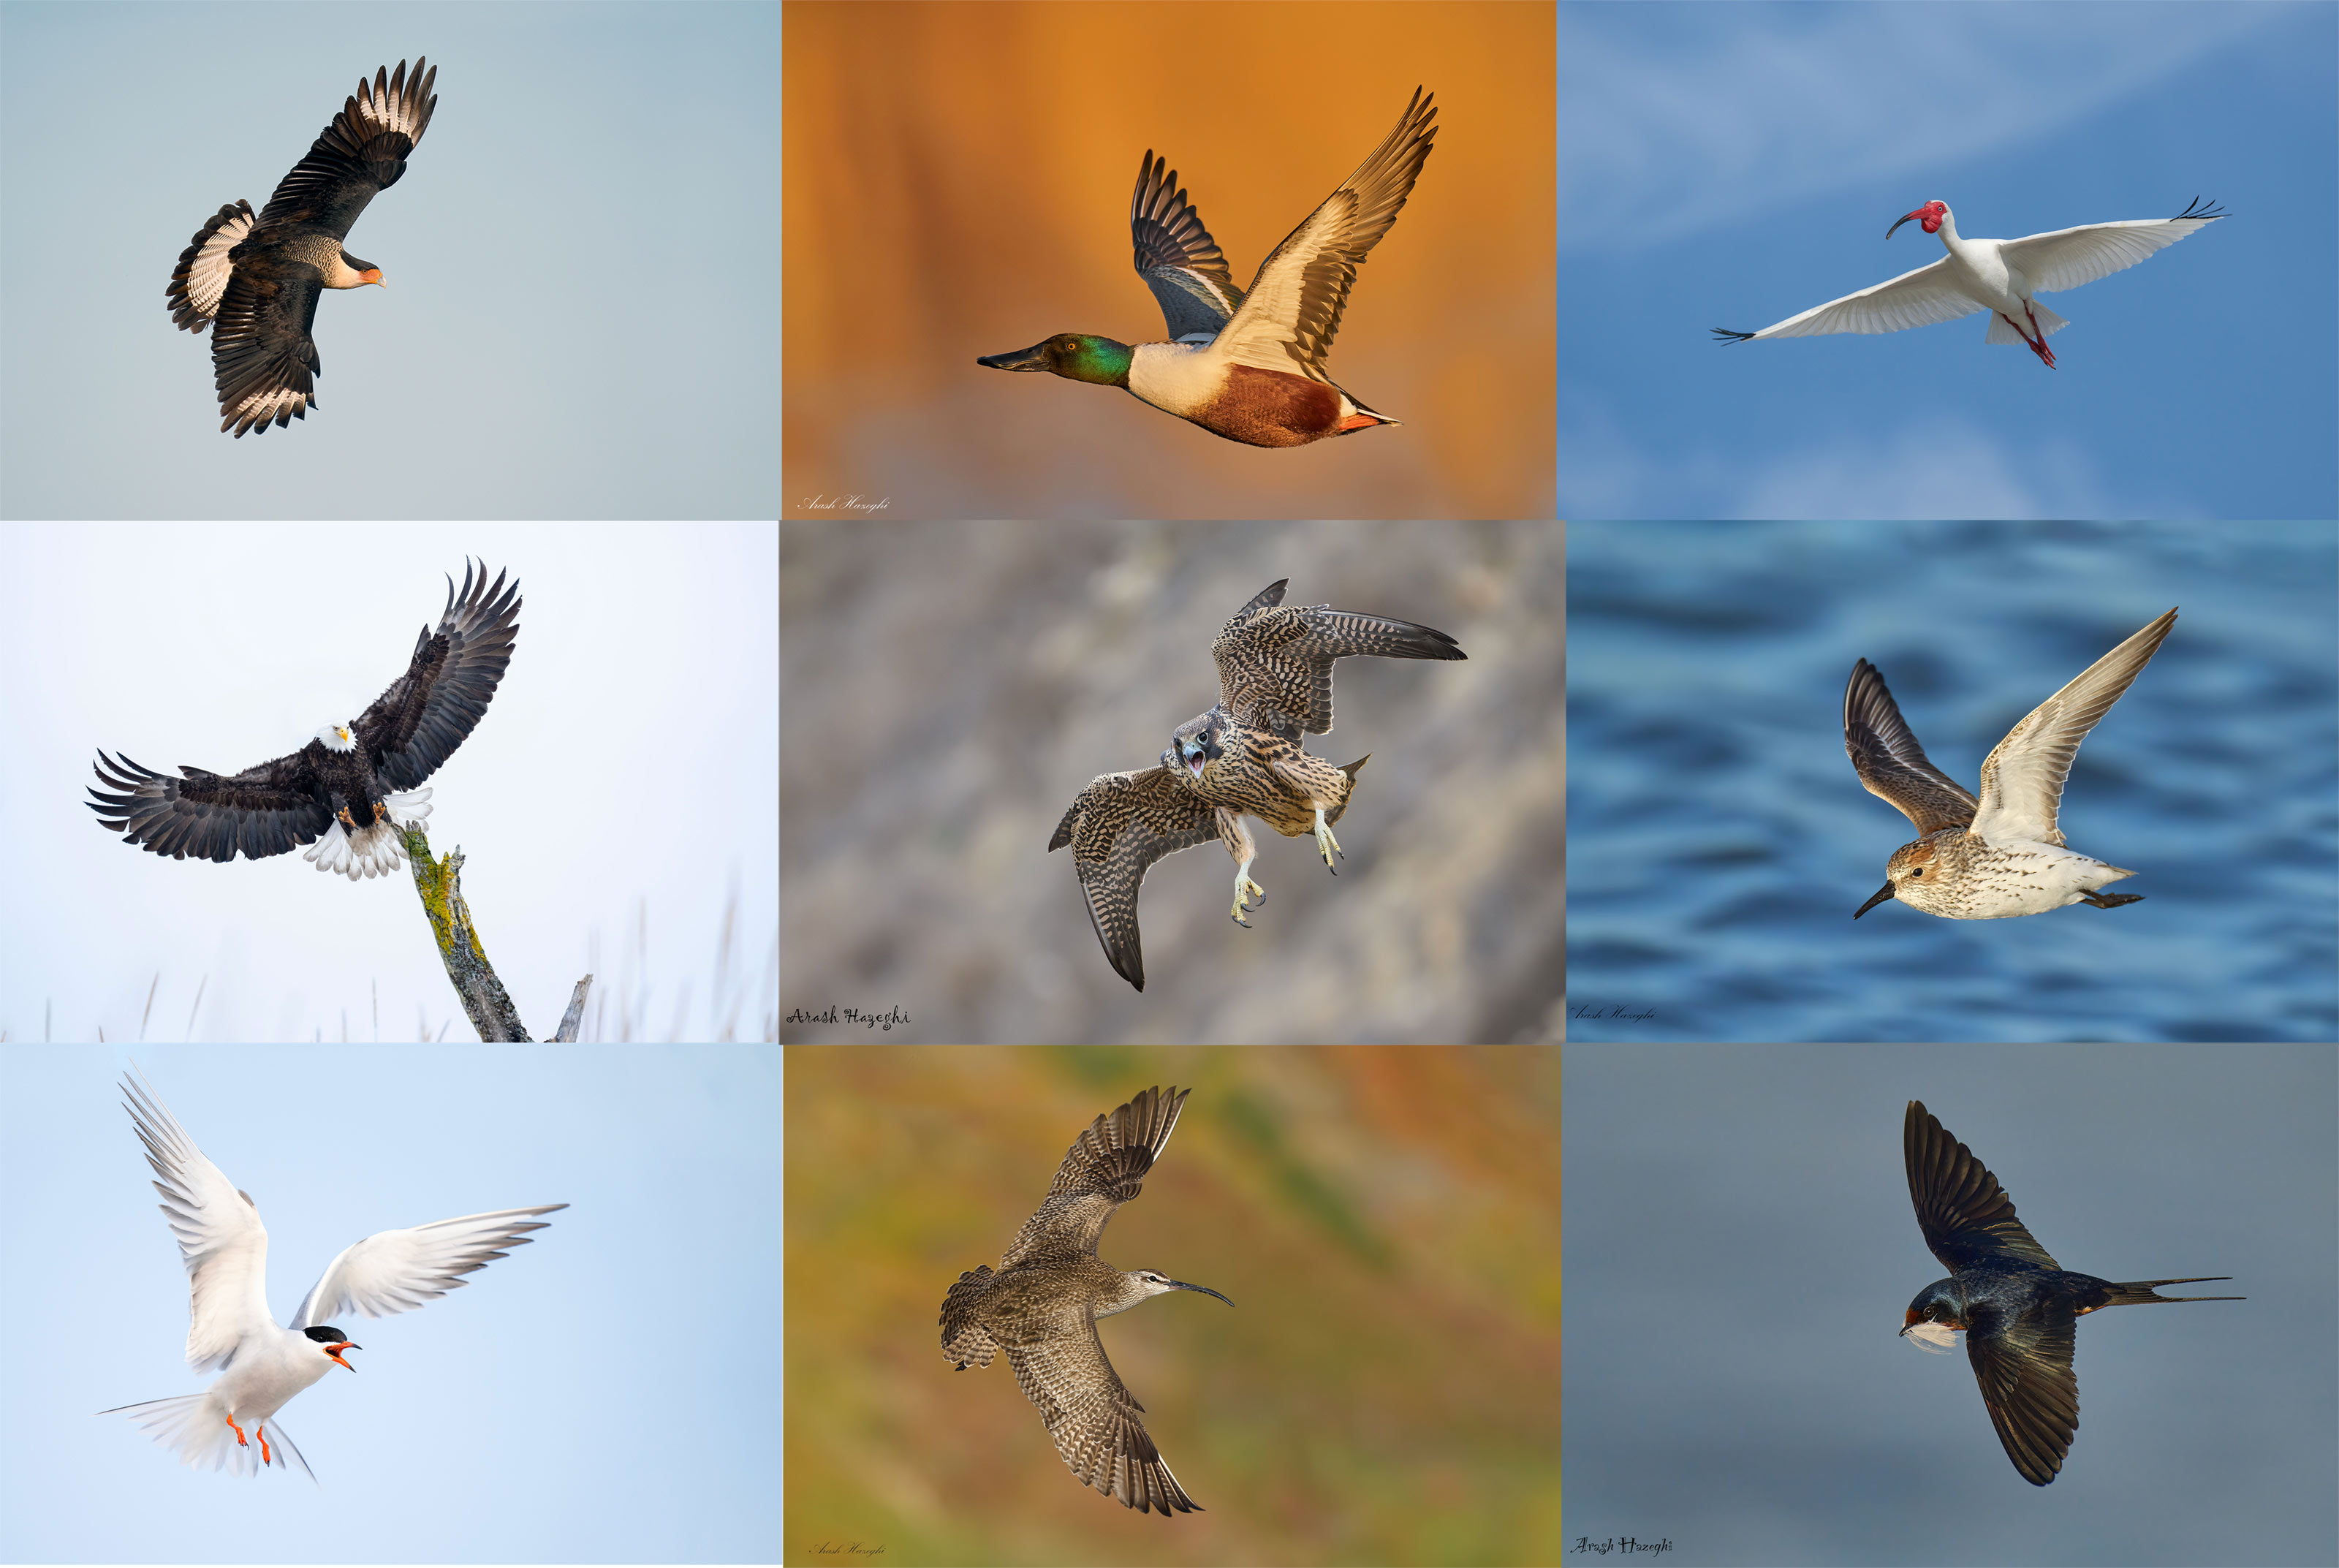
The guide consists of 267 pages and 21,013 words. There are 82 illustrative photos scattered throughout the text, two screen captures, and a 112-image gallery that includes examples created by Canon, Nikon, and mostly Sony gear. As seen above, each of the 194 inspirational photos is labeled with an educational caption.
You can purchase your copy here for $99.00.
Arash Hazeghi
Arash Hazeghi, Ph.D. is a principal electron device engineer. He received his Ph.D. degree in Electrical Engineering in 2011, from Stanford University, Stanford, California. His pioneering research on Carbon Nanotubes has been cited many times. In the past decade, Arash Hazeghi has been a major contributor to the research and the development of some of the most cutting-edge technologies introduced by Silicon Valley’s most reputable names including SanDisk, Intel and Apple.
More relevant here is that he is widely recognized as one of the world’s best birds in flight photographers. He specializes in raptors and the technical aspects of bird photography.
|
|
Flight photography is a skill that can be studied, practiced, and learned. Learn to get better in The Complete and Quintessential Guide to Photographing Birds in Flight |
The Complete and Quintessential Guide to Photographing Birds in Flight
By Arash Hazeghi Ph.D., and Arthur Morris/BIRDS AS ART
What you will learn (about):
-
1- Weight and handholding super-telephoto lenses.
2- Weight and handholding intermediate telephoto and telephotos zoom lenses.
3- Choosing the right flight photography lens or lenses for you.
4- The importance of focal length for flight photography.
5- The importance of lens speed (the maximum aperture for flight photography.
6- Choosing between fixed focal lengths and zoom lenses for flight photography.
7- The importance of AF speed and performance for flight photography.
8- Handholding tips and techniques.
9- Shooting flight off a tripod with the Levered-clamp FlexShooter Pro.
10- Flight poses and wing positions.
11- Why artie changed his mind about the 400mm f/2.8 lenses for flight and more.
12- The advantages and disadvantages of using teleconverters for flight photography.
13- Why to stay away from off-brand lenses.
14- Understanding the importance of wind direction and speed for flight photography.
15- The relationship between sky conditions and wind direction and how it affects flight photography.
16- Creating flight silhouettes in wind-against-sun conditions.
17- The importance of being on sun angle for flight photography (and avoiding harsh shadows).
18- Tips on doing flight photography in cloudy, foggy, or overcast conditions.
19- About the direction of light in cloudy, foggy, or overcast conditions and how it affects flight photography.
20- How your understanding of bird behavior can dramatically improve your flight photography.
21- Tips on attracting birds for flight photography.
22- What to do when your camera’s AF system is temporarily blind.
23- The vital importance of pre-focusing.
24- How Direct Manual Focus can help you with flight photography.
25- The importance of shooting aggressively when doing flight photography.
26- Everything that you need to know with regards to rest positions for flight photography.
27- The importance of getting low when doing flight in many situations.
28- Getting the right exposure when doing flight photography.
29_ Why to use Manual mode 95% of the time for flight.
30- Tips on finding the bird in the frame, acquiring focus, and tracking the bird in flight.
31- How to set and best utilize your lens’s image stabilization feature (and why).
32- Setting the focus range limiter switch on your flight lens or lenses.
33- To choose the best shutter speed for photographing birds in flight.
34- The vital importance of pre-focusing. And yes, this is so important that it is on the list twice.
You can purchase your copy here.
|
|
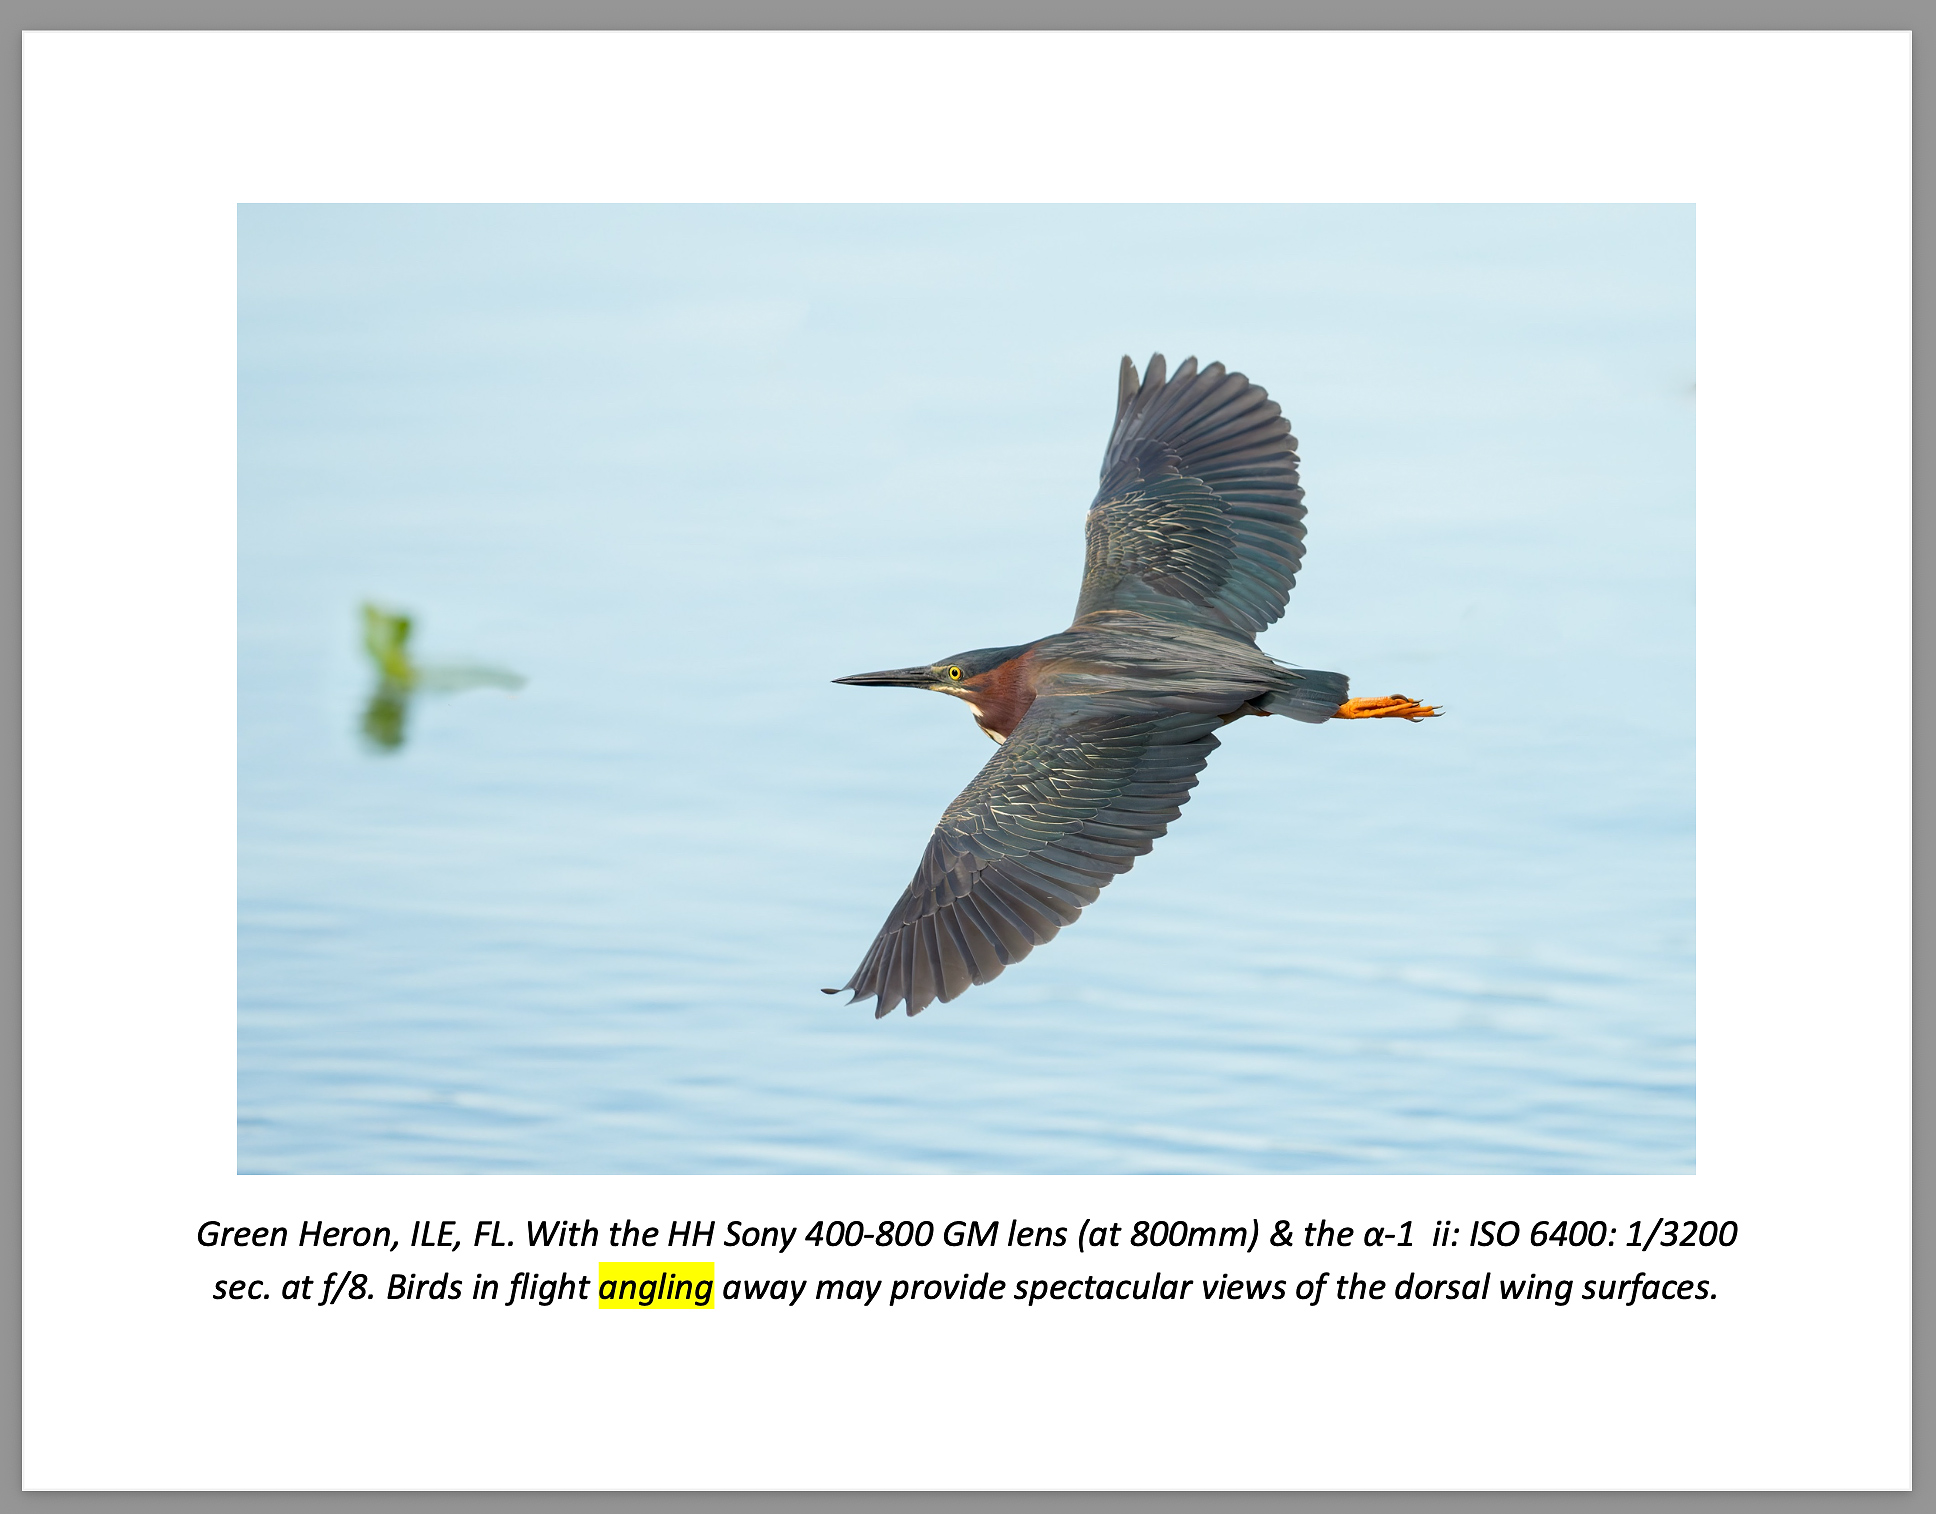
Sample Page #1. Image copyright 2024: Arthur Morris/BIRDS AS ART, the senior author. Page 254 of The Complete and Quintessential Guide to Photographing Birds in Flight |
Sample Page #1
Birds in flight that are flying away from you may at times provide spectacular views of the dorsal wing surfaces.
|
|
Image copyright 2024: Arthur Morris/BIRDS AS ART, the senior author. Sample pages #2 & 3. Pages 106 & 107 of The Complete and Quintessential Guide to Photographing Birds in Flight |
Sample pages #2 & 3
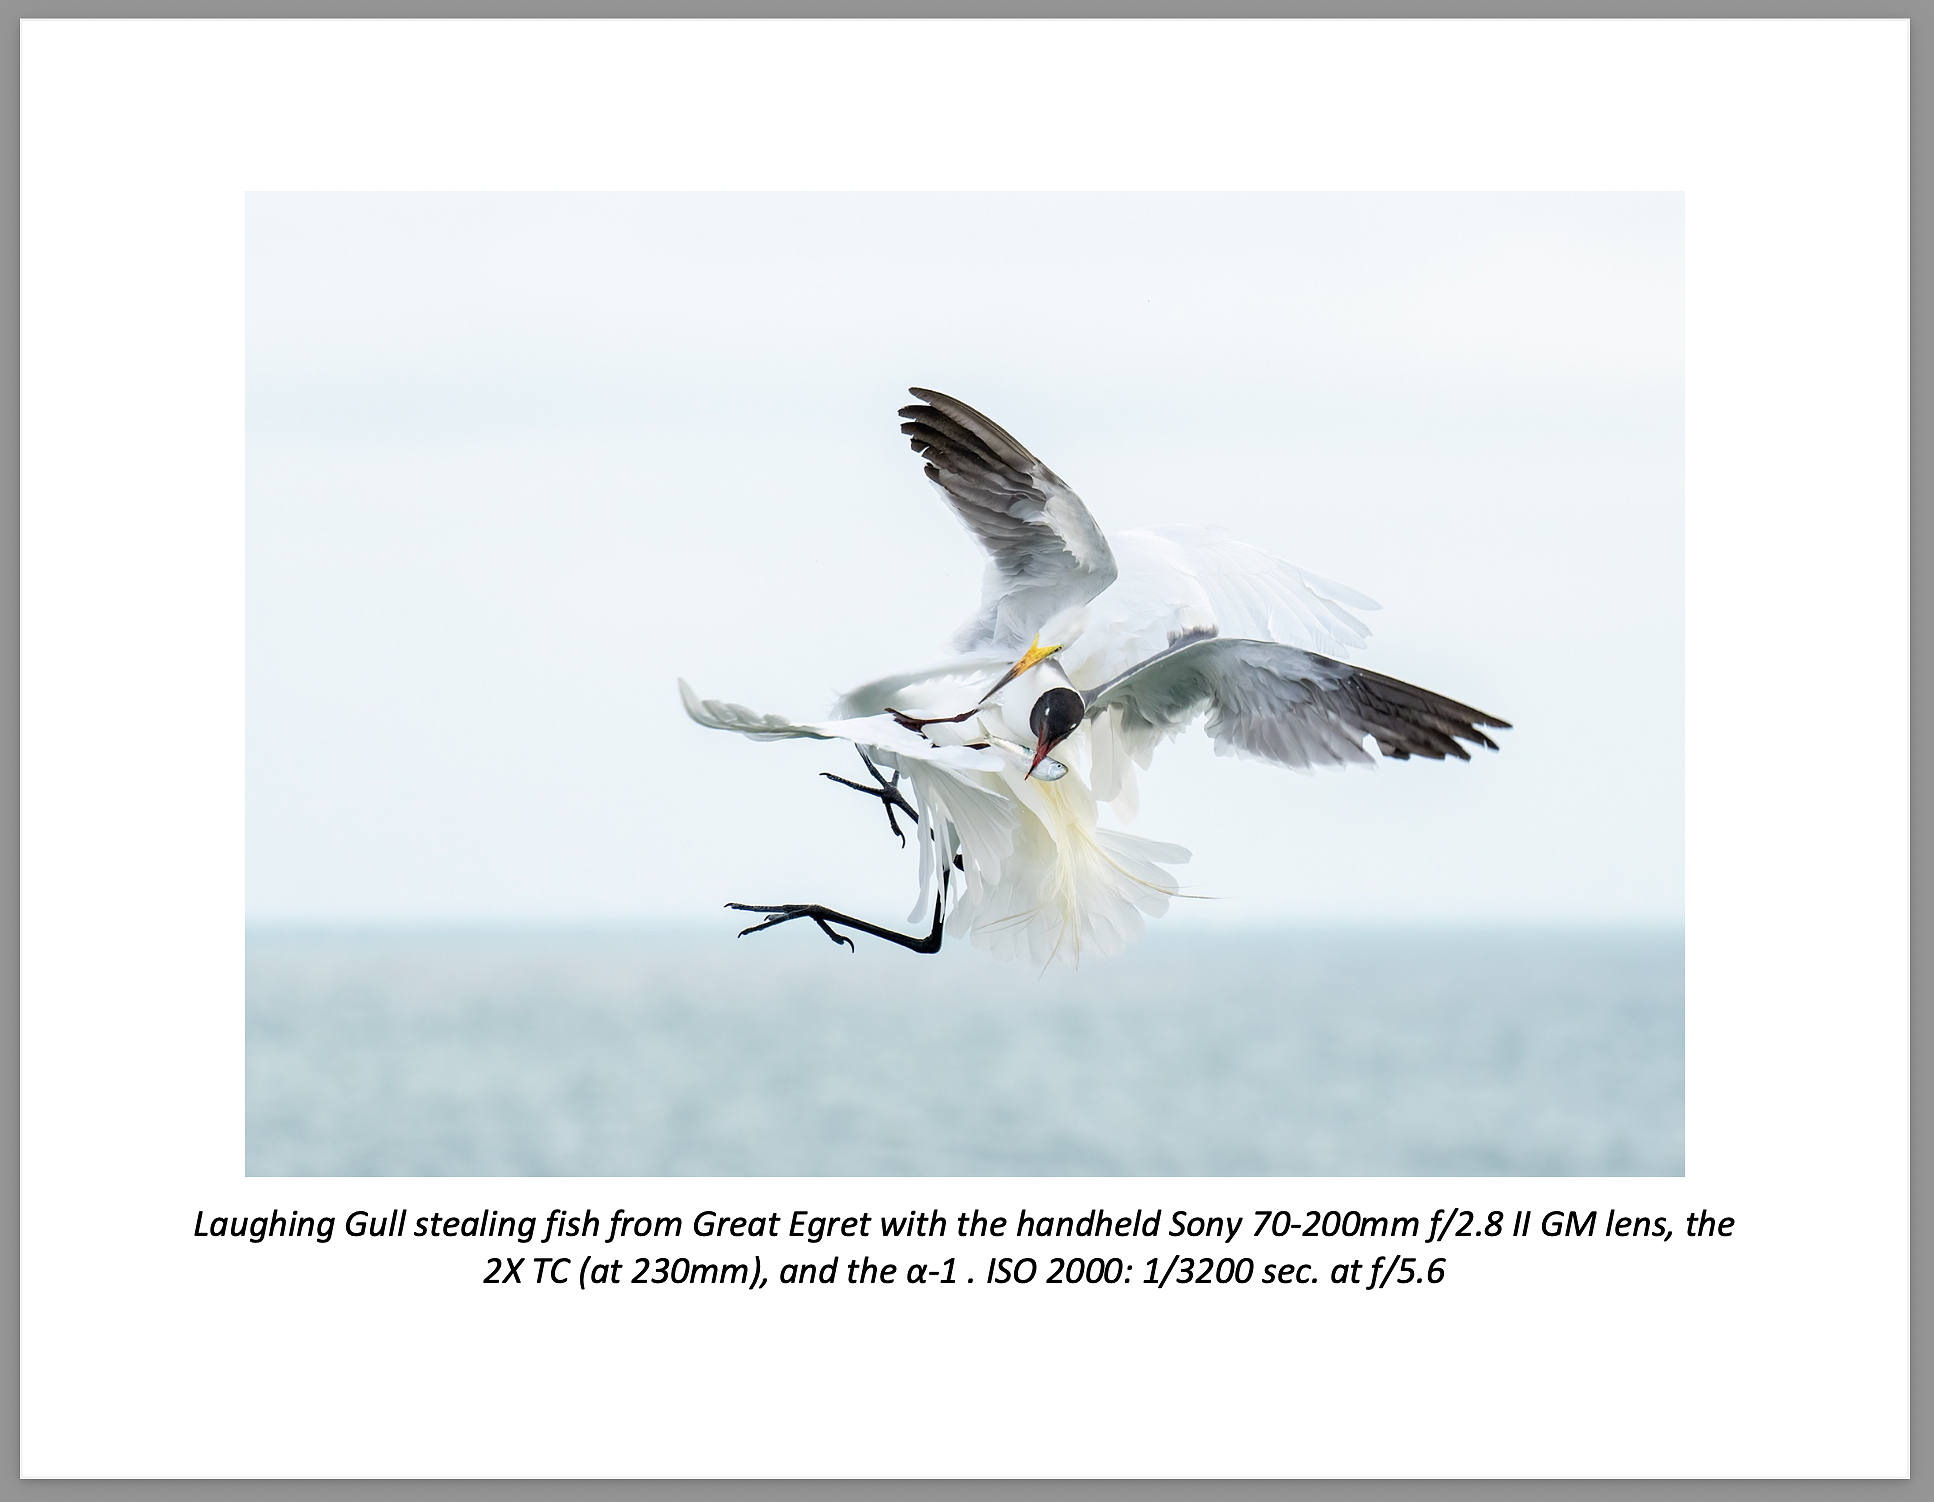
It is — for many reasons, imperative that you shoot aggressively when doing flight photography. If you wait for it to be perfect, you will usually wind up with nothing. That said, most of my flight sequences rarely consist or more than seven or eight frames; I do not blast away at specks and once the bird is past the light and flying away from me I quit shooting.
|
|
Image copyright 2024: Arthur Morris/BIRDS AS ART, the senior author. Sample page #4 Page 108 of The Complete and Quintessential Guide to Photographing Birds in Flight |
Sample page #4
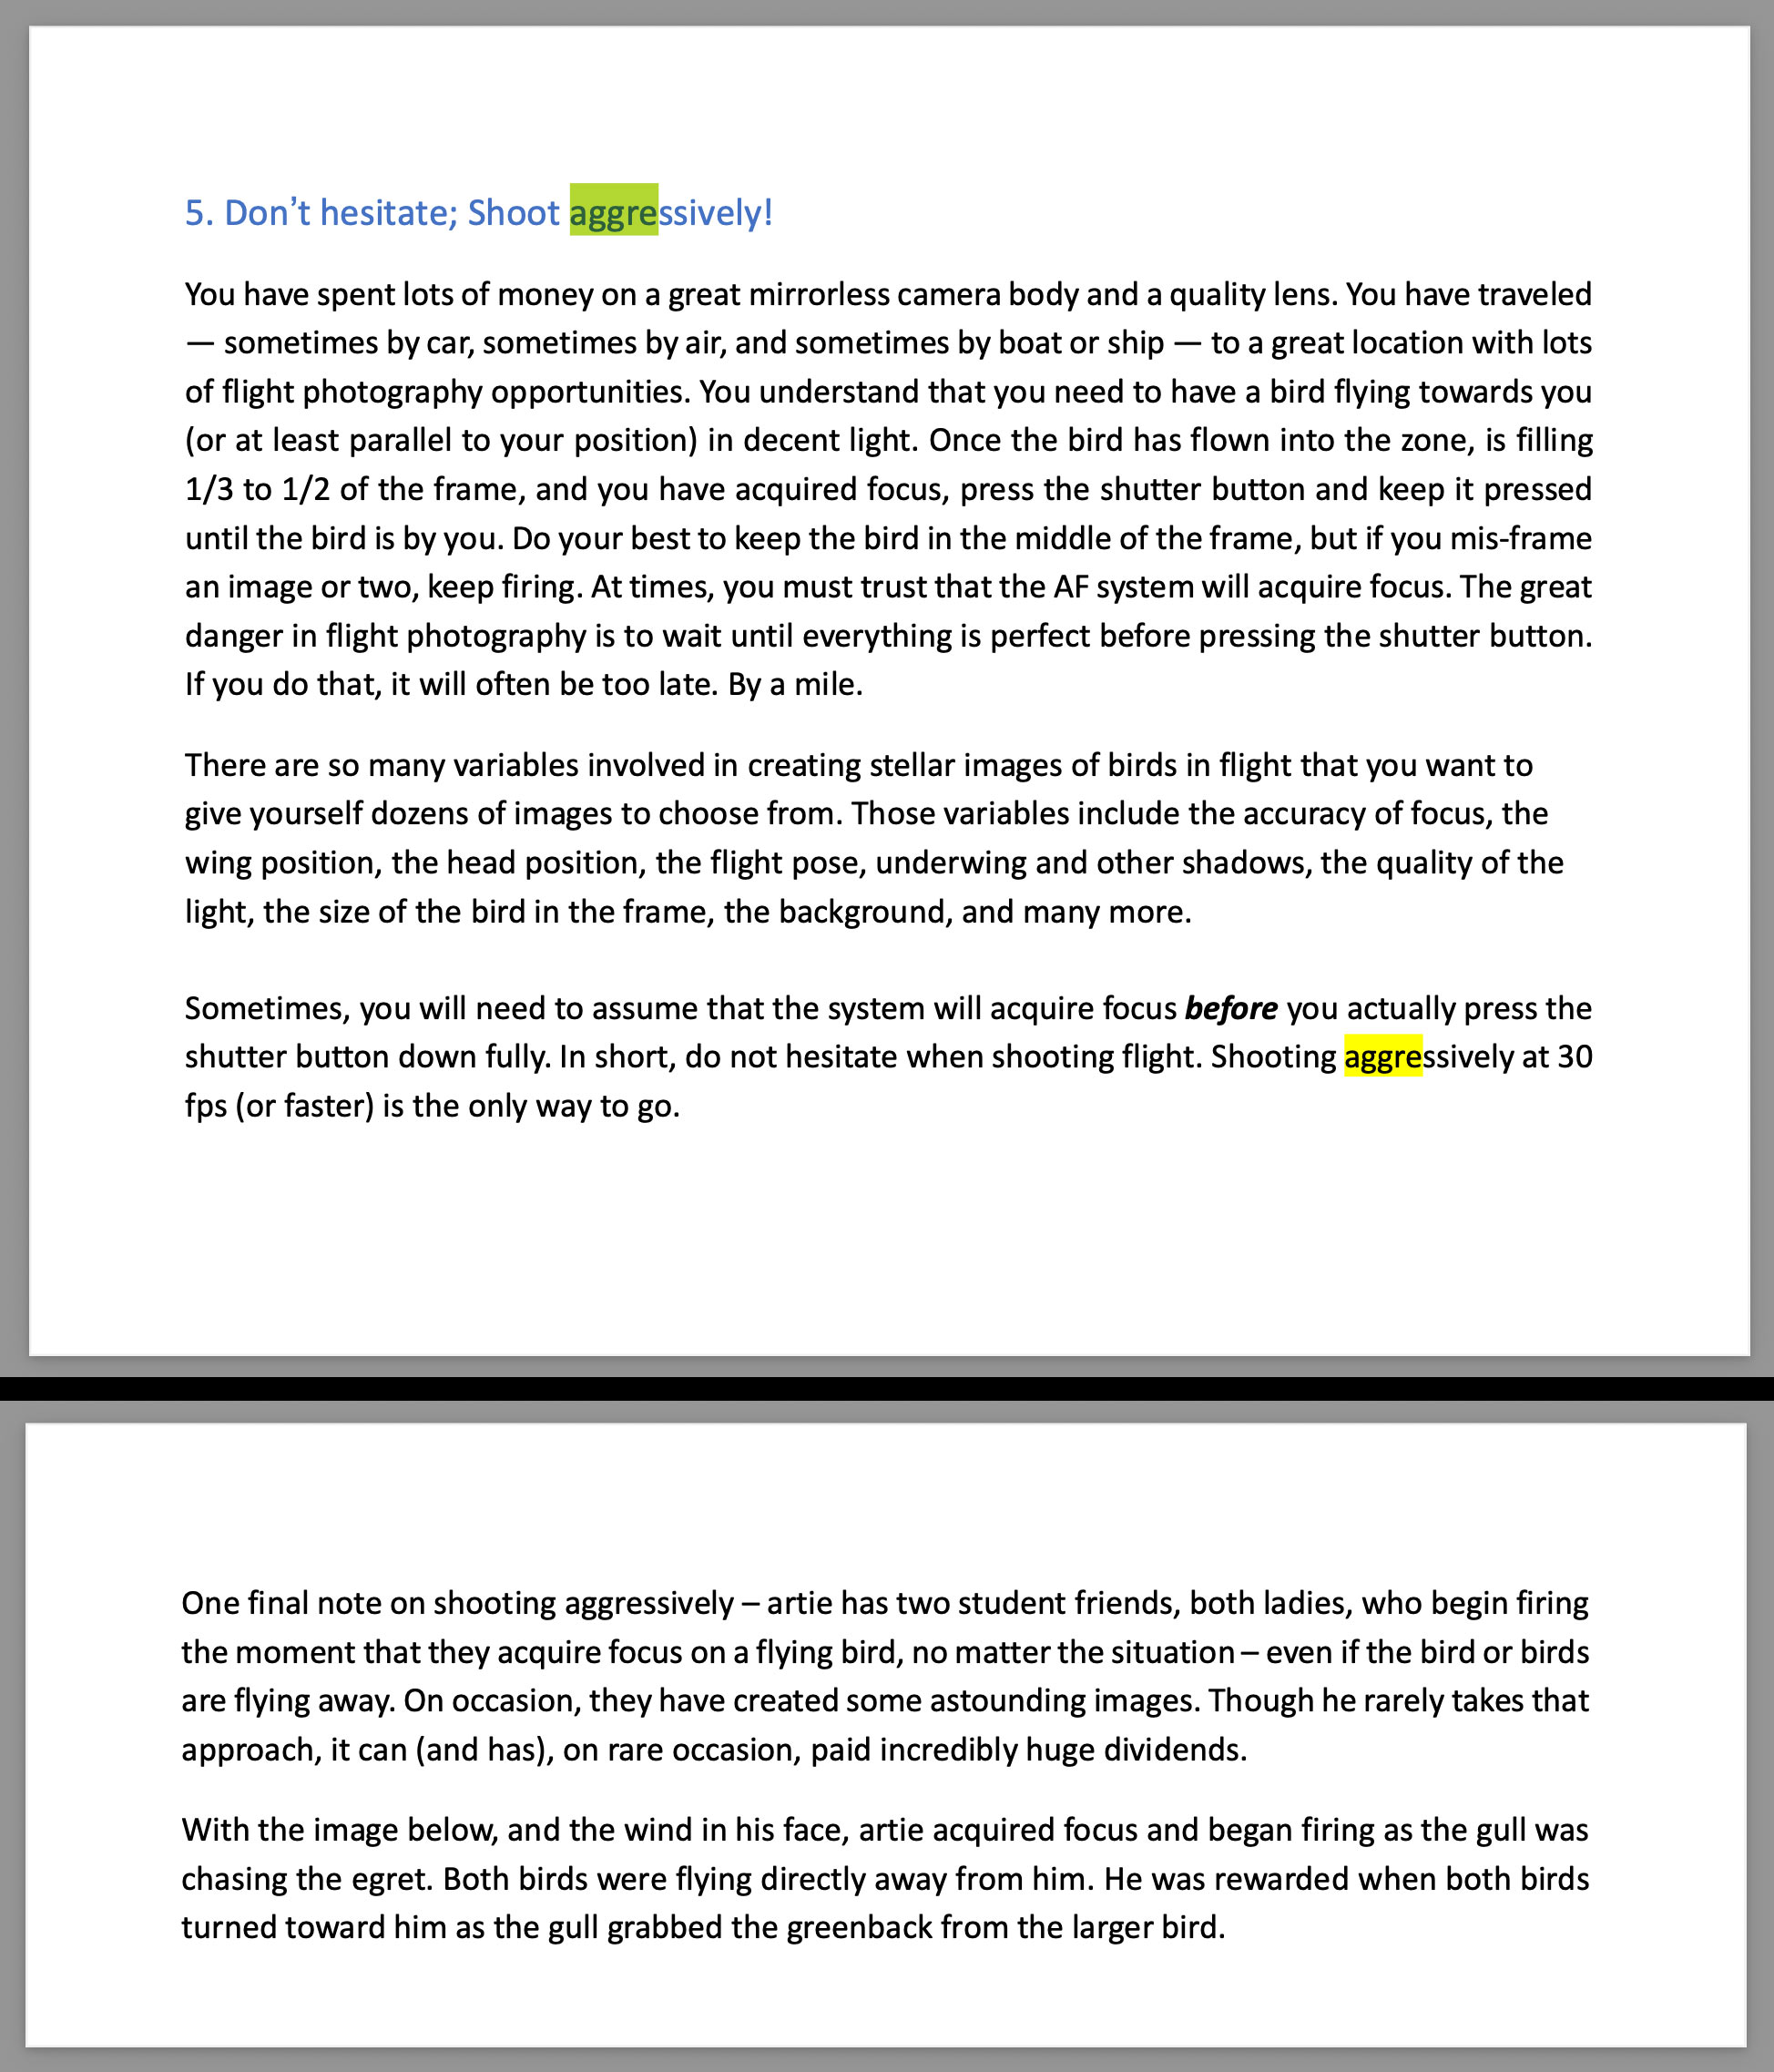
Sometimes you need to press the shutter button and hold it down just in case the bird or birds turn back to look at you. The Great Egret above was flying directly away from me but turned abruptly when the gull grabbed the fish. Having learned from two lady photographer friends, I was right on this one!
Shooting flight aggressively can enable you to make images that on the surface, would seem impossible.
Typos
With all blog posts, feel free to e-mail or to leave a comment regarding any typos or errors.







Leave a Reply