|
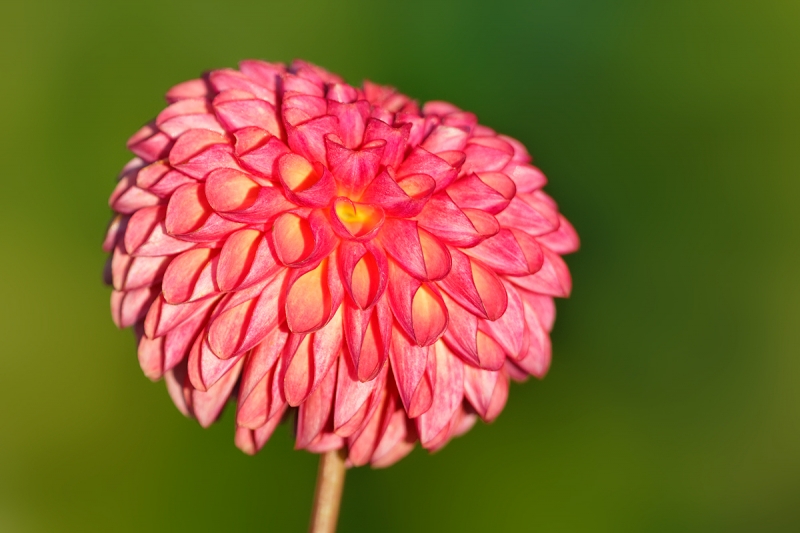
The image above was created with the tripod-mounted Canon EF 200-400mm f/4L IS USM Lens with Internal 1.4x Extender (with the internal TC in place), the Canon 1.4x EF Extender III (Teleconverter) (at 784mm), and the and the Canon EOS 5D Mark III Digital Camera (Body Only). ISO 400. Evaluative metering +2/3 stop: 1/320 sec. at f/9. Central sensor/AI Servo-Expand (by neccesity)/Rear Focus just to our left of the flower center and re-compose. Click here if you missed the Rear Focus Tutorial. Click on the image to see a larger version. |
The Color of Light
This image was created in very early morning light on the first day of the sold out Swan Island Dahlia Farm Creative Adventure/BIRDS AS ART IPT. Portland, Oregon is famous for its clouds and drizzle but so far it has been clear blue skies with high temps in the mid-90s each afternoon. We have a wonderful group of folks. Each is a Happy Camper. All are both eager to learn and highly skilled. They are applying what we are teaching and producing gorgeous images to be shared during our working lunches at the wonderful Hayden Grill.
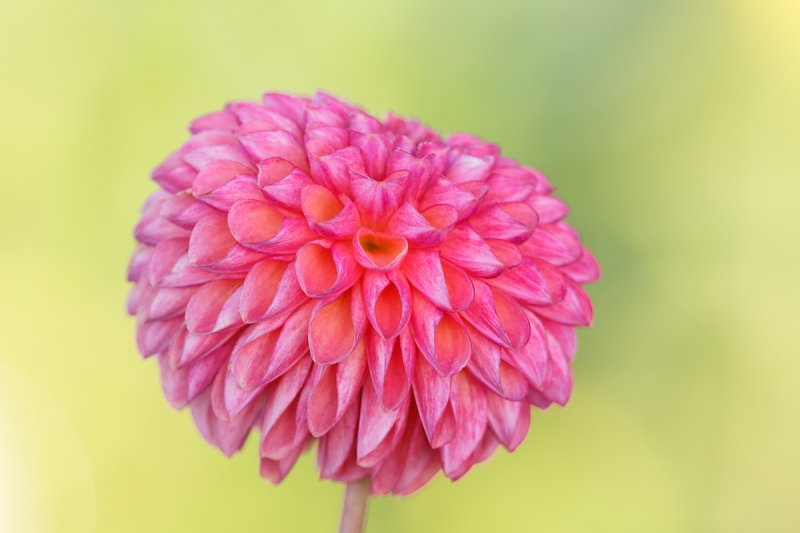
Back to the image. I was in love with the image above, with the glorious, richly-colored light that I saw both through the viewfinder and on the rear LCD screen. None-the-less, I decided to hold up a large diffuser to shade the subject. The much higher key image below was the result.
|
This image was created with the tripod-mounted Canon EF 200-400mm f/4L IS USM Lens with Internal 1.4x Extender (with the internal TC in place), the Canon 1.4x EF Extender III (Teleconverter) (at 784mm), and the and the Canon EOS 5D Mark III Digital Camera (Body Only). ISO 400. Evaluative metering +2 1/3 stops: 1/40 sec. at f/9. Central sensor/AI Servo-Expand (by neccesity)/Rear Focus just to our left of the flower center and re-compose. Click here if you missed the Rear Focus Tutorial. Click on the image to see a larger version. |
The Two Exposures
For the image made in early morning sunshine, I added 2/3 stop of light to the exposure. This yielded a perfect histogram. For the second image, made in the shade of the large diffuser, I needed to add 2 1/3 stops of light to achieve a perfect histogram.
Why did I add 2/3 stops of light to the image made in early morning light?
Why did I need to add 2 1/3 stops of light when I shaded the flower?
How many stops different were the resulting exposures?
The Sharpness Technique
Both images were created with the 2-second timer and Live View. Why was this mandatory for the 2nd image but not for the first?
Your Favorite Light?
Do you prefer the first image, the one made in early morning light or do you prefer the higher key image made with the flower shaded? Be sure to let us know why.
The 200-400 with Internal TC
Though I am making lots of images with both the 100mm f/2.8L IS and 180mm f/3.5 macro lenses, I am glad, as above, to have the the 2-4 along for its ability to isolate single flowers.
|
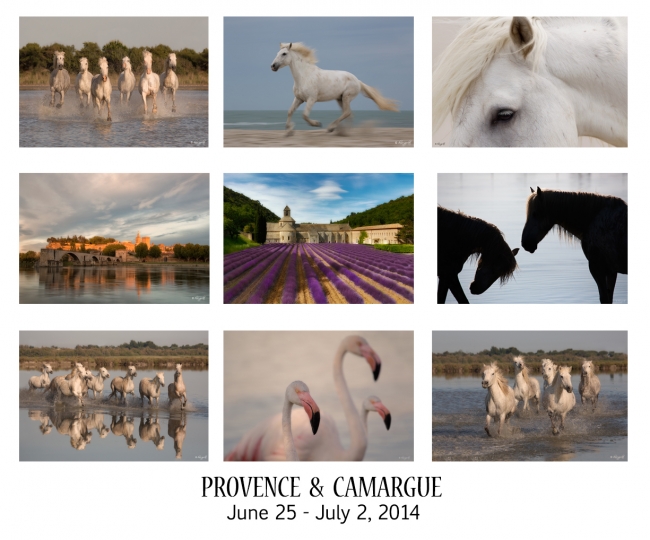
Card design by & all images courtesy of and copyright 2013: Denise Ippolito. |
Camargue & Provence France IPT: June 25- July 2nd, 2014/6 1/2 days of photography: $6995 (Limit: 10 photographers)
Co-leaders: Arthur Morris & Denise Ippolito. Though it is expected to fill quickly, this workshop needs a minimum of 6 to run.
The centerpiece of this workshop will be four sessions photographing the beautiful Camargue horses mostly running in the water or on the beach. There is a wonderful natural bird park in Camargue where we will photograph flamingos and other birds for four evenings in the usually gorgeous light. The flamingos fly in to feed each evening and we should have multiple opportunities to capture images of them in flight.
After our first four magical days we will visit several different and interesting locations sites during the trip and will spend part of a day at the market in Arles. An evening shoot in Avignon to photograph the bridge and the magical blue sky should be exciting! In addition, the lavender fields should be at peak bloom during our stay with fields of poppies everywhere as we make our way to the lavender fields. This is a wonderful opportunity to combine travel photography with stallions, birds, flowers, and lots more.
Click here for complete details and schedule.
Photographic Society of Chattanooga Seminar
Scroll down here for details on the Saturday seminar that Denise Ippolito and yours truly are doing in Chattanooga on October 12, 2013 and the follow-up Old Car City In-the-Field Workshop. Blog folks who sign up for both are invited to join us at a secret Urbex location in Atlanta on Friday morning October 11. Feel free to e-mail me for details after you are registered for both.
|
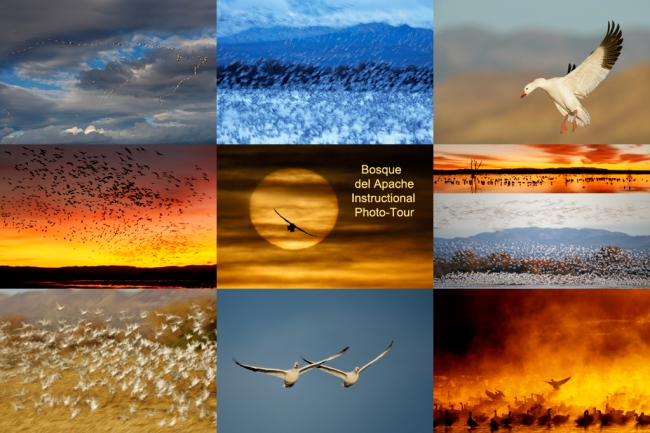
Snow Goose composite, Bosque del Apache NWR, San Antonio, NM. Click on the image for a larger version. |
Bosque del Apache 2013 IPT: “The Complete Bosque Experience.” NOV 26-DEC 2, 2013. 7-FULL DAYS: $3399. Co-leader: Denise Ippolito. Introductory Slide program: 6:30 pm on 11/25. Limit: 12.
Tens of thousand of Snow Geese, 10,000 Sandhill Cranes, ducks including point-blank American Wigeon and Wood Duck, amazing sunrises, sunsets, and blast-offs. Live, eat, and breathe photography with one of (if not the) world’s premier photographic educators at one of his very favorite locations on the planet. Top-notch Photoshop instruction. This will make 19 consecutive Novembers at Bosque for me. Nobody knows the place better than I do. Join us to learn to think like a pro, to recognize situations and to anticipate them based on the weather, especially the sky conditions, the light, and the wind direction. Every time we make a move we will let you know why. When you head home applying what you learned will prove to be invaluable. Includes all lunches and the Thanksgiving Buffet at the Crowne Plaza in Albuquerque. I hope that you can join me for what will be an unparalleled learning experience.
A $500 non-refundable deposit is required to hold your slot for this IPT. Your balance is due 4 months before the date of the IPT and is also non-refundable. If the trip fills, we will be glad to apply a credit applicable to a future IPT for the full amount less a $100 processing fee. If we do not receive your check for the balance on or before the due date we will try to fill your spot from the waiting list. If your spot is filled, you will lose your deposit. If not, you can secure your spot by paying your balance.
Please print, complete, and sign the form that is linked to here and shoot it to us along with your deposit check (made out to “Arthur Morris.”) You can also leave your deposit with a credit card by calling the office at 863-692-0906. If you register by phone, please print, complete and sign the form as noted above and either mail it to us or e-mail the scan. If you have any questions, please feel free to contact me via e-mail.
|
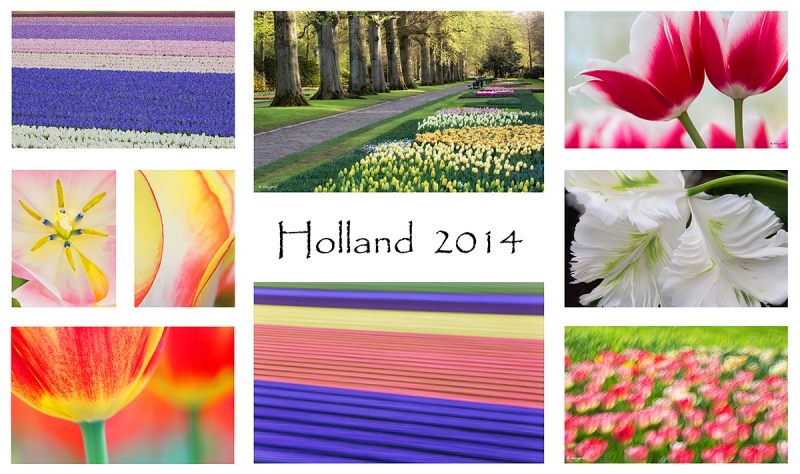
Images copyright 2012: Denise Ippoltio & Arthur Morris. Card design by Denise Ippolito. Click on the image to enjoy a spectacular larger version. |
Holland 2014 7 1/2-Day/8-Night: A Creative Adventure/BIRDS AS ART/Tulips & A Touch of Holland IPT. April 17-April 24, 2014 :$4995 Limit: 12 photographers/Openings 9
This trip needs 8 registrants to run so please do not purchase your plane tickets until you hear from us; right now we need 5 more folks.
Join Denise Ippolito, Flower Queen and the author of “Bloomin’ Ideas,” and Arthur Morris, Canon Explorer of Light Emeritus and one of the planet’s premier photographic educators for a great trip to Holland in mid-April 2014. Day 1 of the IPT will be April 17, 2014. We will have a short afternoon get-together and then our first photographic session at the justly-famed Keukenhof. Most days we will return to the hotel for lunch, image sharing and a break. On Day 8, April 24, we will enjoy both morning and afternoon photography sessions.
The primary subjects will be tulips and orchids at Keukenhof and the spectacularly amazing tulip, hyacinth, and daffodil bulb fields around Lisse. In addition we will spend one full day in Amsterdam. There will be optional visits the Van Gogh Museum in the morning and the Anne Frank House in the afternoon; there will be plenty of time for street photography as well. And some great food. On another day we will have a wonderful early dinner at Kinderdijk and then head out with our gear to photograph the windmills and possibly some birds for those who bring their longs lenses. We will spend an afternoon in the lovely Dutch town of Edam where we will do some street photography and enjoy a superb dinner. All lodging, ground transportation, entry fees, and meals (from dinner on Day 1 through dinner on Day 8) are included.
For those who will be bringing a big lens we will likely have an optional bird photography afternoon or two. If we get lucky, the big attraction should be gorgeous Purple Herons in flight at a breeding marsh. We would be photographing them from the roadside. And we might be able to find a few Great-crested Grebes at a location near Keukenhof.
Click here for complete details and some previously unpublished images. And/or click here and see item one for lots more tulip photos and complete trip details.
Click here for complete details and some previously unpublished images. And/or click here and see item one for lots more tulip photos and complete trip details.
|
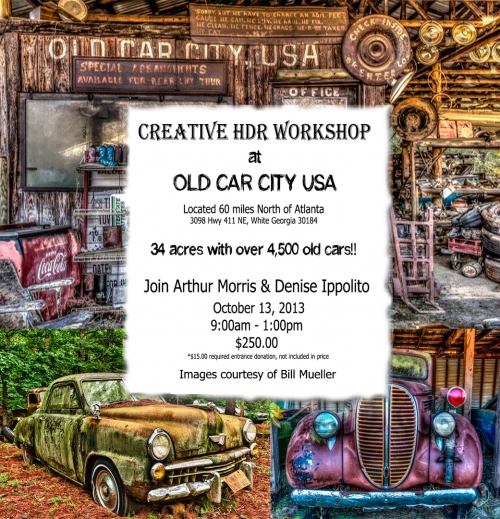
Images courtesy of and copyright 2012: Bill Mueller. Card design by Denise Ippolito. |
Old Car City Creative Photography In-the-Field HDR Workshop: Sunday, October 13, 2013/ 9am till 1pm.
White, Georgia: $250 plus a $15 entrance fee donation (cash only on the day of the event) that will go to charity. Limit: 16 photographers.
On October 13, 2013, Arthur Morris/BIRDS AS ART and Denise Ippolito/A Creative Adventure will be conducting an In-the-Field HDR Workshop at Old Car City in White, Georgia. Old Car City is about an hour north of Atlanta, GA and an hour south of Chattanooga, TN where they will, as noted above, be doing a full day seminar for the Photographic Society of Chattanooga on Saturday, October 12th. Click here for complete details.
Typos
On all blog posts, feel free to e-mail or leave a comment regarding any typos, wrong words, misspellings, omissions, or grammatical errors. Just be right. 🙂
Support the BAA Blog. Support the BAA Bulletins: Shop B&H here!
We want and need to keep providing you with the latest free information, photography and Photoshop lessons, and all manner of related information. Show your appreciation by making your purchases immediately after clicking on any of our B&H or Amazon Affiliate links in this blog post. Remember, B&H ain’t just photography!


Support the Blog


Amazon
Everyone buys something from Amazon, be it a big lens or deodorant. Support the blog by starting your search by starting your search by clicking on the logo-link below. No purchase is too small to be appreciated; they all add up. Why make it a habit? Because I make it a habit of bringing you new images and information on an almost daily basis.
And from the BAA On-line Store:
LensCoats. I have a LensCoat on each of my big lenses to protect them from nicks and thus increase their re-sales value. All my big lens LensCoat stuff is in Hardwood Snow pattern.
LegCoat Tripod Leg Covers. I have four tripods active and each has a Hardwood Snow LegCoat on it to help prevent further damage to my tender shoulders 🙂 And you will love them in mega-cold weather….
Gitzo GT3532 LS CF Tripod. This one replaces the GT3530LS Tripod and will last you a lifetime. Learn more about this great tripod here.
Mongoose M3.6 Tripod Head. Right now this is the best tripod head around for use with lenses that weigh less than 9 pounds. For heavier lenses, check out the Wimberley V2 head.
Double Bubble Level. You will find one in my camera’s hot shoe whenever I am not using flash.
The Lens Align Mark II. I use the Lens Align Mark II pretty much religiously to micro-adjust all of my gear an average of once a month and always before a major trip. Enjoy our free comprehensive tutorial here.
BreezeBrowser. I do not see how any digital photographer can exist without this program.
Delkin Flash Cards. I use and depend on Delkin compact Flash Cards and card readers most every day. Learn more about their great 700X and 1000X cards here or about my favorite Delkin card here.



1) The brightness of the subject caused the meter to underexpose
2) The shaded image needed more exposure. Why *2 1\3 stops? Could it be because
predominately blue light in
1) The bright subject caused the meter to underexpose.
2) Could it be because the meter is more sensitive to the predominately blue light
in the shade, thereby increasing the meter’s tendency to underexpose.
3) 3 stops. 1/40s vs 1/320s
4) To avoid camera shake with 1/40s.
5) More natural. The first is a bit too extreme, though very striking.
Why + 2/3 stop for image one: You were confronted with a bright subject against a bright background and the camera’s exposure system attempted to average the scene to a neutral middle-gray exposure, underexposing the scene by 2/3 stops. (Most light metering systems work on luminance rather than color and attempt to expose as if the scene was an 18% gray card.)
Why + 2 1/3 stops for image two: You were still confronted with the same bright background, but your diffuser effectively reduced the brightness of your subject while softening the lighting without changing the brightness of the background. In the first shot, the bright subject effectively limited the amount of exposure compensation you could apply without overexposing the subject. In this case, the relatively “darker” subject shaded by the diffuser gave you more latitude and so you increased exposure even more to brighten it. The result gave you a truer representation of the background illumination, too.
Why the 2-second timer on the second shot: at 1/40 of a second even the slightest vibration will tend to introduce softness — even from a careful press of the shutter. Setting the timer allowed the entire system to settle down, reducing vibrations at the moment of exposure.
I like image 2 for the additional detail and reduction in apparent contrast, an approach that seems to me to better suit the subject. But both are lovely.
Russ
Whoops, Duh! I was thinking difference between compensation, the difference from 2/3 to 2 1/2. Geez Bob! Thanks Ted! I gotta stop putting in my 2 cents cause it takes 4 out of me. But that’s why I love this Arties blog & bullitens. Constant and Never-ending learning.
1 you had to add 2/3 of exposure to get a good histogram, the bright part of the flower fooled the meter and caused it to underexpose
2. The diffuser cost you loss of light on the entire photo
3.The exposures differed by 3 stops(1/40 vs 1/320 sec)
4. to eliminate camera shake which would be more of a factor at 1/40 sec
5.I like the second image, I feel the colors are truer , less contrasty and more pleasing and I like the high key look. Even though it was early am the reds may have been blown out in the first image
1 2/3 stop difference If I think I’m awnsering the right question the right way, lol. In the open light adding 2/3 was enough to push histogram to the right just where you wanted it. With less light you had to push the histogram further to the right to get the exposure where you wanted it. Be gentle on me Artie! Great shots!