Your Call
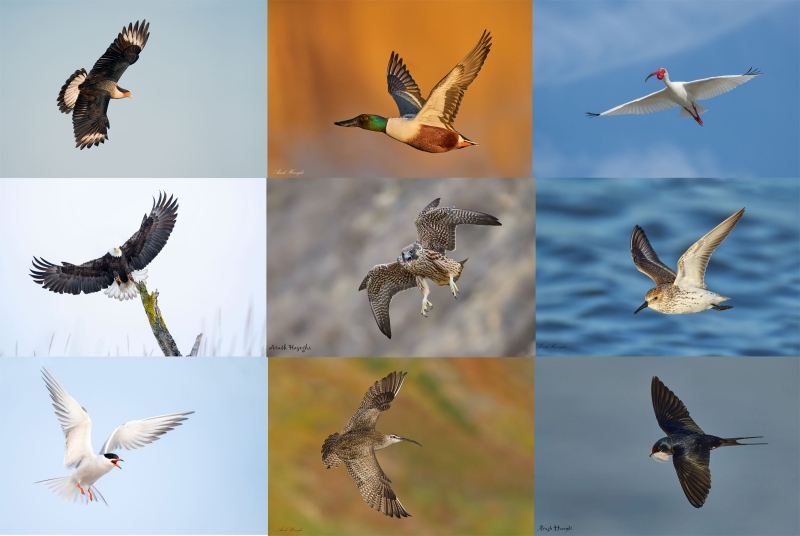
Which three of today’s nine featured flight images are your favorites? Please be so kind as to leave a comment and let us know why you made your choices.
If …
If you had previously receiving blog post notifications via e-mail on a regular basis but they quit coming in the last month or so, please let me know via e-mail and cut and paste this into the subject line: Please Add to the Personalized Blog Notification List. It seems that some e-mail providers (likely including Gmail) recently began blocking the blog post notification e-mails being sent by the Word Press Newsletter plugin. The new, authenticated sending address was supposed to fix that problem, but it has not 🙂 Life goes on.
What’s’ Up?
Mornings have continued to be great with diving Ospreys and fishing pelicans. Wednesday afternoon was typical of our pm sessions with challenging wind against sun conditions interspersed with rain squalls. We did enjoy some great subjects facing the wrong way, that means, looking at us! We did well with a young Great Blue Heron, Snowy and Reddish Egret, and several Wood Storks.
Today is Thursday 9 October. Conditions at Sebastian were very good but there was little going on. We did have one good chance on an Osprey with a fish on our way back to my SUV. Whatever you opt to do, I hope that you too choose to have a great day.
If you would like to join in the fun and learn an absolute ton, I have room at the AirBnB for you on a Sebastian Extended IPT any time from 25 October through and including 23 November. For complete details you can scroll down here, get in touch via e-mail, or try me on my cell at 863-221-2372. Please leave a message and shoot me a text if I do not pick up.
Volume II of the Digital Basics IV Video Series was distirbuted yesterday afternoon to the many wholesome ordered the entire series; it explains in detail how to handle images where some bright colors like reds, oranges, and yellows, show as over-exposed as soon as you hold down the Alt or Option key and move the Whites slider to the right in Adobe Camera Raw. We should be sending it out to the many who ordered the complete series this afternoon. Next up in Volume III will be the amazing Super Resolution feature in Photoshop 2025 v26.20.0.
If an item — a Delkin flash card or reader, a Levered-clamp FlexShooter Pro, or a Wimberley lens plate or low foot — for example, that is available from B&H and/or Bedfords, is also available in the BAA Online Store, it would be great, and greatly appreciated, if you would opt to purchase from us. We will match or beat any price. Please remember also to use my B&H affiliate links or to earn 3% cash back at Bedford by using the BIRDSASART discount code at checkout for your major gear purchases. Doing either often earns you free guides and/or discounts. And always earns my great appreciation.
Gear Questions and Advice
Too many folks attending BAA IPTs and dozens of photographers whom I see in the field and on BirdPhotographer’s.Net, are — out of ignorance — using the wrong gear, especially when it comes to tripods and more especially, tripod heads. And the same is true in spades when ordering new camera bodies or lenses. My advice will often save you some serious money and may help you avoid making a seriously bad choice. Please know that I am always glad to answer your gear questions via e-mail. If you are desperate, you can try me on my cell at 863-221-2372. Please leave a message and shoot me a text if I do not pick up.
Don’t Just Shoot: Learn
If you are interested in changing your life and becoming a better photographer by joining me on the Extended IPT at Sebastian Inlet for Ospreys and more (OCT 25 to NOV 24, 2025), in San Diego for Pacific-race Brown Pelicans and more (JAN 6 to FEB 2, 2026), or for Roseate Spoonbills at Stick Marsh (March 2026), please e-mail for dates, rates, terms, and additional information. Or shoot me a text to 863-221-2372. Some offerings include options for shared AirBnB lodging and meals. Ground transportation during your stay is a possibility at times.
|
|
|
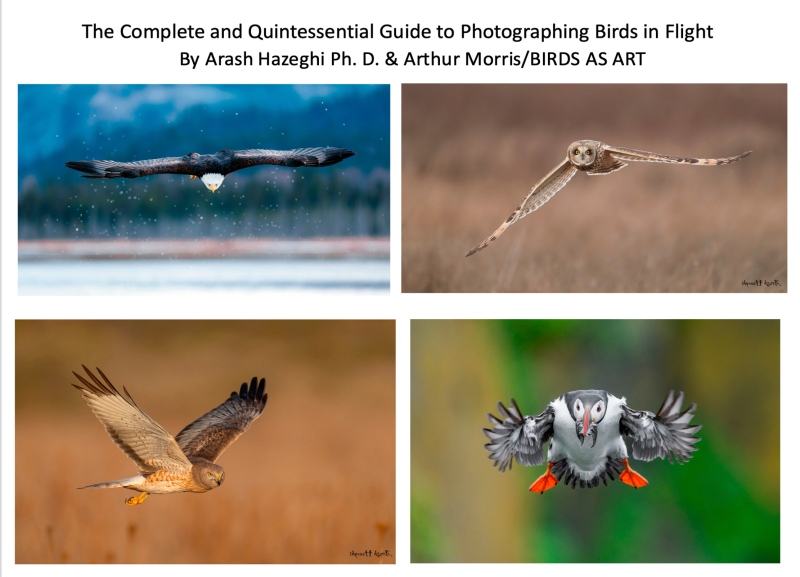
The title says it all. Purchase your copy here. The Complete and Quintessential Guide to Photographing Birds in Flight
|
The Complete and Quintessential Guide to Photographing Birds in Flight: $99.00
I had long dreamed of becoming a great flight photographer. When using dSLR gear, making sharp images was a huge problem. Most of the time, the camera bodies simply were not up to snuff. Things have changed dramatically with mirrorless technology. The high-end mirrorless camera bodies now feature science fiction-like autofocus systems and frame rates of 30, 40, and even 125 fps. Nowadays, getting the eye sharp is no longer a problem. The problem more often involves selecting the strongest image from a long series of sharp images.
The truth, however, is that there is a lot more than owning a Canon EOS R1, a Nikon Z9, or a Sony a-1 ii to consistently creating great photographs of birds in flight. Some of the biggest factors to success include gear choice, shooting strategies, and understanding the importance of sky conditions and wind speed and direction. Once you have the techniques and technical aspects down pat and can routinely create sharp images, learning the importance of flight poses, wing positions, backgrounds, and subject placement and image design enable you to create and then select superb flight images. And you guessed it, each of those topics and tons more are covered in detail in The Complete and Quintessential Guide to Photographing Birds in Flight.
The guide consists of 267 pages and 21,013 words. There are 82 illustrative photos scattered throughout the text, two screen captures, and a 112-image gallery that includes examples created by Canon, Nikon, and mostly Sony gear. As seen above, each of the 194 inspirational photos is labeled with an educational caption.
You can purchase your copy here for $99.00.
Arash Hazeghi
Arash Hazeghi, Ph.D. is a principal electron device engineer. He received his Ph.D. degree in Electrical Engineering in 2011, from Stanford University, Stanford, California. His pioneering research on Carbon Nanotubes has been cited many times. In the past decade, Arash Hazeghi has been a major contributor to the research and the development of some of the most cutting-edge technologies introduced by Silicon Valley’s most reputable names including SanDisk, Intel and Apple.
More relevant here is that he is widely recognized as one of the world’s best birds in flight photographers. He specializes in raptors and the technical aspects of bird photography.
|
|
|
Flight photography is a skill that can be studied, practiced, and learned. Improve your skills by studying The Complete and Quintessential Guide to Photographing Birds in Flight |
The Complete and Quintessential Guide to Photographing Birds in Flight
By Arash Hazeghi Ph.D., and Arthur Morris/BIRDS AS ART
What you will learn (about):
-
1- Weight and handholding super-telephoto lenses.
2- Weight and handholding intermediate telephoto and telephotos zoom lenses.
3- Choosing the right flight photography lens or lenses for you.
4- The importance of focal length for flight photography.
5- The importance of lens speed (the maximum aperture for flight photography.
6- Choosing between fixed focal lengths and zoom lenses for flight photography.
7- The importance of AF speed and performance for flight photography.
8- Handholding tips and techniques.
9- Shooting flight off a tripod with the Levered-clamp FlexShooter Pro.
10- Flight poses and wing positions.
11- Why artie changed his mind about the 400mm f/2.8 lenses for flight and more.
12- The advantages and disadvantages of using teleconverters for flight photography.
13- Why to stay away from off-brand lenses.
14- Understanding the importance of wind direction and speed for flight photography.
15- The relationship between sky conditions and wind direction and how it affects flight photography.
16- Creating flight silhouettes in wind-against-sun conditions.
17- The importance of being on sun angle for flight photography (and avoiding harsh shadows).
18- Tips on doing flight photography in cloudy, foggy, or overcast conditions.
19- About the direction of light in cloudy, foggy, or overcast conditions and how it affects flight photography.
20- How your understanding of bird behavior can dramatically improve your flight photography.
21- Tips on attracting birds for flight photography.
22- What to do when your camera’s AF system is temporarily blind.
23- The vital importance of pre-focusing.
24- How Direct Manual Focus can help you with flight photography.
25- The importance of shooting aggressively when doing flight photography.
26- Everything that you need to know with regards to rest positions for flight photography.
27- The importance of getting low when doing flight in many situations.
28- Getting the right exposure when doing flight photography.
29_ Why to use Manual mode 95% of the time for flight.
30- Tips on finding the bird in the frame, acquiring focus, and tracking the bird in flight.
31- How to set and best utilize your lens’s image stabilization feature (and why).
32- Setting the focus range limiter switch on your flight lens or lenses.
33- To choose the best shutter speed for photographing birds in flight.
34- The vital importance of pre-focusing. And yes, this is so important that it is on the list twice.
You can see four sample pages in the blog post here. And you can purchase your copy here.
|
|
|
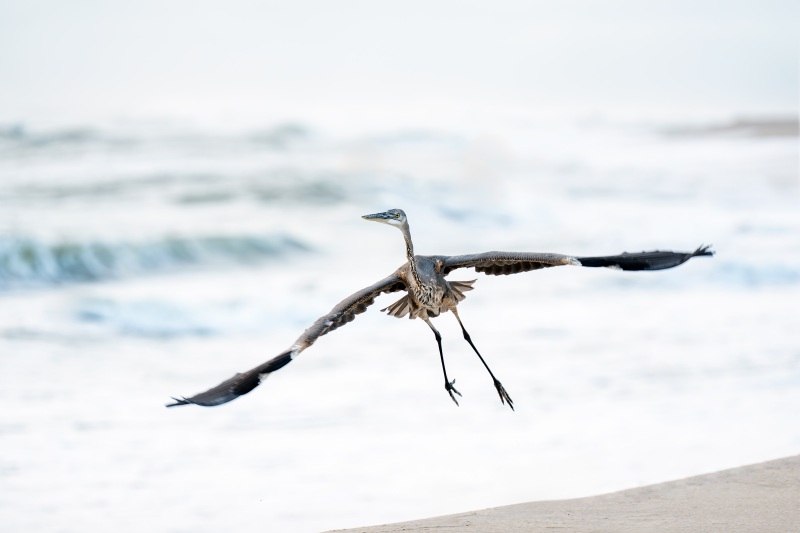
This image was created on 30 September 2025 on a Sebastian Inlet Ospreys and more Extended Instructional Photo-Tour (IPT). Standing at the base of the South Jetty, I used the handheld Sony FE 70-200mm f/2.8 GM OSS II Lens with theSony FE 1.4x Teleconverter (at 235mm) and The Latest Greatest Sony Flagship Body, the a1 II Mirrorless Camera. The exposure was determined by Zebras with Exposure Compensation (EC) on the thumb wheel. Multi Metering +2.0 stops. AUTO ISO set ISO 500: 1/500 second at f/4 (wide open) in Shutter Priority mode. RawDigger showed that the exposure was perfect. AWB at 7:45:35am on a cloudy morning. Wide/AF-C with Bird-Eye/Face Detection performed perfectly. Click on the image to enjoy the larger, inexplicably sharper high-res version. Image #1: Great Blue Heron juvenile taking flight over surf |
Getting Lucky on Shutter Speed with the Cloud-scape Rig
I call the 70-200mm f/2.8 II with the 1.4X TC the Cloud-scape Rig as it is ideal on partly cloudy mornings as the sun rises over the Atlantic Ocean. You often get some very nice sunrise color and dramatic cloudy formations either well before or just after sunrise. The 98-280mm focal lenght range is often the perfect tool. At times, I need to remove the TC to go wider for the clouds. I was working this young Great Blue Heron on the shoreline at 1/500 second. When it took flight I followed my own oft-given advice; when unexpected action occurs, press the shutter button. If you try to change any settings, you will likely come away with nothing. I was shocked and happy when I noted that half the images in the sequence were sharp on the bird’s eye at only 1/500 second.
|
|
|
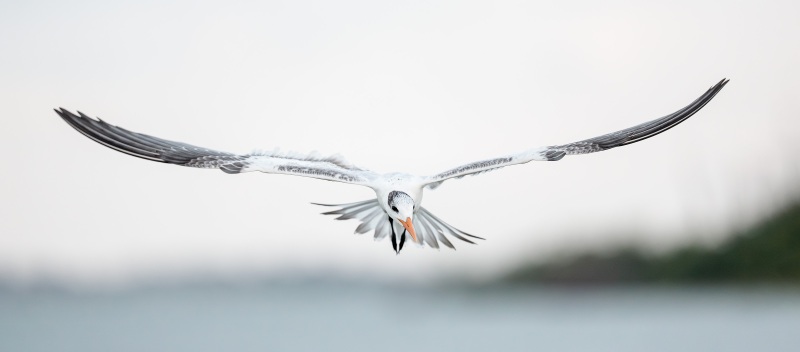
This image was also created on 2 October 2025 on a Sebastian Inlet Ospreys and more Extended Instructional Photo-Tour (IPT). Hanging out by the fishing pier, I used the hand held Sony FE 300mm f/2.8 GM OSS Lens (Sony E) and The Latest Greatest Sony Flagship Body, the a1 II Mirrorless Camera. Exposure was determined via Zebras with ISO on the Thumb Wheel. ISO 5000!: 1/1600 sec. at f/2.8 (wide open) in Manual mode. RawDigger showed that the exposure was perfect: AWB at 7:40:56am on a cloudy dark morning. Tracking Zone/AF-C with Bird Eye/Face Detection enabled performed perfectly. Click on the image to enjoy the larger, inexplicably sharper high-res version. Image #2: Royal Tern juvenile flying right at me |
Horses for Courses …
Lenses are nothing more than tools. Having the right tool for the job can make all the difference in the world. Though I was using a relatively low for flight shutter speed — 1/1600 second, I still needed a high ISO — 5000 to get a decent exposure (or raw file brightness to be technically correct). In mega low light flight situations, the 300m f/2.8 lenses can be deadly. The Sony GM version is the lightest of the lot by far at less than 3 1/4 lbs. It complements both the Sony 200-600 and the Sony 400-800 perfectly for low light bird photography. It does well with either the 1.4X or the 2X teleconverter.
|
|
|
This image was created on 3 October 2025 on a Sebastian Inlet Extended IPT. Standing at full height, I used the Robus RC-5570 Vantage Series 3 Carbon Fiber Tripod/Levered-Clamp FlexShooter Pro-mounted Sony FE 600mm f/4 GM OSS lens with the Sony FE 1.4x Teleconverter and the Latest Greatest Sony Flagship Body, the a1 II Mirrorless Camera. Exposure determined via Zebras with ISO on the Thumb Wheel. ISO 2500: 1/5000 sec. at f/5.6 (wide open) in Manual mode. RawDigger showed that the exposure was dead solid perfect. AWB at 8:00:03am on a sunny morning. Tracking: Zone/AF-C with Bird Eye/Face Detection enabled performed perfectly. Click on the image to enjoy the larger, inexplicably sharper high-res version. Image #3: Osprey adult in flight with menhaden |
840mm for Osprey Flight on a Tripod
There are lots of folks at Sebastian with 600mm f/4 lenses — Canon, Nikon, and Sony. Most folks handhold them, and I rarely see anyone using theirs with a 1.4X TC. I rarely go with the bare 600mm, and am always on a tripod. Here’s a tip for those using the Levered-Clamp FlexShooter Pro. After prolonged use, these heads do not pan as smoothly as they did when the come out of the box. Though the manufacturer recommends against it, spraying the inner black ball with WD-40 results in super-smooth panning. Try it, you will like it.
|
|
|
This image was also created on 3 October 2025 on a Sebastian Inlet Extended IPT. Standing at full height, I used the Robus RC-5570 Vantage Series 3 Carbon Fiber Tripod/Levered-Clamp FlexShooter Pro-mounted Sony FE 600mm f/4 GM OSS lens with the Sony FE 1.4x Teleconverter and the Latest Greatest Sony Flagship Body, the a1 II Mirrorless Camera. Exposure determined via Zebras with ISO on the Thumb Wheel. ISO 1250: 1/4000 sec. at f/5.6 (wide open) in Manual mode. RawDigger showed that the exposure was dead solid perfect. AWB at 8:24:05am on a sunny morning. Tracking: Zone/AF-C with Bird Eye/Face Detection enabled performed perfectly. Click on the image to enjoy the larger, inexplicably sharper high-res version. Image #4: Brown Pelican juvenile — tight flight with fish in bill pouch |
The New Super Resolution Feature
The new Super Resolution feature in Photoshop 2025 v26.10.0 (and in the latest version of Lightroom), or more correctly, in Adobe Camera Raw 17.5, can do wonders with large and huge crops. But only when the raw file is sharp. If your image suffers from unsharpness of motion blur, doubling the resolution only makes things worse. It is tricky to use this feature. Complete details on how to implement Super Resolution will be included in Volume III of the Digital Basics IV Video Series.
I doubled the resolution of this 50% cropped image and as you can see above after clicking on the image, the results are spectacular.
|
|
|
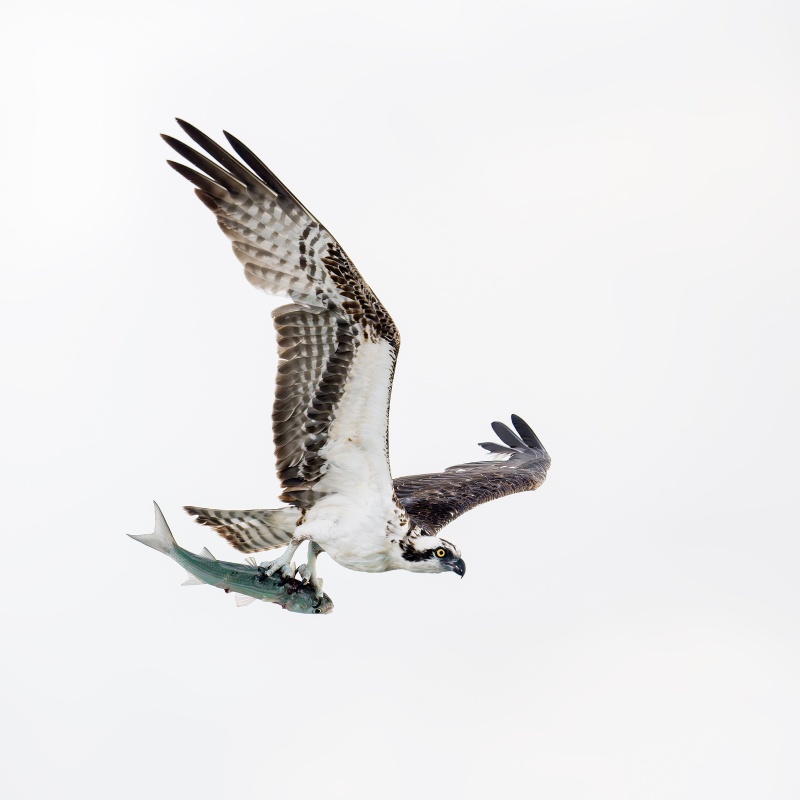
This image was created on 4 October 2025 on a Sebastian Inlet Extended IPT. Standing at full height, I used the Robus RC-5570 Vantage Series 3 Carbon Fiber Tripod/Levered-Clamp FlexShooter Pro-mounted Sony FE 600mm f/4 GM OSS lens with the Sony FE 1.4x Teleconverter and the Latest Greatest Sony Flagship Body, the a1 II Mirrorless Camera. Exposure determined via Zebras with ISO on the Thumb Wheel. ISO 4000: 1/2500 sec. at f/5.6 (wide open) in Manual mode. RawDigger showed that the exposure was perfect. AWB at 7:50:18am on a then-cloudy morning. Tracking: Zone/AF-C with Bird Eye/Face Detection enabled performed perfectly. Click on the image to enjoy the larger, inexplicably sharper high-res version. Image #5: Osprey adult in flight with mullet |
Dealing With Rapidly Changing Weather and Light
Yesterday morning (Wednesday) was typical. It began cloudy dark and then got brighter. Then it went from cloudy bright to full sun and then back to cloudy dark. Before Eugen and I headed home, it poured twice, each time for ten minutes as a squall passed by. With the strong east wind, I usually ride out the heavy rain simply by keeping my camera body in front of my face or chest to protect it. I keep an extra woolen watch cap in my pocket to place over the camera when it rains hard. When things get really bad, we seek shelter under the bridge; it is just a three minute walk. Five minutes later, the sun may be out again.
As far as getting the right exposure, Sony’s Zebra technology (set up properly), is a life-saver for both beginning photographers and 40+ year bird photography veterans. Don’t forget, when working in low light, white sky conditions, your camera’s metering system is just plain stupid. You need to add lots of light to avoid underexposing the subject.
The weather on 4 October was typical as noted above. Want proof? See the next frame.
|
|
|
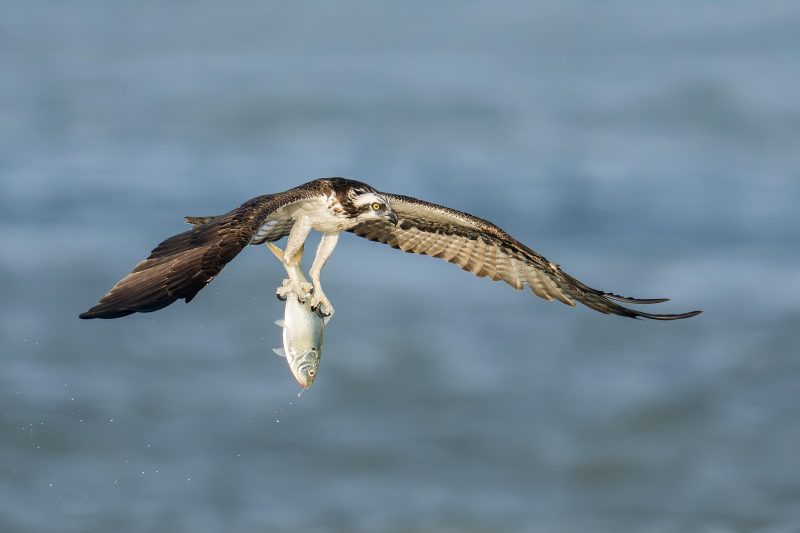
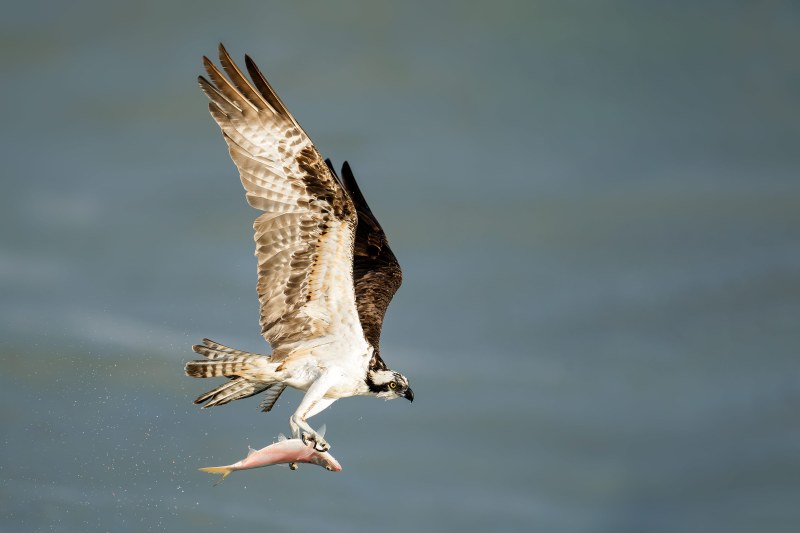
This image was also created on 4 October 2025 on a Sebastian Inlet Extended IPT. Standing at full height, I used the Robus RC-5570 Vantage Series 3 Carbon Fiber Tripod/Levered-Clamp FlexShooter Pro-mounted Sony FE 600mm f/4 GM OSS lens with the Sony FE 1.4x Teleconverter and the Latest Greatest Sony Flagship Body, the a1 II Mirrorless Camera. Exposure determined via Zebras with ISO on the Thumb Wheel. ISO 2000: 1/4000 sec. at f/5.6 (wide open) in Manual mode. RawDigger showed that the exposure was perfect. AWB at 7:56:19am on a then-sunny morning. Tracking: Zone/AF-C with Bird Eye/Face Detection enabled performed perfectly. Click on the image to enjoy the larger, inexplicably sharper high-res version. Image #6: Osprey adult taking flight with bloody mullet in its talons |
Six Minutes Later!
Six minutes after I created Image #5 at ISO 4000, the sun broke through. I lowered the ISO until I saw only faint Zebras on the brightest highlights, and created a very strong sequence of images as the Osprey lifted the fish out of the water. Though every image was razor sharp on the bird’s eye, I kept only eight of them, those with the strongest and most interesting wing positions and flight poses. You can see another image from the series (Image #2) in the blog post here.
The morning of Saturday 4 October was one of those fabulous photo sessions that you will remember for decades.
|
|
|
This is a large crop created from an image made on 5 October 2025 on a Sebastian Inlet Extended IPT. Standing at full height, I used the Robus RC-5570 Vantage Series 3 Carbon Fiber Tripod/Levered-Clamp FlexShooter Pro-mounted Sony FE 600mm f/4 GM OSS lens with the Sony FE 1.4x Teleconverter and the Latest Greatest Sony Flagship Body, the a1 II Mirrorless Camera. Exposure determined via Zebras with ISO on the Thumb Wheel. ISO 3200: 1/2500 sec. at f/5.6 (wide open) in Manual mode. RawDigger showed that the exposure was perfect. AWB at 78:49:11am on a cloudy morning. Tracking: Zone/AF-C with Bird Eye/Face Detection enabled performed perfectly. Click on the image to enjoy the larger, inexplicably sharper high-res version. Image #7: Mullet in talons of Osprey |
Super Resolution with a Vengeance
It’s no fun being a fish in Sebastian Inlet. Aside from the Ospreys attacking from above, large predatory fish attack from below. Those include Snook and Tarpon. On Tuesday past, there were sharks in the inlet, some right in front of us as we stood on the South Jetty. Anyhoo, I had fun with the huge crop that gave me an opportunity to work on the color and tonality of the mullet. Last year a fisherman hooked a shark on a pencil popper lure on the South Jetty, and, an hour later, landed a 5-foot Black-tipped Reef Shark about 1/4 mile up the beach.
|
|
|
This image was created on 7 October 2025 on a Sebastian Inlet Extended IPT. I used the hand held Sony FE 300mm f/2.8 GM OSS Lens (Sony E) with the Sony FE 1.4x Teleconverter and the Sony a-1 (now replaced by the Latest Greatest Sony Flagship Body, the a1 II Mirrorless Camera). Exposure determined via Zebras with ISO on the Thumb Wheel: ISO 3200. 1/2500 sec. at f/4 (wide open) in Manual mode. RawDigger showed that the exposure was perfect. AWB at 7:50:16am on a cloudy morning. Tracking: Zone/AF-C with Bird Eye/Face Detection enabled performed perfectly. Click on the image to enjoy the larger, inexplicably sharper high-res version. Image #8: Osprey juvenile in flight |
So, I Ran Back to My SUV
I noted lots of Ospreys hovering in the strong wind along the shoreline just south of the jetty. So, I ran back to the car and grabbed the 300 f/2.8 with the 1.4X TC. Before I even got back to the jetty I looked up and saw this handsome young Osprey directly overhead. I created about 40 images as it hung there, and kept only one, the one that had the bird looking right down at me. Once again, having the right tool at and in hand payed big dividends.
|
|
|
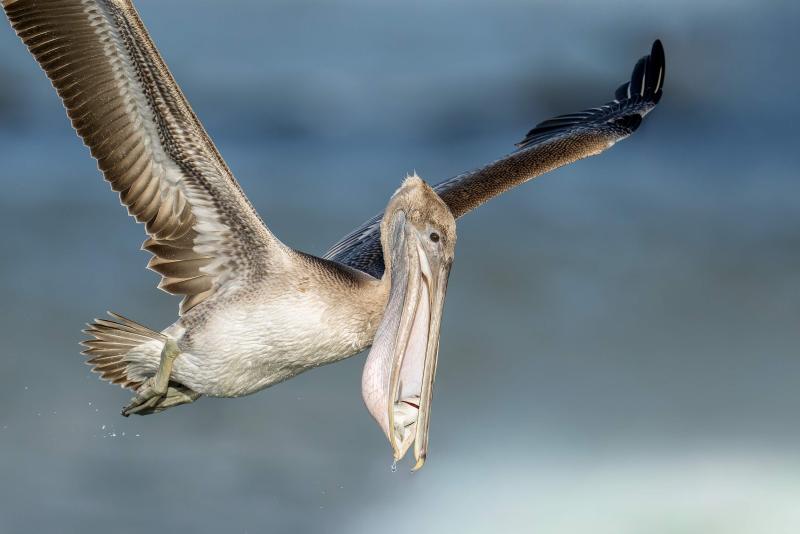
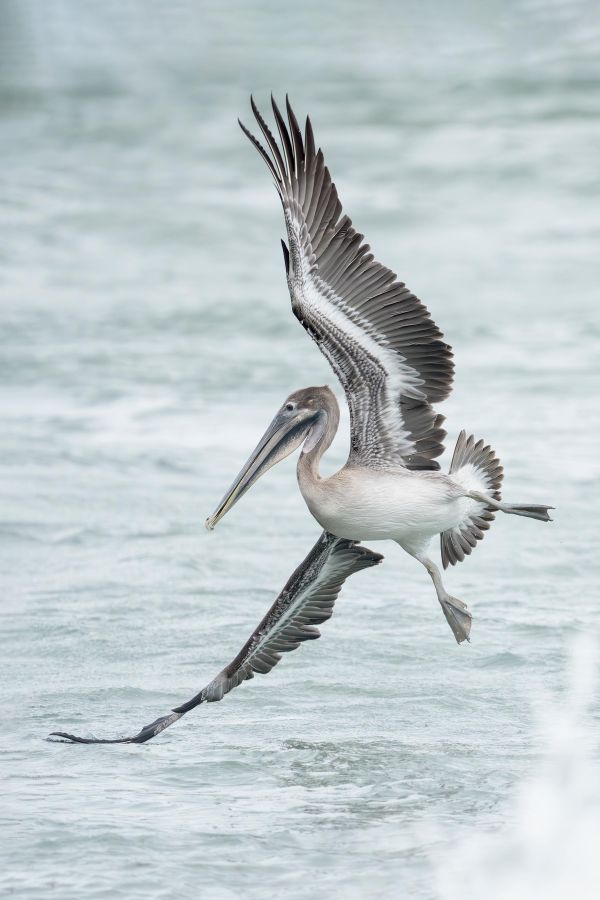
This image was created on 7 October 2025 on a Sebastian Inlet Extended IPT. Standing at full height I used the Robus RCM-439 4-Section Carbon Fiber Monopod, 65/Wimberley MonoGimbal Head-supported Sony FE 400-800mm f/6.3-8 G OSS lens (Sony E) (at 800mm) and The Latest Greatest Sony Flagship Body, the a1 II Mirrorless Camera. The exposure was determined by Zebras with ISO on the rear wheel: ISO 3200: 1/3200 sec. at f/8 (wide open) in Manual mode. RawDigger showed that the exposure was dead-solid perfect. AWB at 10:06:07am on a variably cloudy morning. Wide/AF-C with Bird-Eye/Face Detection performed perfectly. Click on the image to enjoy the larger, inexplicably sharper high-res version. Image #9: Brown Pelican juvenile turning to dive |
Mono-Podding
I love using the 400-800 on a monopod as detailed in the caption above. It really makes things easy when doing flight and action. The more I practice with it, the better I do.
Handholding Versus MonoPodding with the 400-800
With relatively heavy lenses, it is actually easier to handhold for flight photography than when working a static subject. Why? When doing flight, proper technique calls for raising the lens from the rest position, finding the subject, panning with it while acquiring focus, and squeezing off a sequence. Total time? Several seconds at most. When working a static subject like a Great Egret on a pier railing, however, you might wind up holding the lens up for five or ten or even more minute. Having the lens supported by a quality monopod reduces stress and strain especially on your left shoulder. A tripod would be even better but then you lose the stealth and mobility advantages that come with using a monopod.
You can learn a ton about using a monopod in the Robus MonoPodding With the Sony 400-800 G Lens blog post here..
Typos
With all blog posts, feel free to e-mail or to leave a comment regarding any typos or errors.

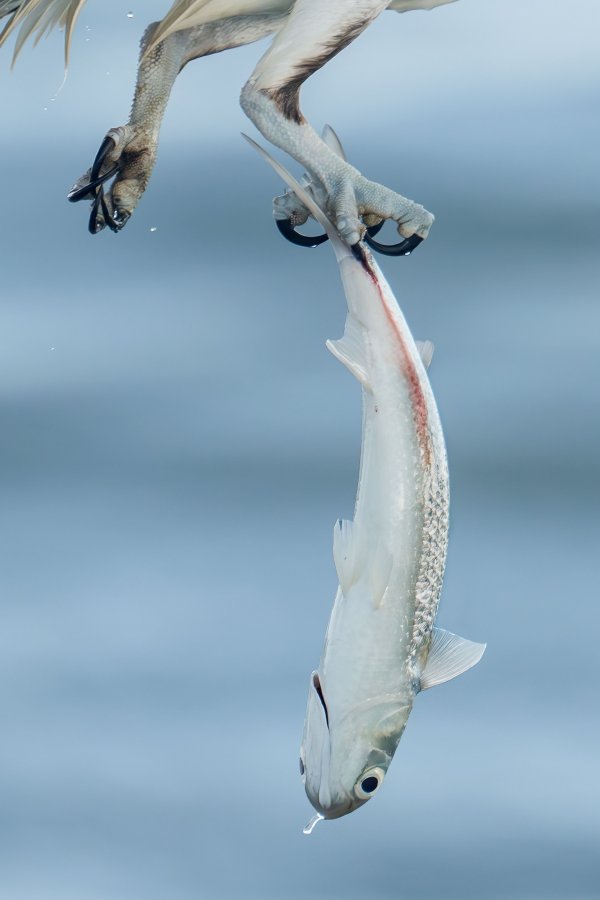
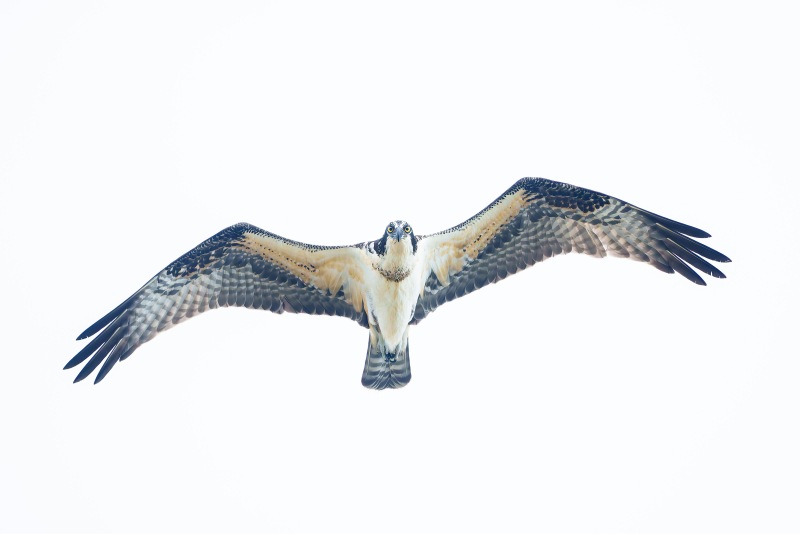


It’s hard to pick out just one image from your post. I am drawn to images 2, 7 and 8. I like the head on images with the birds looking straight at the camera, but also like that close up of the Osprey clutching the fish with those fierce looking talons.
Thanks, Adrian, I am looking forward to seeing you at Sebastian in November. with love, artie