
Your Call?
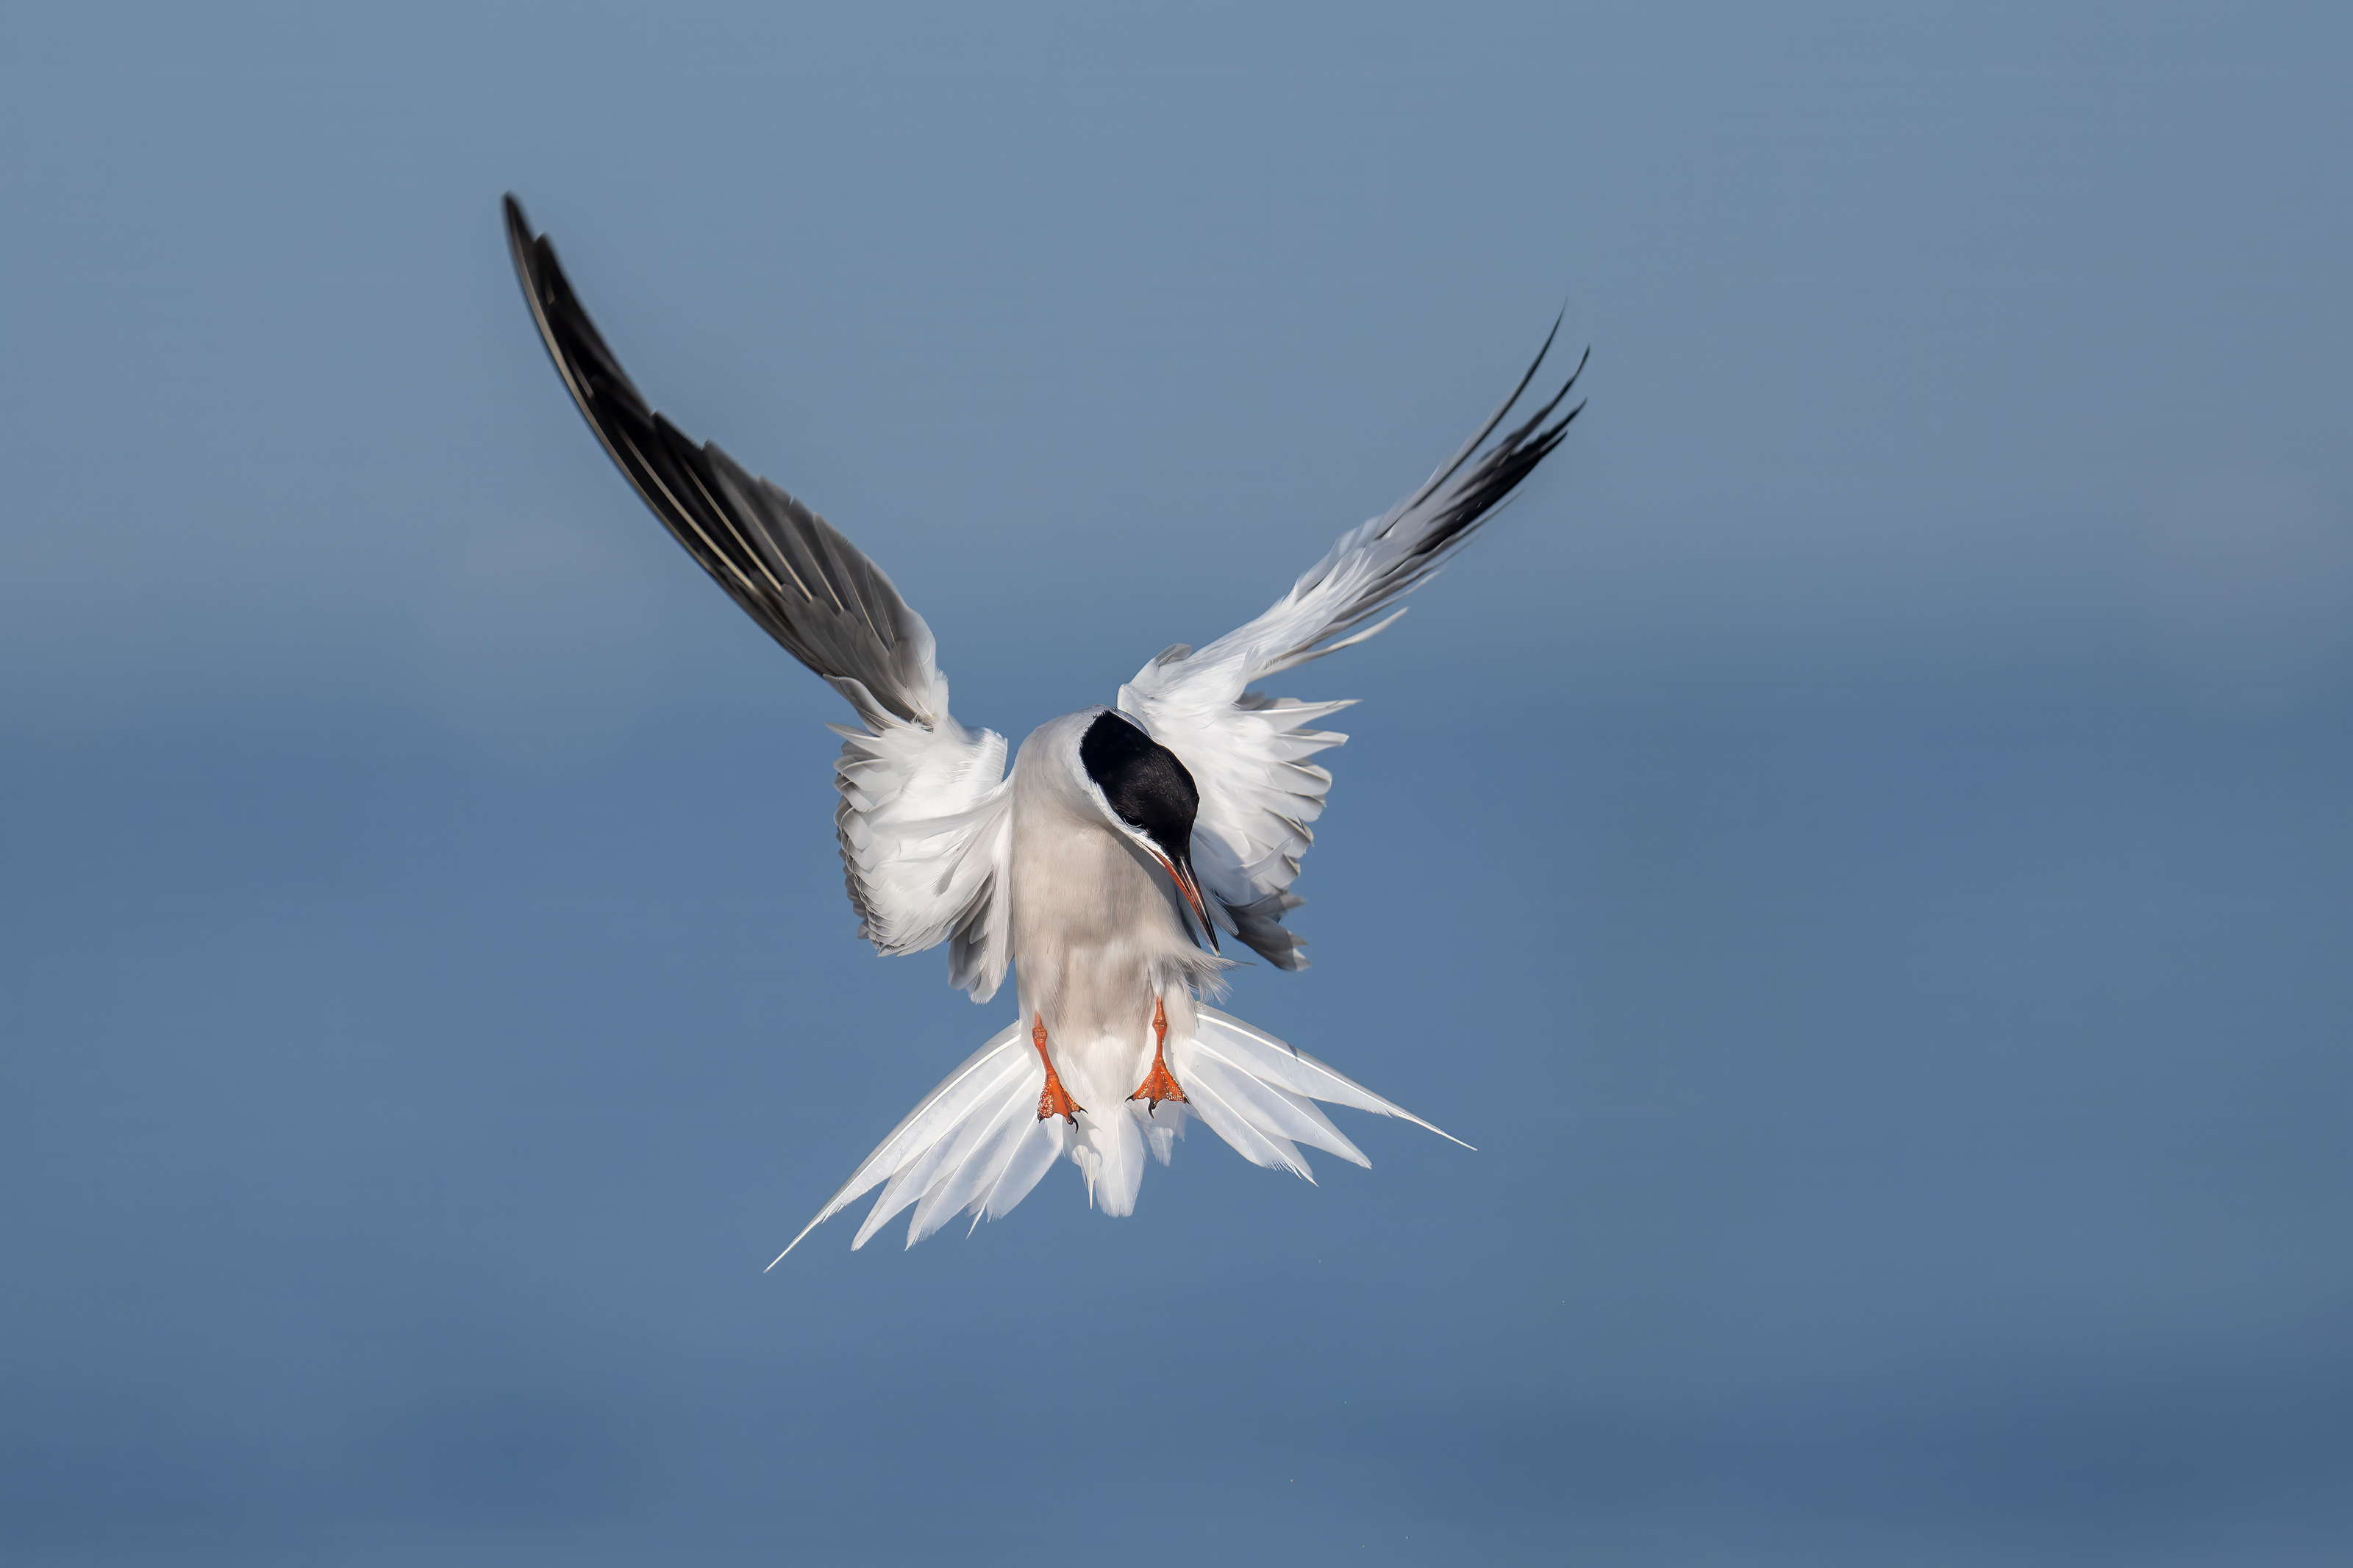
Which of today’s seven featured photos do you like best? Why? Of the three images created in the same second, #s 5-7, which is the strongest? Why did you make your choice?
What’s Up?
Same old, same old. Challenging conditions at Nickerson continue to result in the creation of some very wonderful images. Today’s post features images created on 10 August when we enjoyed our first northeast wind in ten days. Keep reading to learn why I lost a solid hour of photography while aiding a vicious killer. Most afternoons have been marked by some violent thunderstorms.
I was glad to learn recently that IPT veteran and all around good guy Steve Pumilia has signed up for the second Homer 2027 IPT. Both trips are now sold out.
Today is Thursday 13 August 2026. I will be on the beach at 5:30am as I have been every day since I arrived. Whatever you opt to do, I hope that you choose to have fun and enjoy life. Please remember that happiness is a choice — Byron Katie – The Work.Com
If an item — a Delkin flash card or reader, a Levered-clamp FlexShooter Pro, or a Wimberley lens plate or low foot — for example, that is available from B&H and/or Bedfords, is also available in the BAA Online Store, it would be great, and greatly appreciated, if you would opt to purchase from us. We will match or beat any price. Please remember also to use my B&H affiliate links or to earn 3% cash back at Bedford by using the BIRDSASART discount code at checkout for your major gear purchases. Doing either often earns you free guides and/or discounts. And always earns my great appreciation.
Gear Questions and Advice
Too many folks attending BAA IPTs and dozens of photographers whom I see in the field and on BirdPhotographer’s.Net, are — out of ignorance — using the wrong gear, especially when it comes to tripods and more especially, tripod heads. And the same is true in spades when ordering new camera bodies or lenses. My advice will often save you some serious money and may help you avoid making a seriously bad choice. Please know that I am always glad to answer your gear questions via e-mail. If you are desperate, you can try me on my cell at 863-221-2372. Please leave a message and shoot me a text if I do not pick up.
|
|
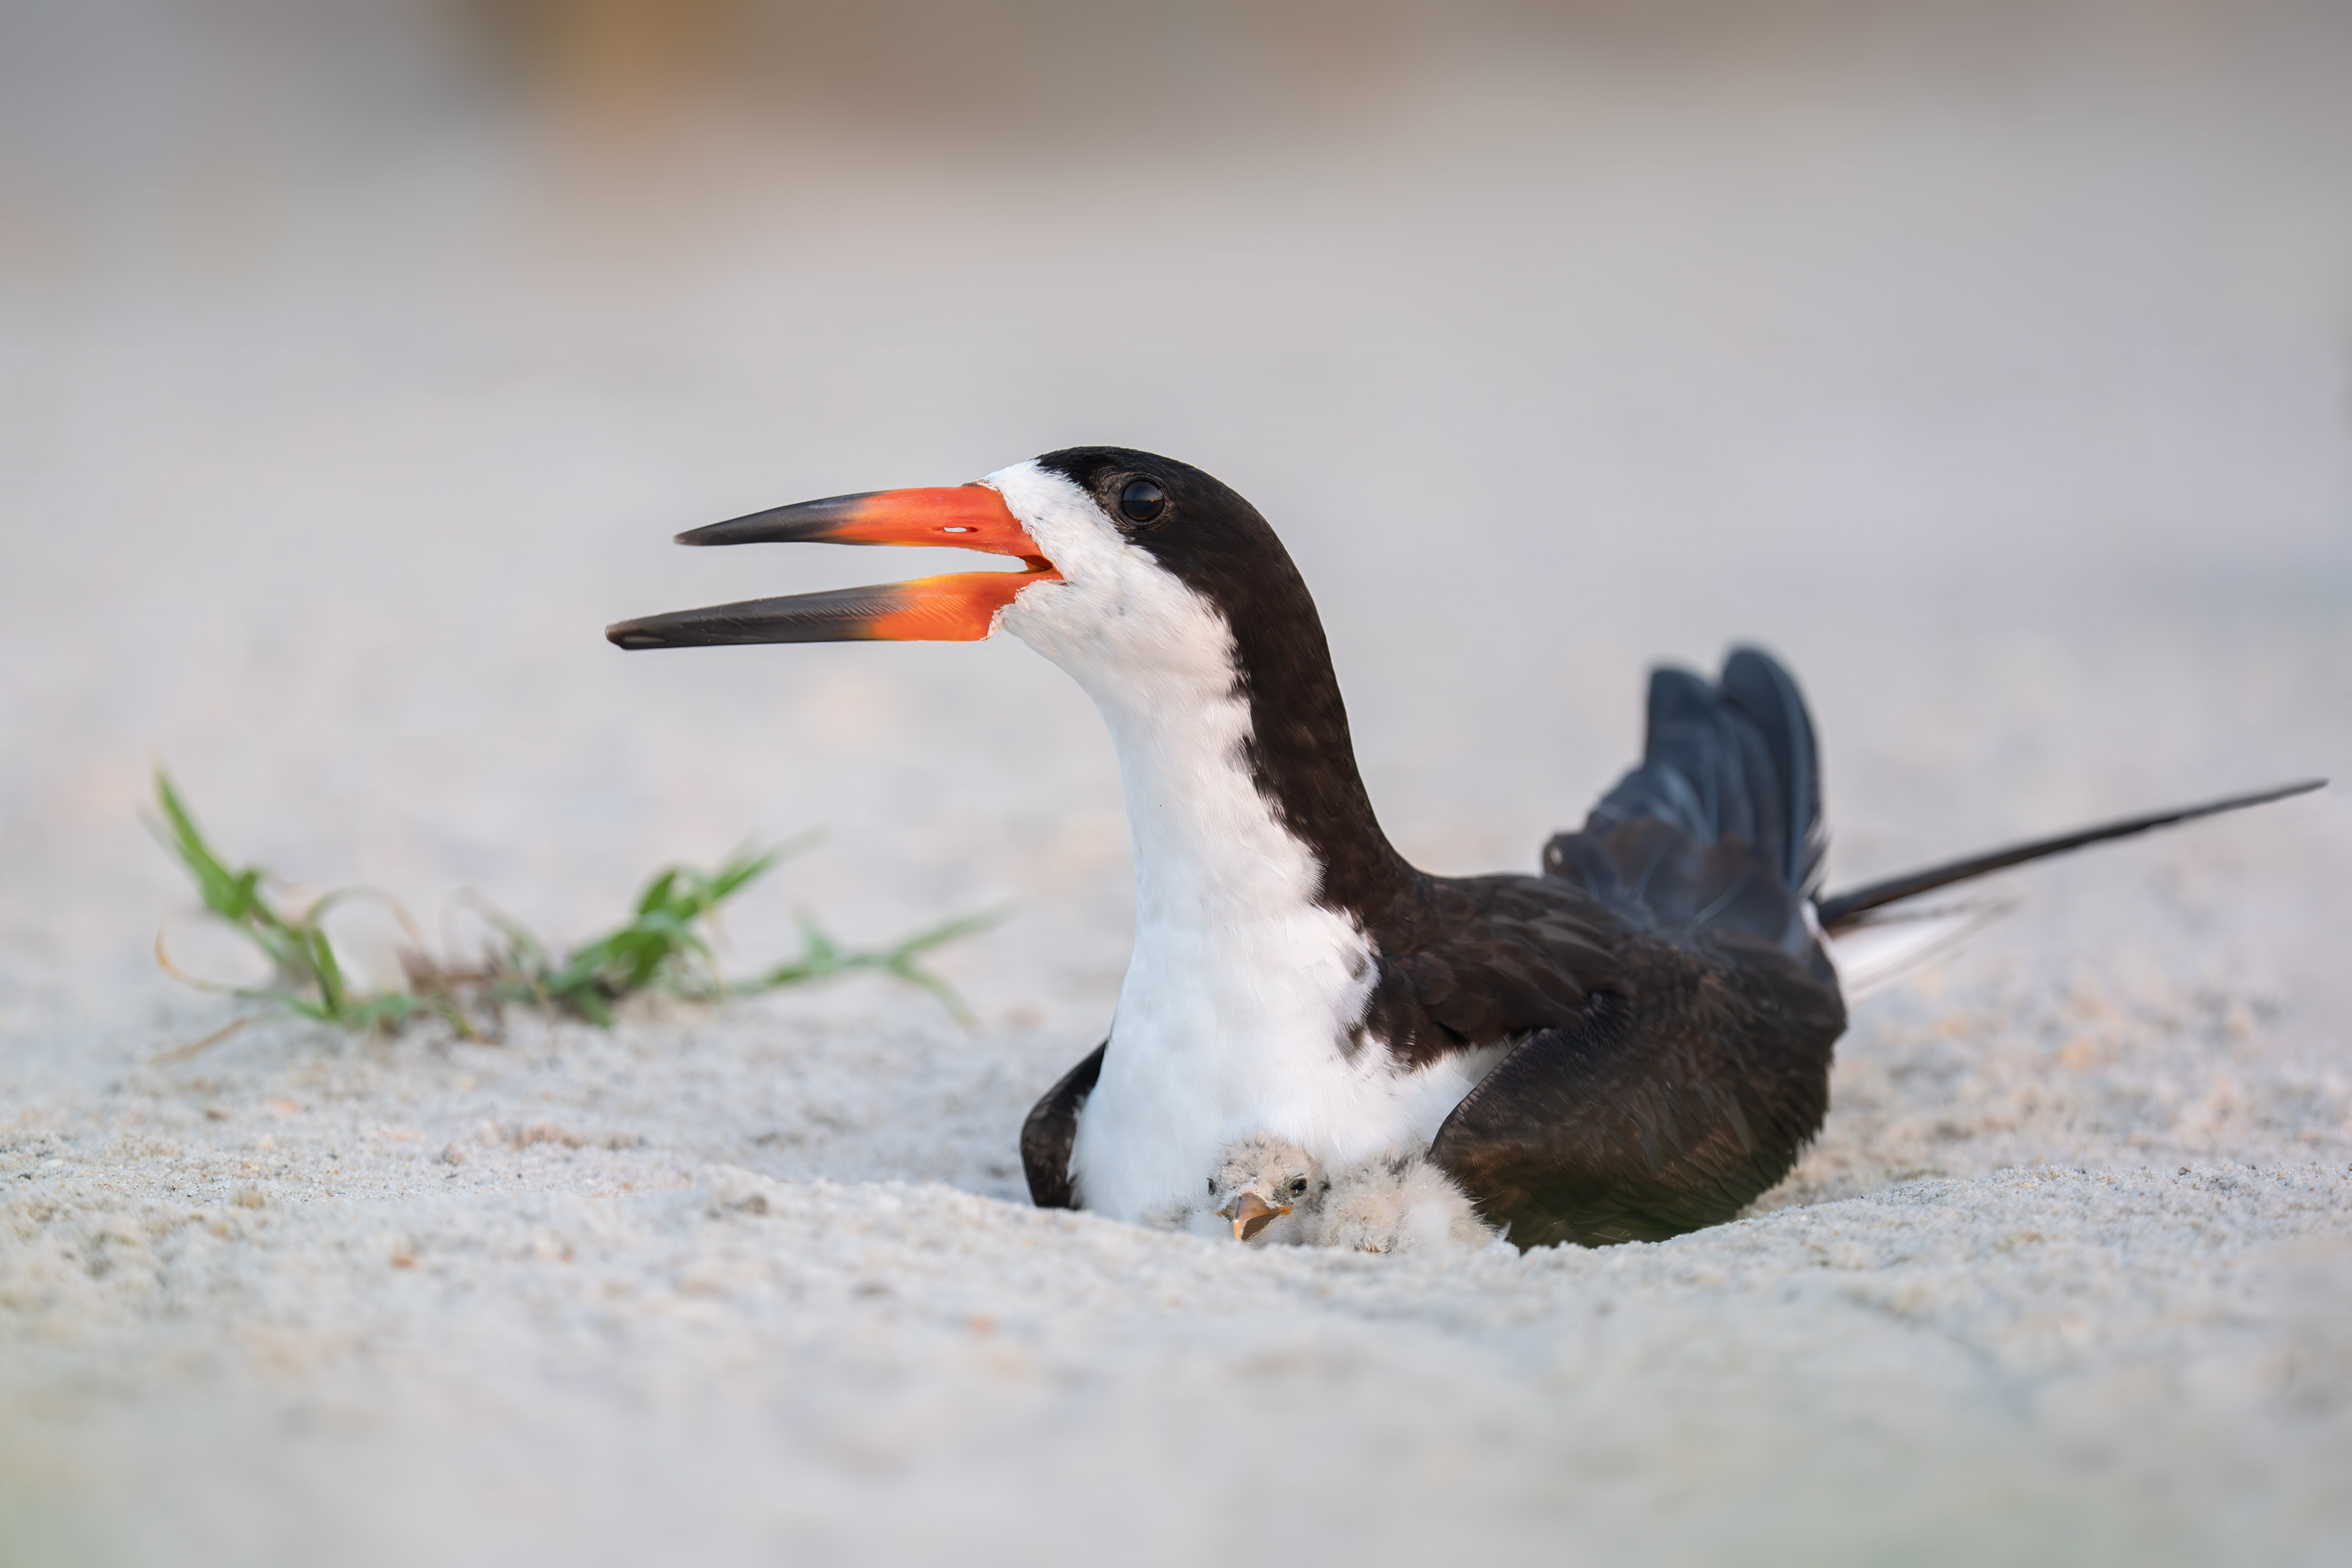
This image was created on the morning of 10 August 2026 at Nickerson Beach Park, Lido Beach, Long Island, NY. Seated on dry sand, I used the handheld Sony FE 100-400mm f/4.5 GM OSS lens (at 400mm) and The Latest Greatest Sony Flagship Body, the a-1 II Mirrorless Camera (in full frame mode). The exposure was determined by Zebras with ISO on the rear wheel. ISO 2500: 1/500 second at f/4.5 (wide open) in Manual mode. AWB at 6:18:00am on a very cloudy morning Tracking: Zone/AF-C with Bird-Eye/Face Detection performed perfectly. Click on the image to enjoy a larger high-res version. Image #1: Black Skimmer on nest with very small chick |
Late-nesting Skimmers
The Black Skimmers had an atypically poor year production-wise. Typical though, are some late nests. We have found several with chicks close to the colony ropes and several more nests with three eggs. This wide open nest had been quite popular with photographers for the past few days.
|
|
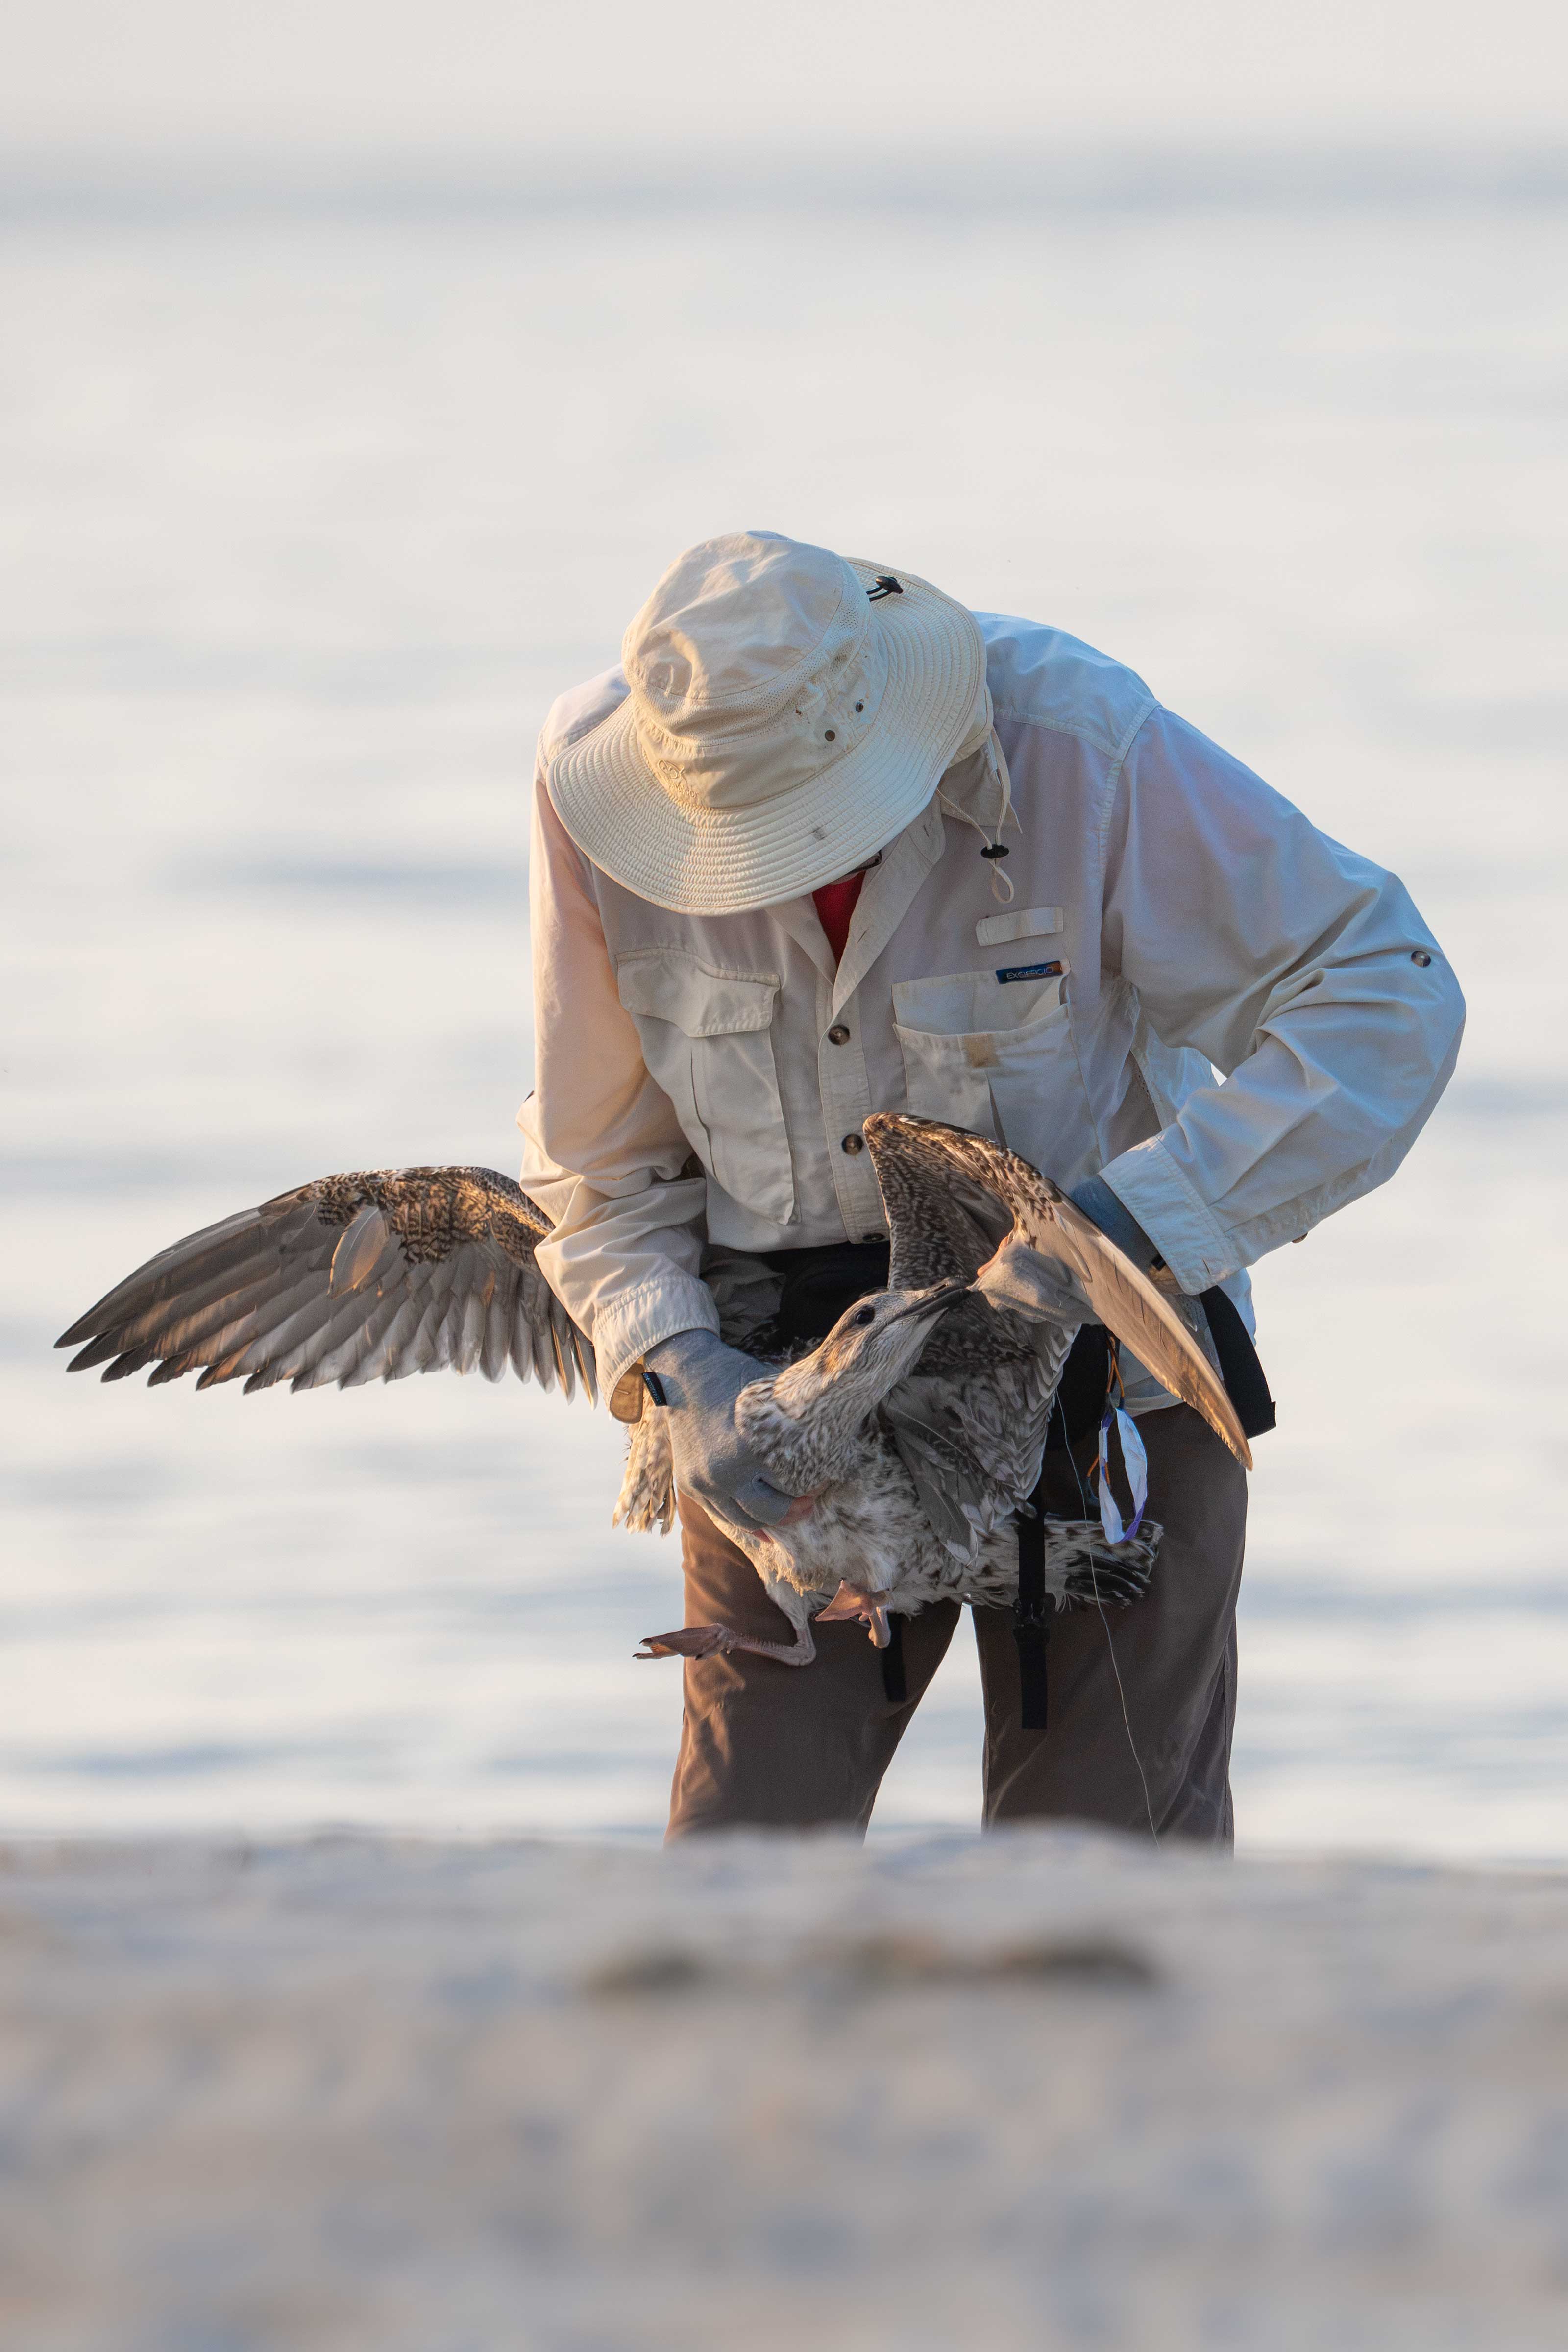
This image was created on 10 August 2026 at Nickerson Beach by Anke Frohlich. She used the hand held Sony FE 200-600mm f/5.6-6.3 G OSS lens (at415mm) and The One, the Sony Alpha 1 Mirrorless digital camera. Exposure determined via Zebras with ISO on the rear dial: ISO 3200: 1/2000 sec. at f/6.3 (wide open) in Manual mode. AWB at 6:40:36am on a cloudy morning. Tracking: Center Zone/AF-C Bird/Eye Detection AF was active at the moment exposure and created a sharp-on-the-eye image. Click on the image to enjoy the larger version. Image #2: artie rescuing juvenile Great Black-backed Gull
|
An Eventful Walk
On 10 August, two tiny Black Skimmer chicks were sitting in the scrape; the third hatched the following day. As the morning grew brighter, all three disappeared beneath the brooding adult and stayed put. With a decent northeast breeze blowing, I decided to walk down to the surf to photograph terns fishing — or rather, “mole-crabbing.”
A passel of large gulls dispersed as I approached, but a single, agitated young Great Black-backed Gull remained behind, struggling to take flight. I quickly realized the bird was badly tangled in fishing line. At first, I couldn’t understand why it couldn’t get airborne. Then I spotted the culprit: about 40 feet of line had become ensnarled in a large clump of seaweed heavy enough to anchor the young gull to the beach.
I grabbed the bird behind its head—gently as possible, but firmly enough to avoid its sharp beak — and cradled it in my right arm while untangling the line wrapped around its legs. Next, I cleared several loops coiled around its right wing. My heart sank, however, when I saw the rest of the line disappearing straight down the bird’s throat. I assumed it had swallowed a hook.
My initial instinct was to cut the line as close to the mouth as possible and let the bird fly off, hoping the hook might eventually dissolve over time. (I’ve since learned from Gemini — see below — that modern hooks rarely do.)
About then, Anke Frölich walked over to see if I needed a hand. I asked her to check if any nearby photographers had a knife or nail clippers; the braided line was far too strong to bite through, as I could have easily done with standard monofilament. But no luck there. Shortly afterwards, the gull managed to whack my left thumb, drawing blood.
A local photographer and fisherman named Glen walked over and followed the line down to the clump of seaweed where he discovered a hook caught in the seaweed. He untangled it and, with some effort, unknotted the hook from the line. Now the situation made no sense at all: I was holding a gull that had swallowed 40 feet of line, but the hook was at the other end of the string, anchored in the seaweed. Why was the line stuck down the bird’s throat?
Glen tried cutting the line with a sharp, broken seashell, but it never even frayed. Anke tried calling Hempstead Town Conservation and Waterways, but no one answered. She tried Casey, a researcher we had met the previous season — again, no answer. Finally, Anke dialed 911, explaining that while it wasn’t a life-or-death human emergency, we needed assistance. The dispatcher took our details, promised to send an officer, and gave Anke a few alternative numbers to try, though none panned out.
Meanwhile, Glen tracked down the phone number for a local conservation officer and called him for help.
By this point, I had been holding the gull for nearly 30 minutes, and my right arm was beginning to cramp. I asked Glen to take over holding the bird while I kept several loops of line wrapped around my wrist as a safety backup, just in case the bird broke free. Which, of course, it did. The bird shook itself loose from Glen’s grip and landed back on the sand. At first, it struggled mightily, pulling against its 40-foot “leash.” Periodically, it would relax and settle onto its haunches, only to launch into another flurry of pulling to try to dislodge whatever was stuck in its throat.
After about an hour, a research truck finally pulled up. Rob Longiaru, the lead researcher was able to snip the heavy line cleanly with a pair of wire cutters, secure the gull, and transport it off for veterinary care.
It felt a bit ironic saving a creature that routinely devours baby terns and skimmers like potato chips — but I couldn’t have lived with myself if I had simply walked away and left the bird to struggle and suffer. I was rewarded immediately thereafter as the sun broke through the clouds and the terns were flying right at me.
Gemini’s Take On Things
A bird that has swallowed a fish hook can survive, but cutting the line significantly reduces its odds. The outcome depends largely on where the hook lands and whether it gets intervention.
Will the Hook Dissolve?
Modern hooks rarely dissolve over time. Most modern fishing hooks are made of stainless steel or coated high-carbon steel (anti-corrosive) specifically designed *not* to rust quickly in wet, salty environments.
Gastric juices have limits: A gull’s digestive enzymes and acids are strong, but dissolving a metal hook takes months to years. In most cases, the metal poisons the bird (lead/copper toxicity) or causes fatal internal punctures long before the metal corrodes away. Small, plain carbon steel hooks have the highest chance of eventually rusting down, but even then, it is rarely fast enough to prevent tissue trauma.
Can a Bird Survive?
Survival is possible, but it depends on three main factors:
1. Passage or Regurgitation (without intervention):
Gizzard grinding: If a small hook reaches the ventriculus (gizzard) without puncturing the esophagus or proventriculus, the bird’s muscular gizzard—often aided by swallowed grit and small stones—can occasionally grind down small hooks, or the bird may cast (regurgitate) it up.
Rehab “Cotton-Balling”:** Avian rehabilitators often feed hooked birds cotton padding wrapped in fish; the cotton tangles in the hook inside the stomach, allowing the bird to safely regurgitate the hook without surgery.
2. The Danger of the Cut Line:
Cutting the line leaving a long trailing strand is often worse than the hook itself. Trailing monofilament wraps around wings, feet, or nearby vegetation, tethering the bird until it starves or loses a limb.
3. Infection and Puncture Risks:
If the barb pierces the throat, stomach lining, or air sacs, it will usually lead to internal bleeding, peritonitis, or severe infection.
Standard Protocol for Anglers (“Reel, Remove, Release”)
If an angler hooks a gull or pelican, wildlife agencies emphasize that folks should never cut the line and let the bird fly off:
Reel: Gently reel the bird in using a hoop net if possible.
Restrain & Cover: Cover the bird’s head with a towel to calm it down and hold the wings firmly against its body.
Remove: If the hook is external or in the outer bill, push the barb through, snip the barb off with wire cutters, and back the hook out.
If Swallowed: Do not pull hard on a swallowed line. Cut the line *as short as possible right at the mouth* (so no trailing line is left to tangle) and get the bird to a local wildlife rehabilitator immediately for X-rays or cotton-balling/endoscopy.
Note: Unlike monofilament, the relatively new braided lines — often made from high-strength polyethylene fibers like Spectra or Dyneema — are virtually impossible to break or cut without sharp shear tools or heavy wire/braid cutters. They pose a massive threat to coastal wildlife.
|
|
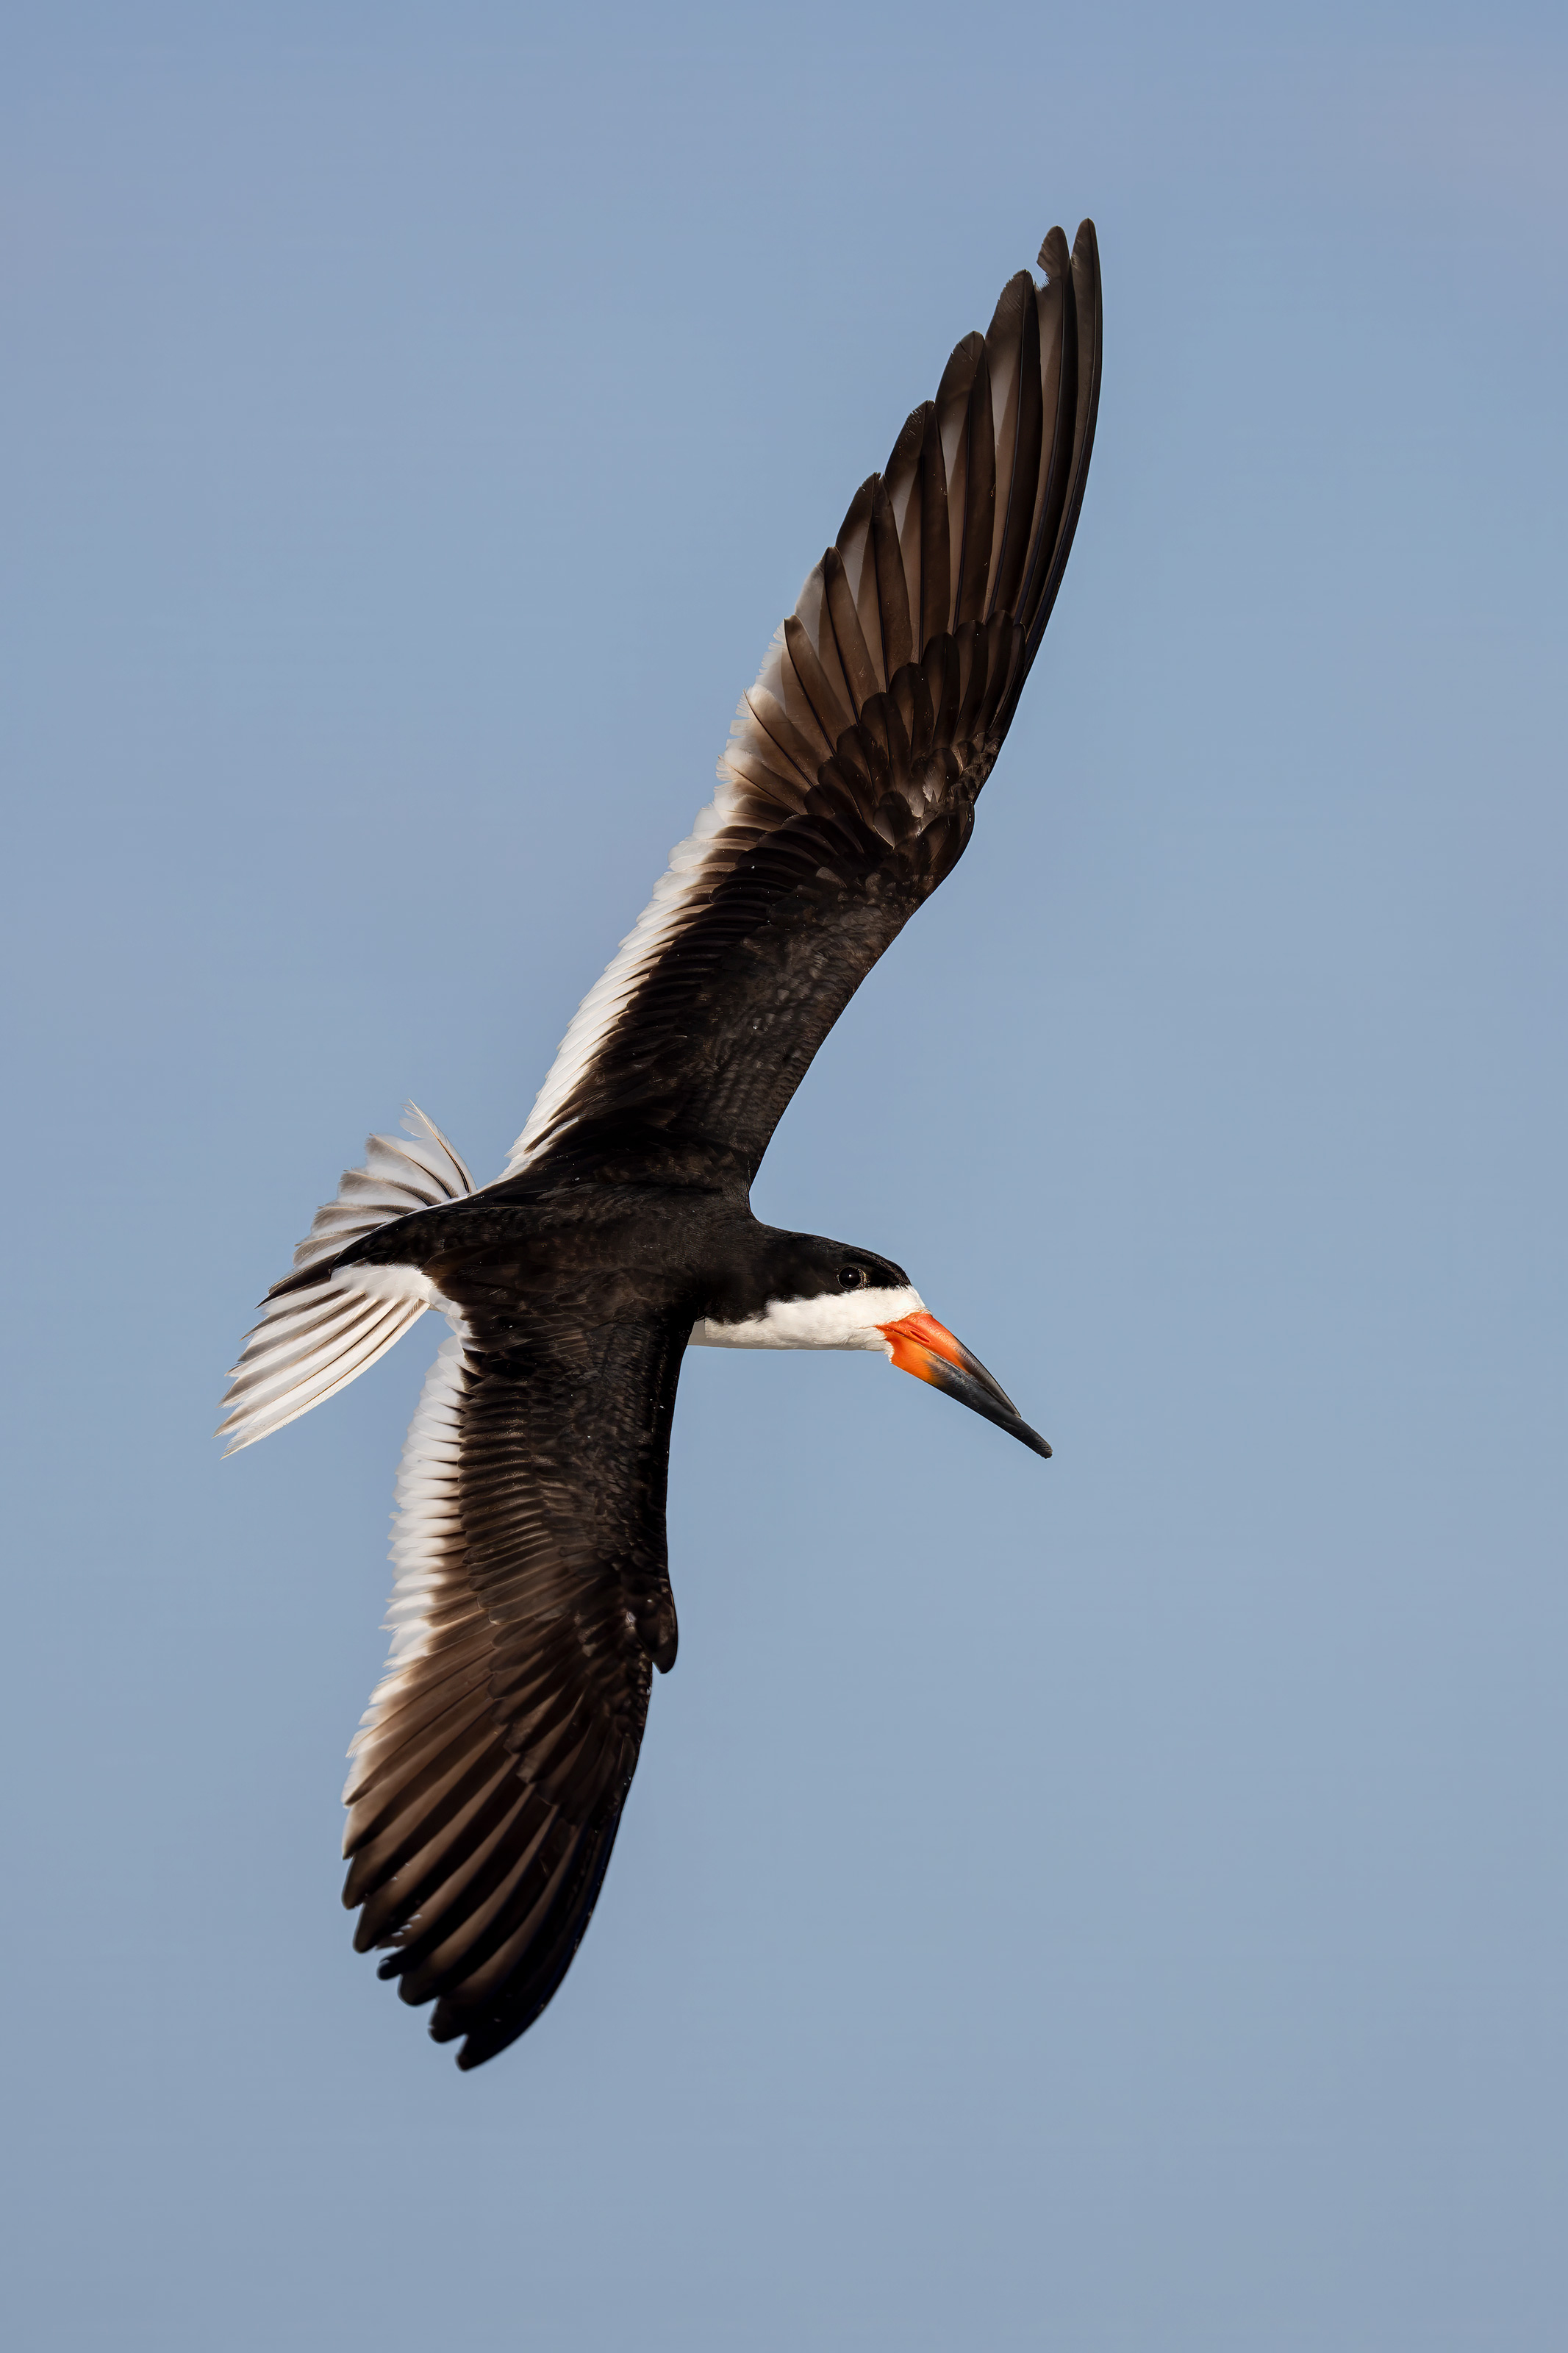
This image was created on the morning of 10 August 2026 at Nickerson Beach Park, Lido Beach, Long Island, NY. Seated on dry sand, I used the handheld Sony FE 100-400mm f/4.5 GM OSS lens (at 400mm) and The Latest Greatest Sony Flagship Body, the a-1 II Mirrorless Camera (in full frame mode). The exposure was determined by Zebras with ISO on the rear wheel. ISO 640: 1/5000 second at f/4.5 (wide open) in Manual mode. AWB at 7:43:54am on a then sunny morning Wide/AF-C with Bird-Eye/Face Detection performed perfectly. Click on the image to enjoy a larger high-res version. Image #3: Black Skimmer — adult turning right in flight — dorsal view |
Dorsal View Turning Bank Shots
With modern mirrorless gear getting a flight shot that is razor sharp on the bird’s eye is no longer much of a challenge. In today’s word, it is all about wing positions and flight poses, the more dramatic the better. As with this image, most dorsal view turning bank shots are cropped from horizontal originals. When the birds are close and banking and you find yourself clipping wings top and bottom, turn your camera on end and try for vertical originals. Those are very challenging but result in a lot more pixels on the subject.
|
|
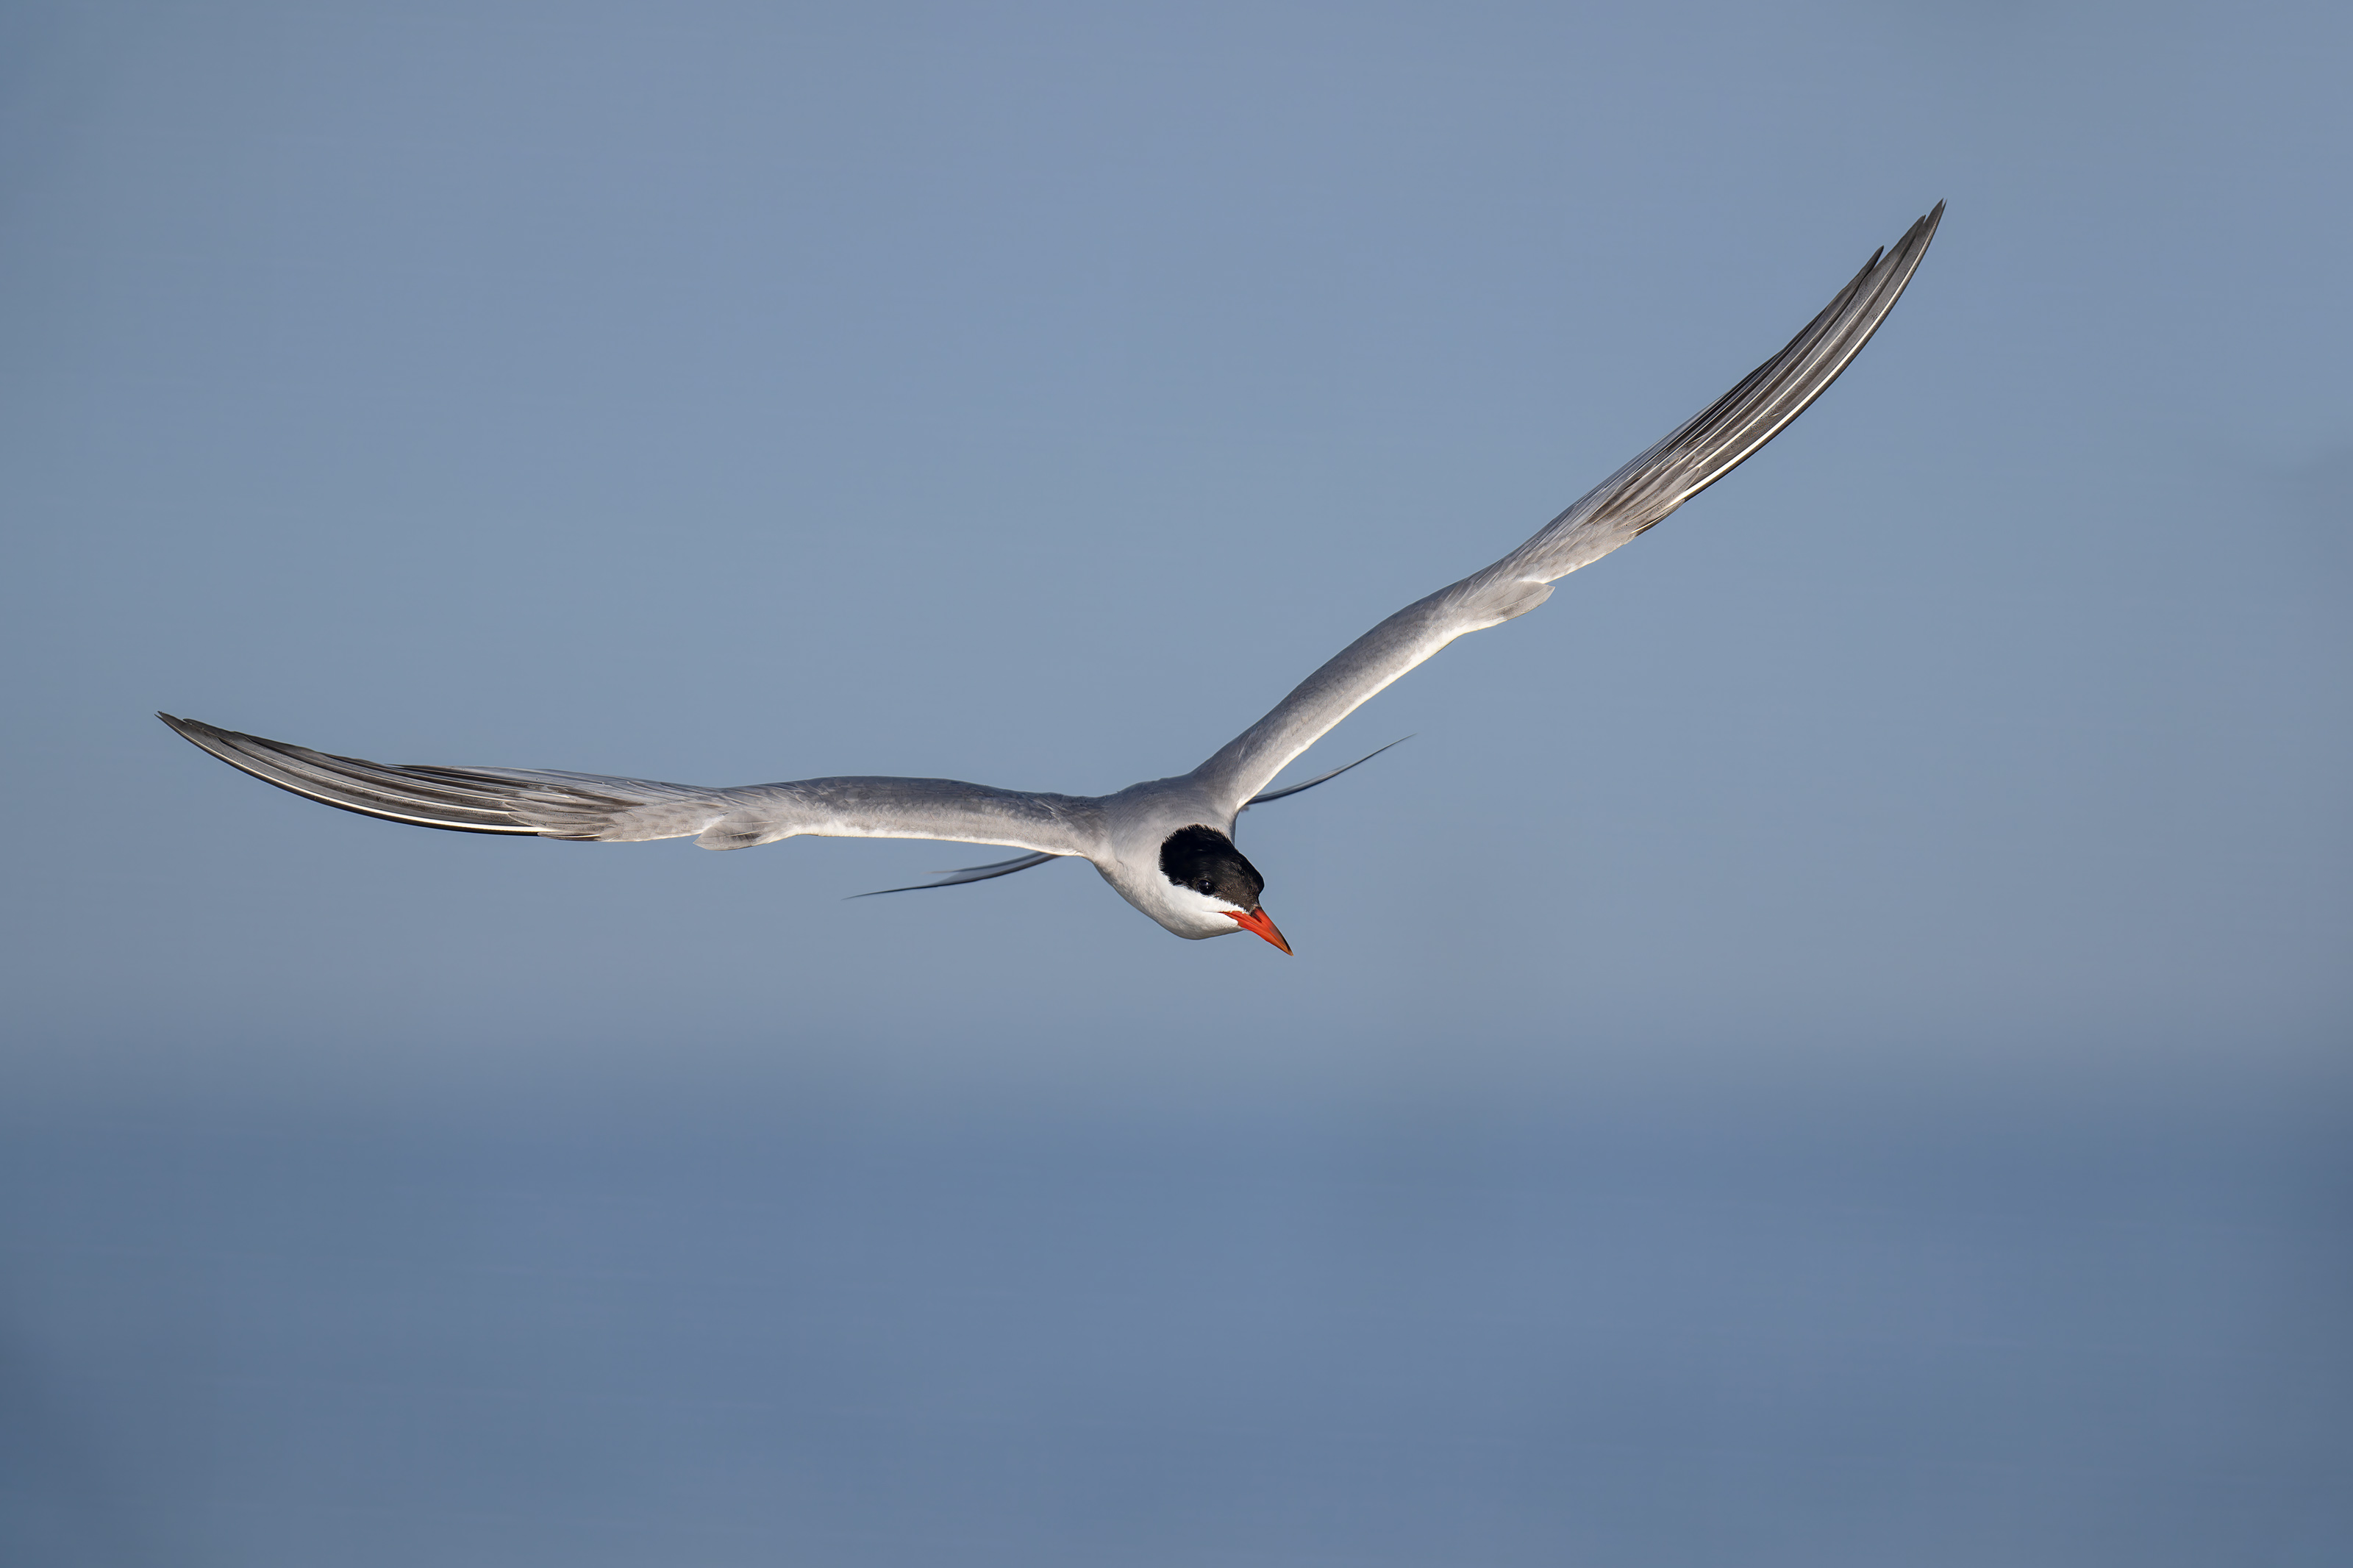
This image was created on the morning of 10 August 2026 at Nickerson Beach Park, Lido Beach, Long Island, NY. Standing at full height, I used the handheld Sony FE 100-400mm f/4.5 GM OSS lens with the Sony FE 1.4x Teleconverter (at 560mm) and The Latest Greatest Sony Flagship Body, the a-1 II Mirrorless Camera (in full frame mode). The exposure was determined by Zebras with ISO on the rear wheel. ISO 800: 1/4000 second at f/6.3 (wide open) in Manual mode. AWB at 8:17:45am on a then sunny morning Wide/AF-C with Bird-Eye/Face Detection performed perfectly. Click on the image to enjoy a larger high-res version. Image #4: Common Tern adult — dynamic flat flight pose |
Why So Powerful?
This seemingly simple image is quite powerful for a variety of reasons:
1- The incredible sharpness.
2- The gentle “v” of the wings.
3- The catchlight in the eye.
4- The neat tail position.
5- The bird is angling toward the viewer.
6- The placement of the bird in the frame just above the ocean.
7- The color scheme — red, white, and blue. And black.
8- The relatively soft light.
Did I miss anything?
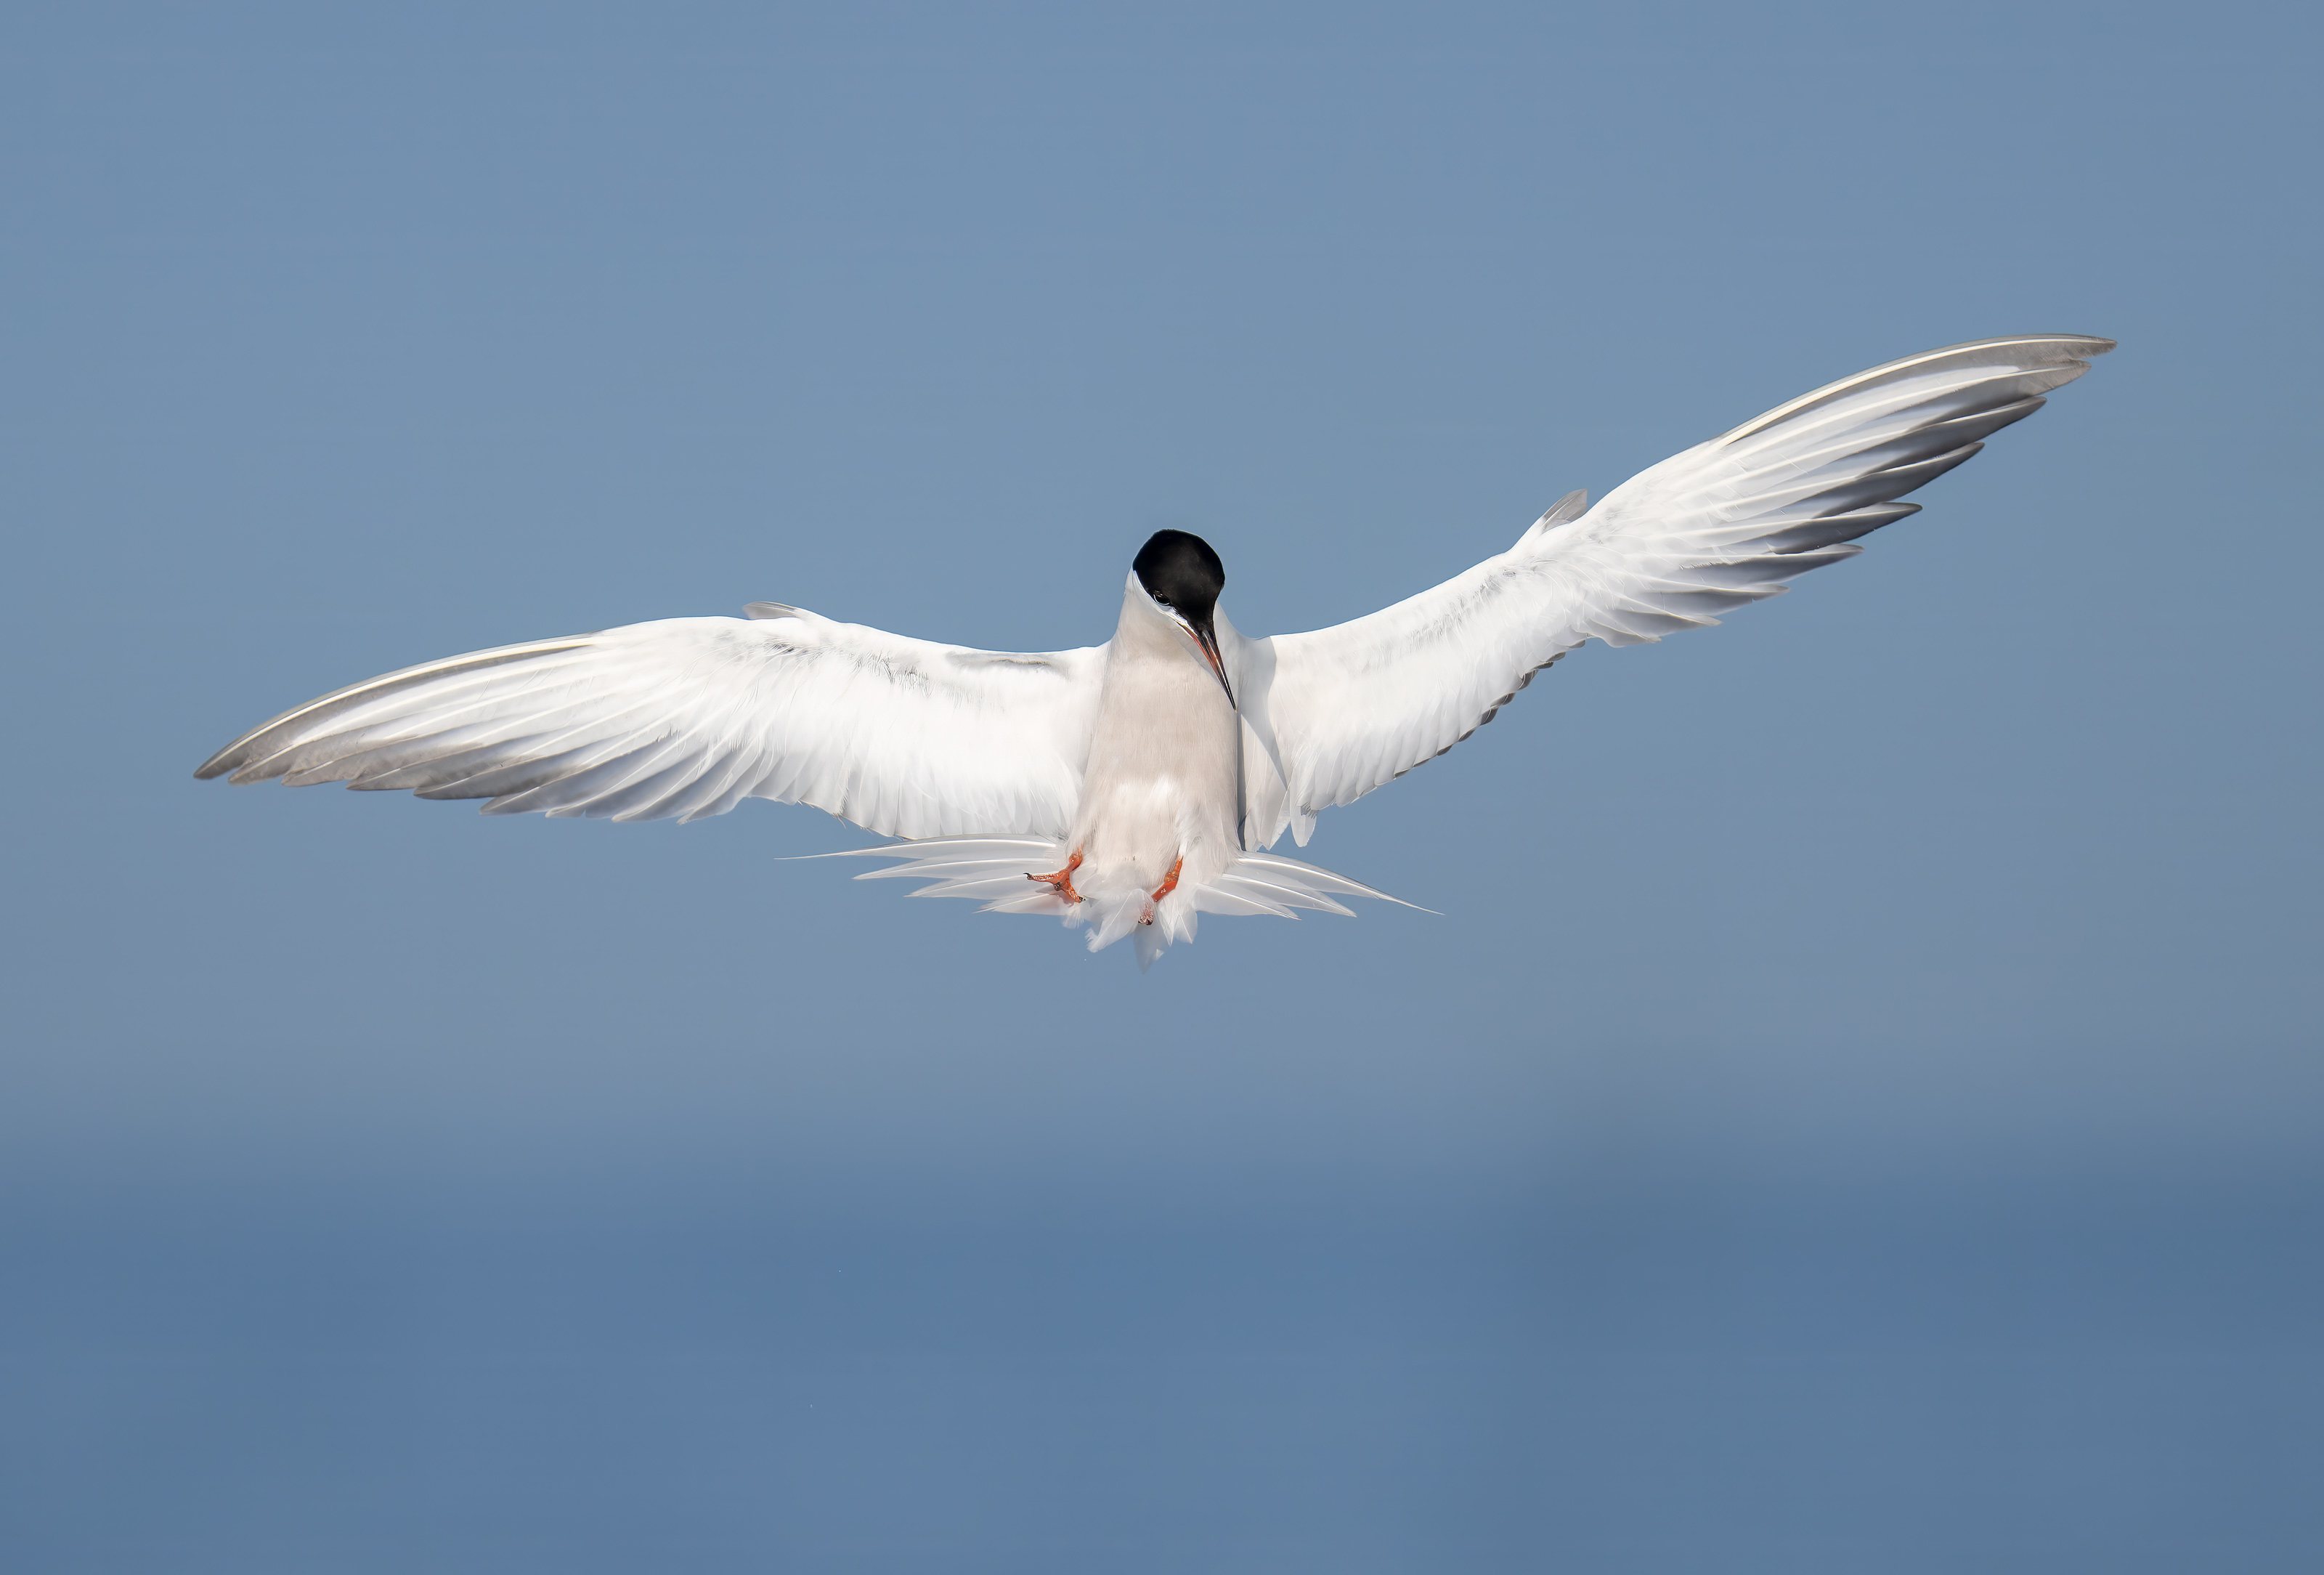
|
|
This image was created on the morning of 10 August 2026 at Nickerson Beach Park, Lido Beach, Long Island, NY. Standing at full height, I used the handheld Sony FE 100-400mm f/4.5 GM OSS lens with the Sony FE 1.4x Teleconverter (at 560mm) and The Latest Greatest Sony Flagship Body, the a-1 II Mirrorless Camera (in full frame mode). The exposure was determined by Zebras with ISO on the rear wheel. ISO 800: 1/4000 second at f/6.3 (wide open) in Manual mode. AWB at 8:18:08am on a then sunny morning Wide/AF-C with Bird-Eye/Face Detection performed perfectly. Click on the image to enjoy a larger high-res version. Image #5: Common Tern adult — sitting back — ready to dive |
Twenty-three Seconds Later!
About 23 seconds after I made Image #4, I had one very good second during which I created this and the next two images. I had never before seen or photographed the sitting back flight pose that you see in Images #5 and #6.
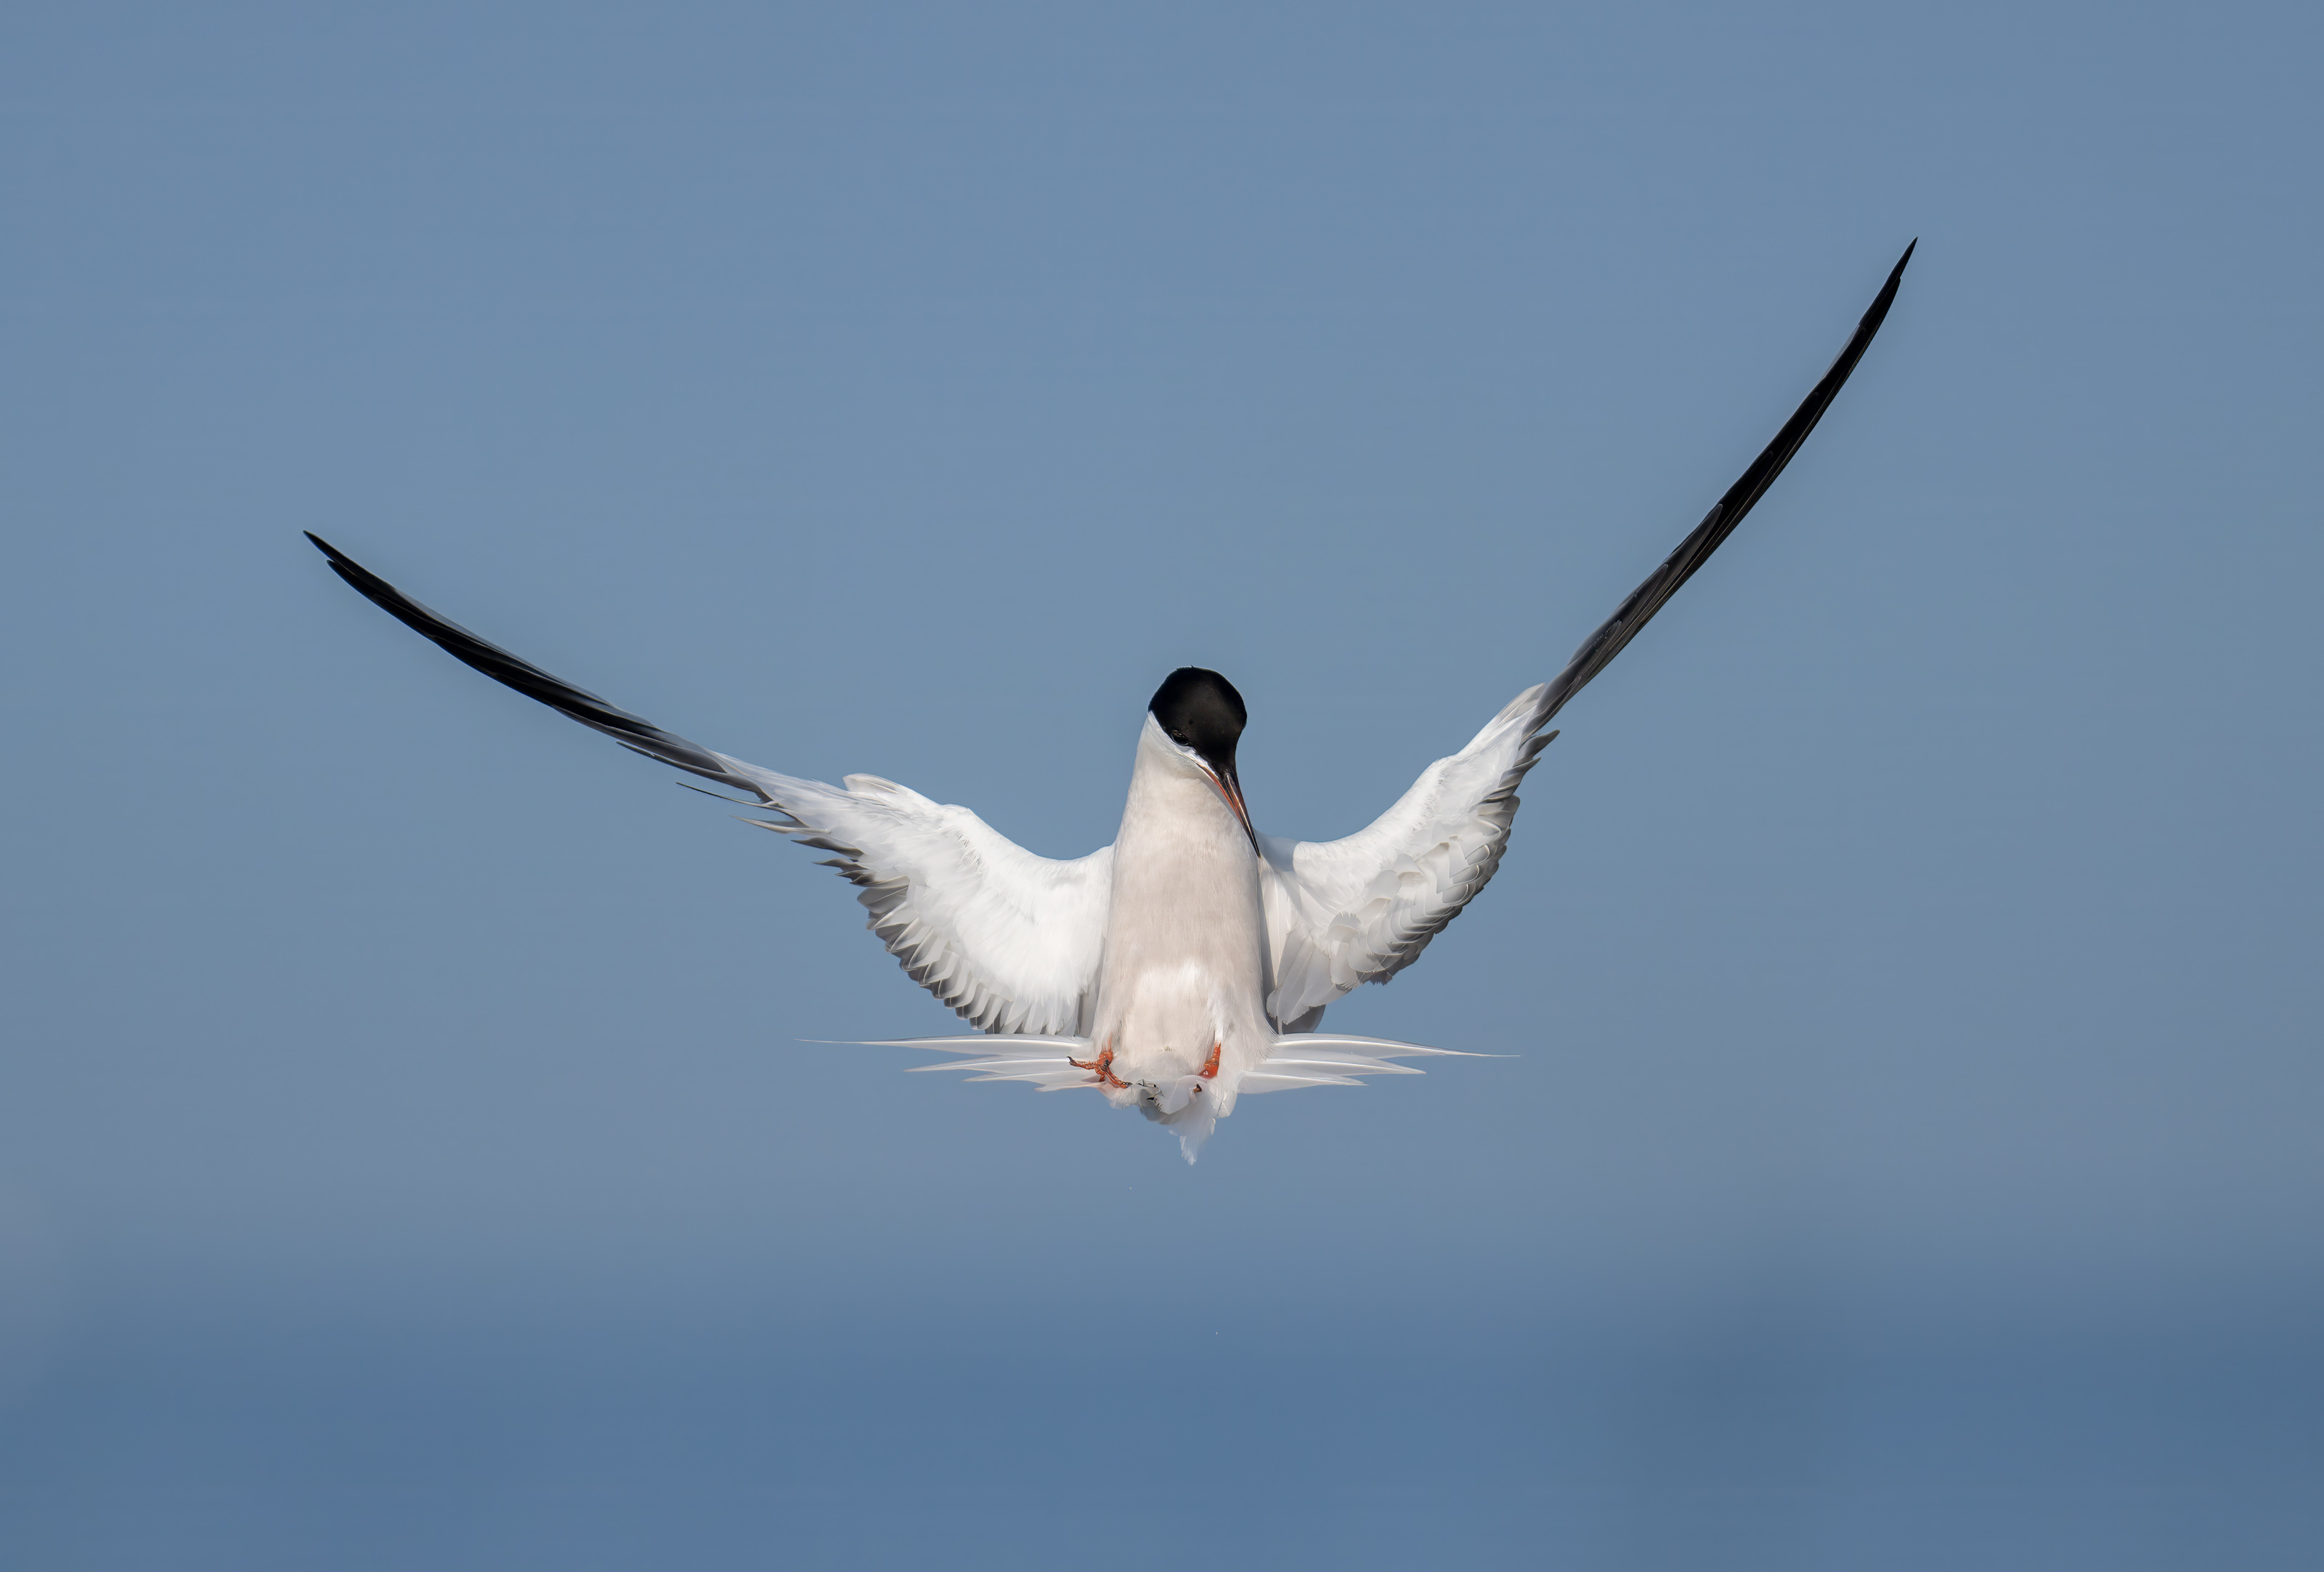
|
|
This image was created on the morning of 10 August 2026 at Nickerson Beach Park, Lido Beach, Long Island, NY. Standing at full height, I used the handheld Sony FE 100-400mm f/4.5 GM OSS lens with the Sony FE 1.4x Teleconverter (at 560mm) and The Latest Greatest Sony Flagship Body, the a-1 II Mirrorless Camera (in full frame mode). The exposure was determined by Zebras with ISO on the rear wheel. ISO 800: 1/4000 second at f/6.3 (wide open) in Manual mode. AWB at 8:18:08am on a then sunny morning Wide/AF-C with Bird-Eye/Face Detection performed perfectly. Click on the image to enjoy a larger high-res version. Image #6: Common Tern adult — sitting back with tail under the bird — ready to dive |
Which One?
Which very unusual “seated” flight pose do you like best, #5 or #6? Why?
|
|
This image was created on the morning of 10 August 2026 at Nickerson Beach Park, Lido Beach, Long Island, NY. Standing at full height, I used the handheld Sony FE 100-400mm f/4.5 GM OSS lens with the Sony FE 1.4x Teleconverter (at 560mm) and The Latest Greatest Sony Flagship Body, the a-1 II Mirrorless Camera (in full frame mode). The exposure was determined by Zebras with ISO on the rear wheel. ISO 800: 1/4000 second at f/6.3 (wide open) in Manual mode. AWB at 8:18:08am on a then sunny morning Wide/AF-C with Bird-Eye/Face Detection performed perfectly. Click on the image to enjoy a larger high-res version. Image #7: Common Tern adult — hovering before dive |
Kiting versus Hovering
Also From Gemini
Kiting (Wind-Assisted Stationary Flight)
Kiting relies on environmental airflow. The bird flies directly into a steady headwind or ridge updraft, adjusting its wings, tail, and angle of attack so that forward wind speed matches its airspeed exactly.
Energy Source: Primarily the wind. The bird uses gravity and ambient air currents to stay suspended, making micro-adjustments with its wingtips and tail feathers rather than hard flapping.
Wind Requirement: Requires a moderate-to-strong steady wind or updraft. In dead calm, kiting is impossible.
Wing Motion: Wings are held largely outstretched and rigid, often angled into a slight V (dihedral) or flexed, with minimal wingbeats.
Classic examples: White-tailed Kites, American Kestrels (when head-wind hunting), Ospreys, and Rough-legged Hawks scanning open fields.
Hovering (Active Powered Stationary Flight)
Hovering relies 100% on active, muscle-generated thrust and lift. The bird creates its own air movement over the wings by flapping rapidly, generating lift on both the downstroke and (in some species) the upstroke. Energy Source: Pure muscle power and high metabolic output.
Wind Requirement: Can be done in dead calm, indoors, or against any wind direction.
Wing Motion: Rapid, continuous flapping. True hoverers (like hummingbirds) rotate their wings in a figure-eight pattern, generating lift continuously on both stroke directions. Other birds (like Belted Kingfishers or kestrels in zero wind) use high-frequency powered flapping combined with wide tail fanning.
Classic examples: hummingbirds (the true masters), various kingfisher, species, and various terns before a dive.
Conclusion
The bird featured in Images 5-7 was definitely hovering.
|
|
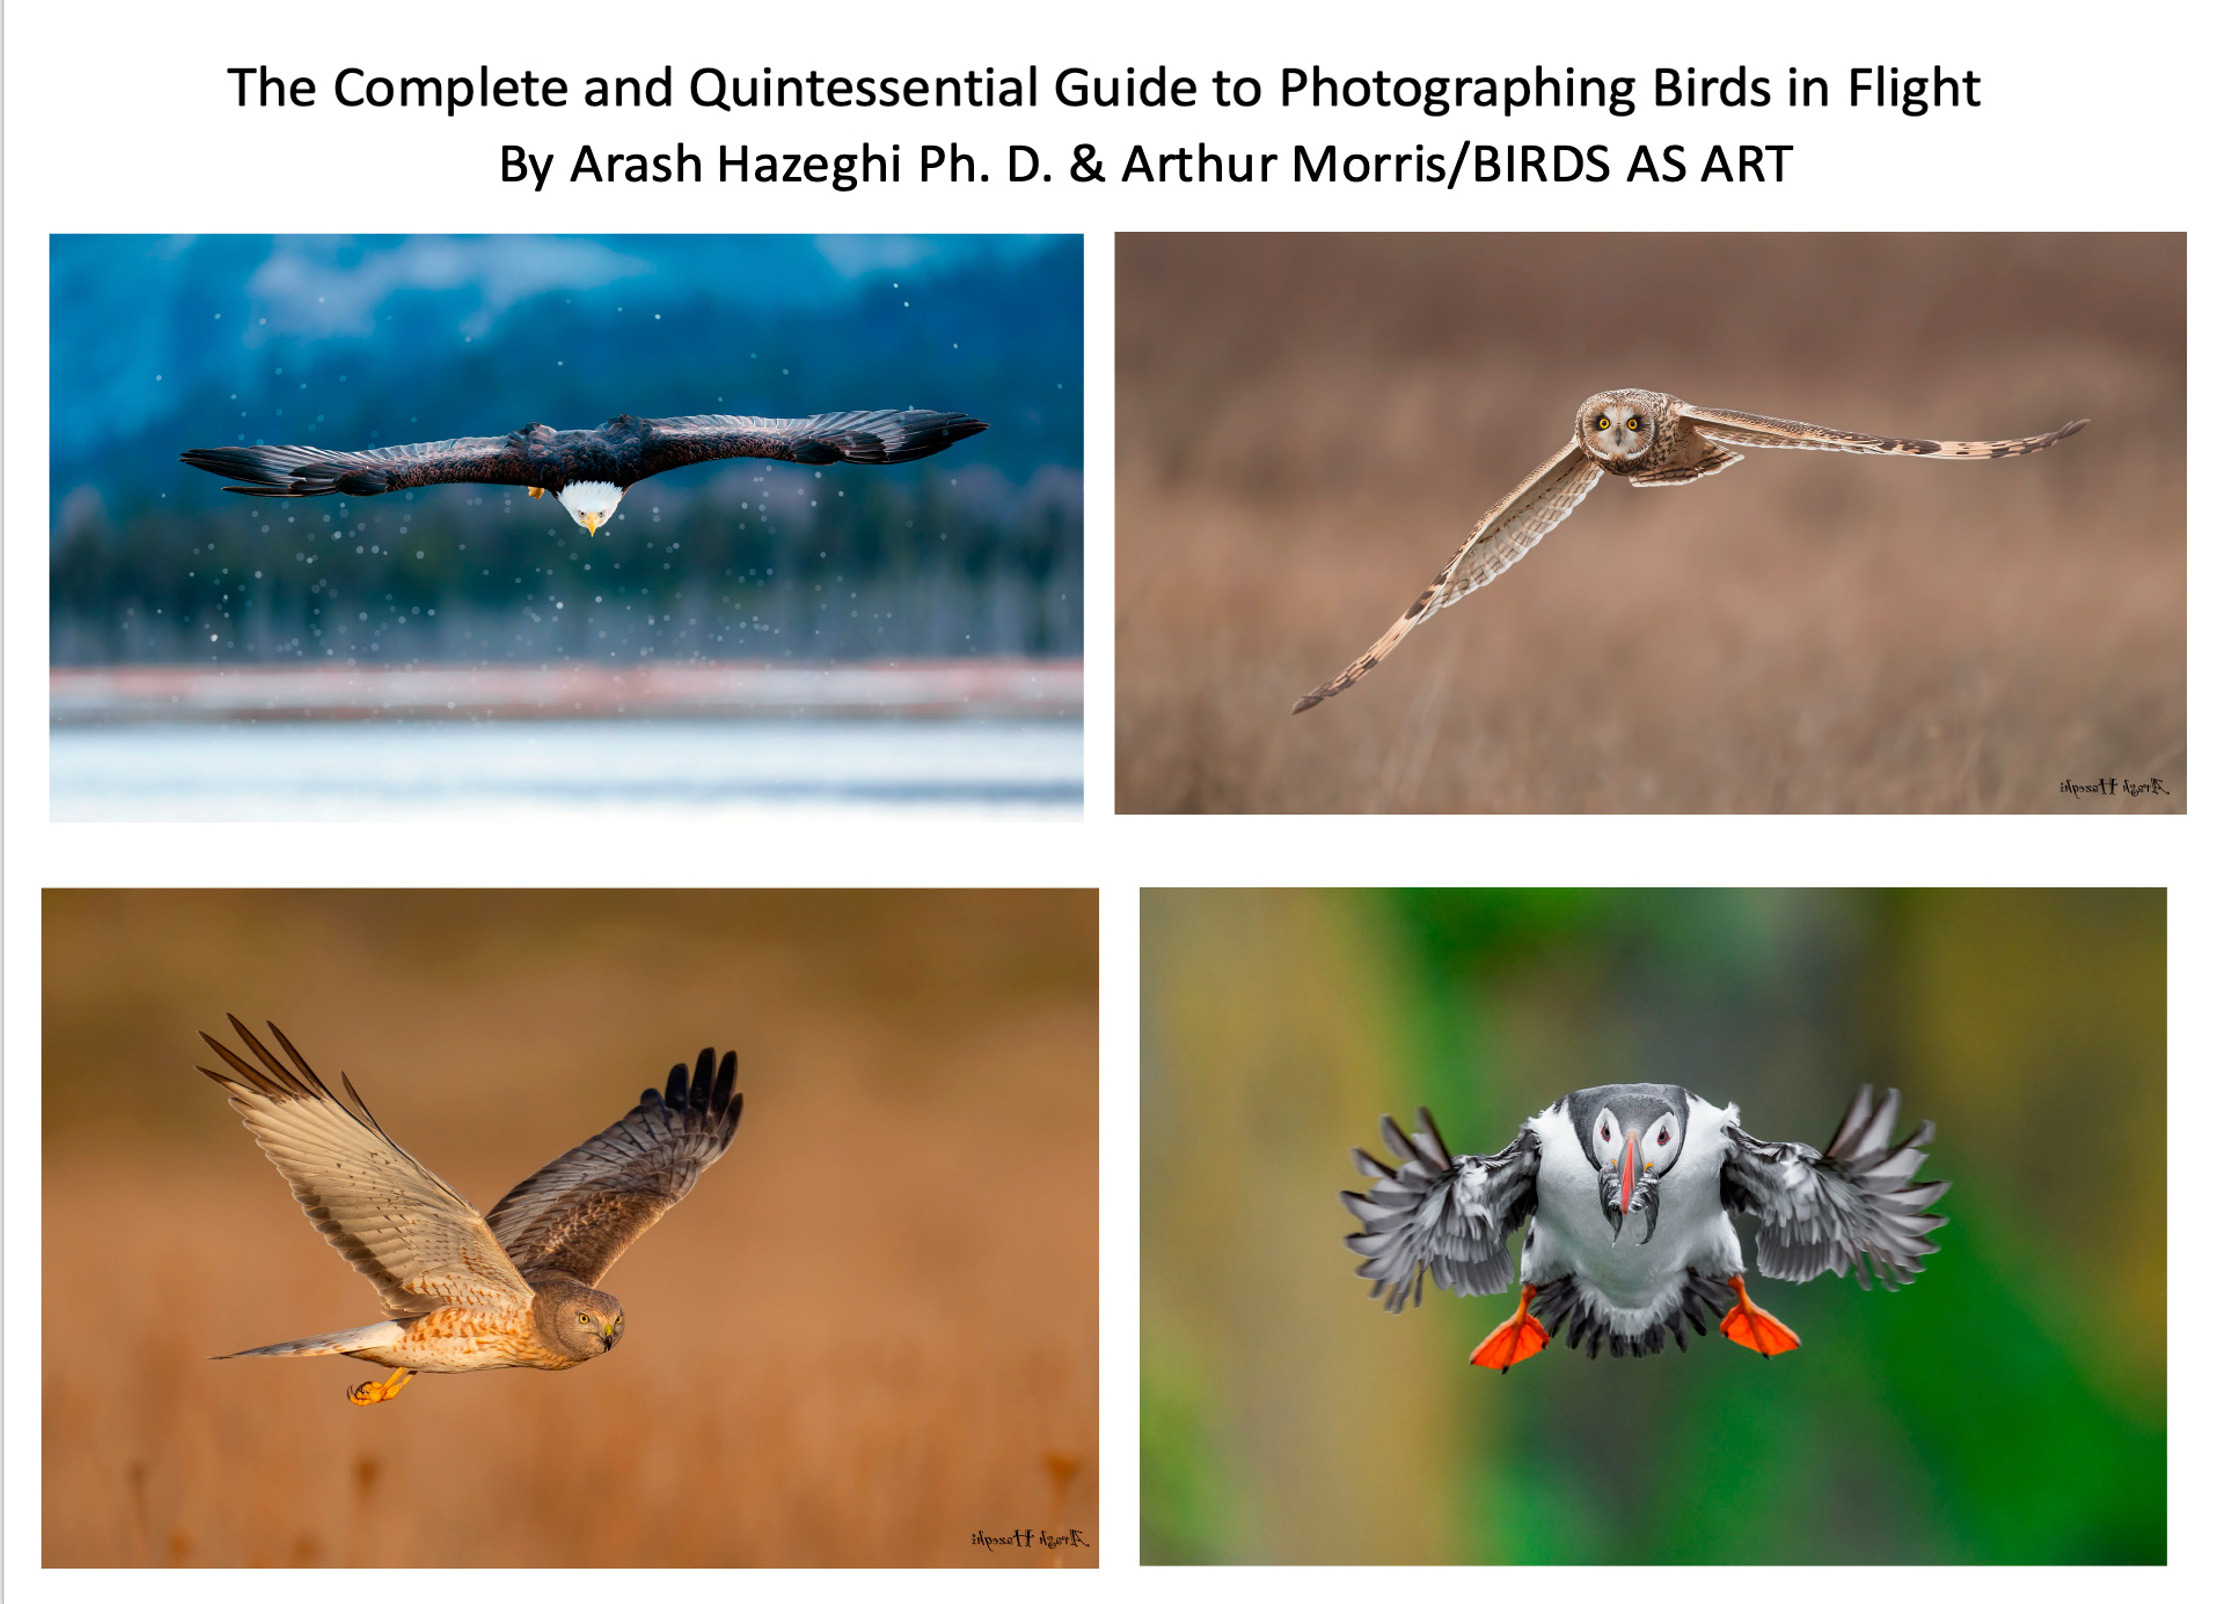
The title says it all. Purchase your copy here. The Complete and Quintessential Guide to Photographing Birds in Flight
|
The Complete and Quintessential Guide to Photographing Birds in Flight: $99.00
I had long dreamed of becoming a great flight photographer. When using dSLR gear, making sharp images was a huge problem. Most of the time, the camera bodies simply were not up to snuff. Things have changed dramatically with mirrorless technology. The high-end mirrorless camera bodies now feature science fiction-like autofocus systems and frame rates of 30, 40, and even 125 fps. Nowadays, getting the eye sharp is no longer a problem. The problem more often involves selecting the strongest image from a long series of sharp images.
The truth, however, is that there is a lot more than owning a Canon EOS R1, a Nikon Z9, or a Sony a-1 ii to consistently creating great photographs of birds in flight. Some of the biggest factors to success include gear choice, shooting strategies, and understanding the importance of sky conditions and wind speed and direction. Once you have the techniques and technical aspects down pat and can routinely create sharp images, learning the importance of flight poses, wing positions, backgrounds, and subject placement and image design enable you to create and then select superb flight images. And you guessed it, each of those topics and tons more are covered in detail in The Complete and Quintessential Guide to Photographing Birds in Flight.
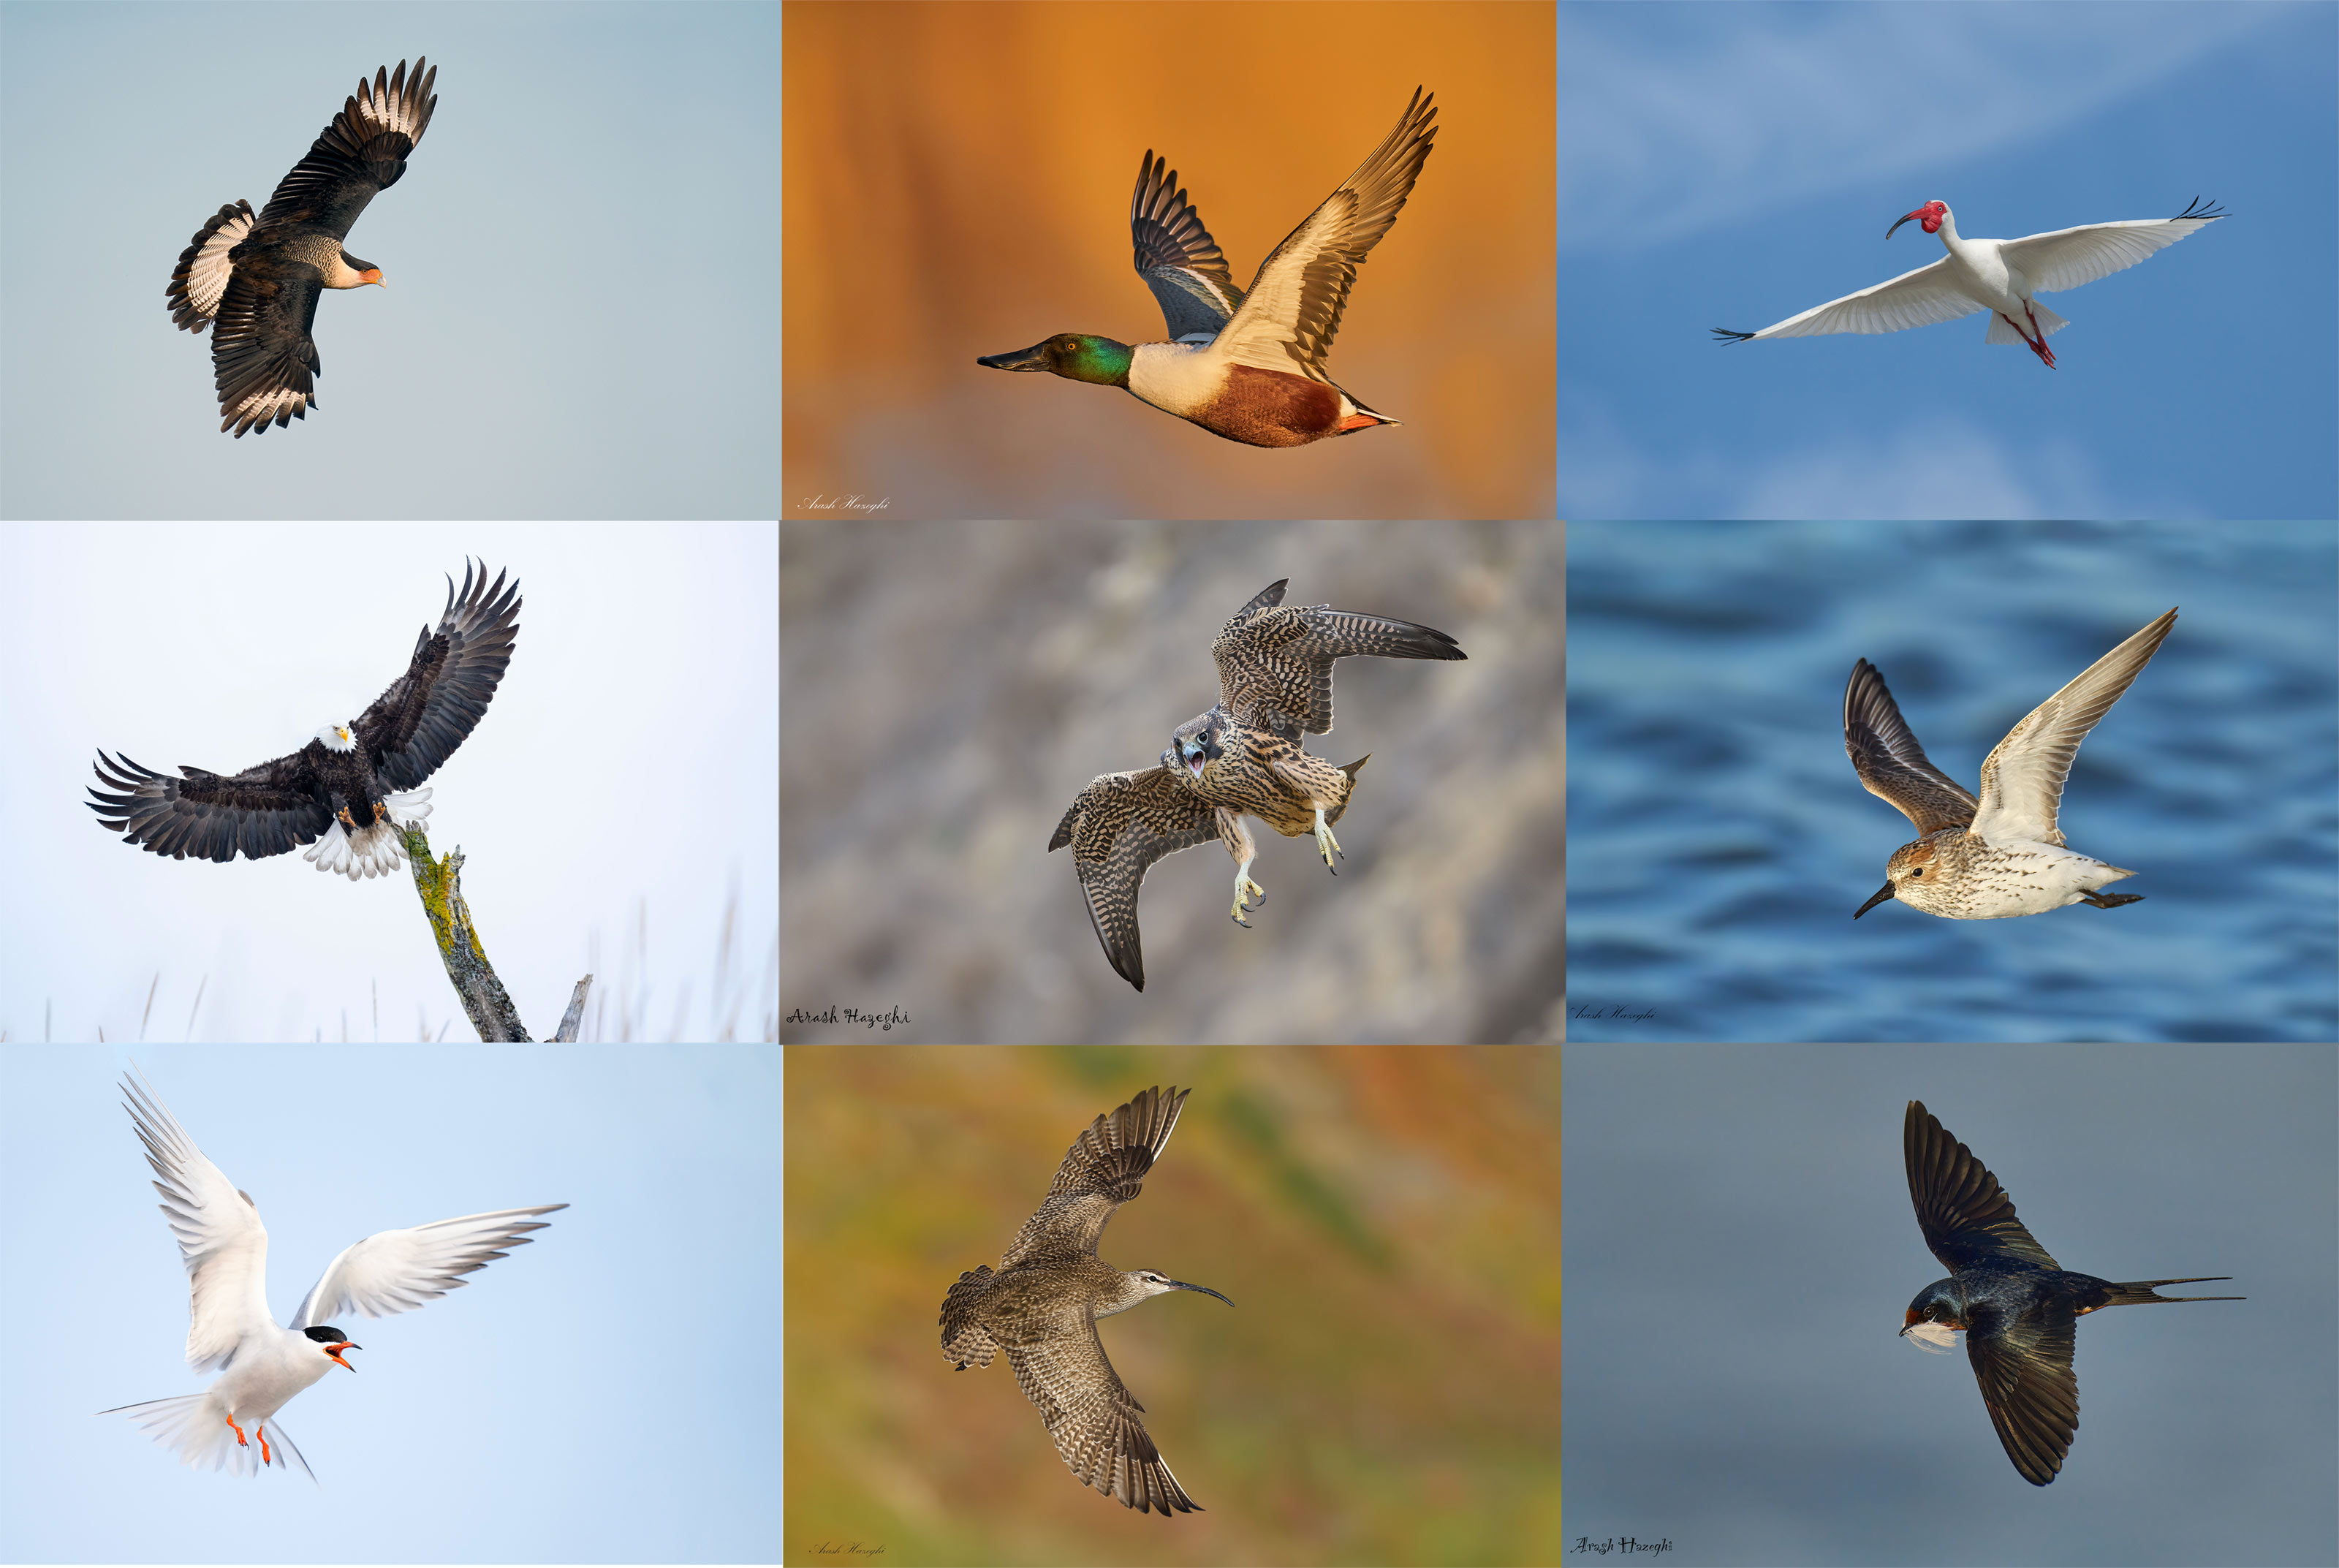
The guide consists of 267 pages and 21,013 words. There are 82 illustrative photos scattered throughout the text, two screen captures, and a 112-image gallery that includes examples created by Canon, Nikon, and mostly Sony gear. As seen above, each of the 194 inspirational photos is labeled with an educational caption.
You can purchase your copy here for $99.00.
Arash Hazeghi
Arash Hazeghi, Ph.D. is a principal electron device engineer. He received his Ph.D. degree in Electrical Engineering in 2011, from Stanford University, Stanford, California. His pioneering research on Carbon Nanotubes has been cited many times. In the past decade, Arash Hazeghi has been a major contributor to the research and the development of some of the most cutting-edge technologies introduced by Silicon Valley’s most reputable names including SanDisk, Intel and Apple.
More relevant here is that he is widely recognized as one of the world’s best birds in flight photographers. He specializes in raptors and the technical aspects of bird photography.
|
|
Flight photography is a skill that can be studied, practiced, and learned. Learn to get better in The Complete and Quintessential Guide to Photographing Birds in Flight |
The Complete and Quintessential Guide to Photographing Birds in Flight
By Arash Hazeghi Ph.D., and Arthur Morris/BIRDS AS ART
What you will learn (about):
-
1- Weight and handholding super-telephoto lenses.
2- Weight and handholding intermediate telephoto and telephotos zoom lenses.
3- Choosing the right flight photography lens or lenses for you.
4- The importance of focal length for flight photography.
5- The importance of lens speed (the maximum aperture for flight photography.
6- Choosing between fixed focal lengths and zoom lenses for flight photography.
7- The importance of AF speed and performance for flight photography.
8- Handholding tips and techniques.
9- Shooting flight off a tripod with the Levered-clamp FlexShooter Pro.
10- Flight poses and wing positions.
11- Why artie changed his mind about the 400mm f/2.8 lenses for flight and more.
12- The advantages and disadvantages of using teleconverters for flight photography.
13- Why to stay away from off-brand lenses.
14- Understanding the importance of wind direction and speed for flight photography.
15- The relationship between sky conditions and wind direction and how it affects flight photography.
16- Creating flight silhouettes in wind-against-sun conditions.
17- The importance of being on sun angle for flight photography (and avoiding harsh shadows).
18- Tips on doing flight photography in cloudy, foggy, or overcast conditions.
19- About the direction of light in cloudy, foggy, or overcast conditions and how it affects flight photography.
20- How your understanding of bird behavior can dramatically improve your flight photography.
21- Tips on attracting birds for flight photography.
22- What to do when your camera’s AF system is temporarily blind.
23- The vital importance of pre-focusing.
24- How Direct Manual Focus can help you with flight photography.
25- The importance of shooting aggressively when doing flight photography.
26- Everything that you need to know with regards to rest positions for flight photography.
27- The importance of getting low when doing flight in many situations.
28- Getting the right exposure when doing flight photography.
29_ Why to use Manual mode 95% of the time for flight.
30- Tips on finding the bird in the frame, acquiring focus, and tracking the bird in flight.
31- How to set and best utilize your lens’s image stabilization feature (and why).
32- Setting the focus range limiter switch on your flight lens or lenses.
33- To choose the best shutter speed for photographing birds in flight.
34- The vital importance of pre-focusing. And yes, this is so important that it is on the list twice.
You can purchase your copy here.
|
|
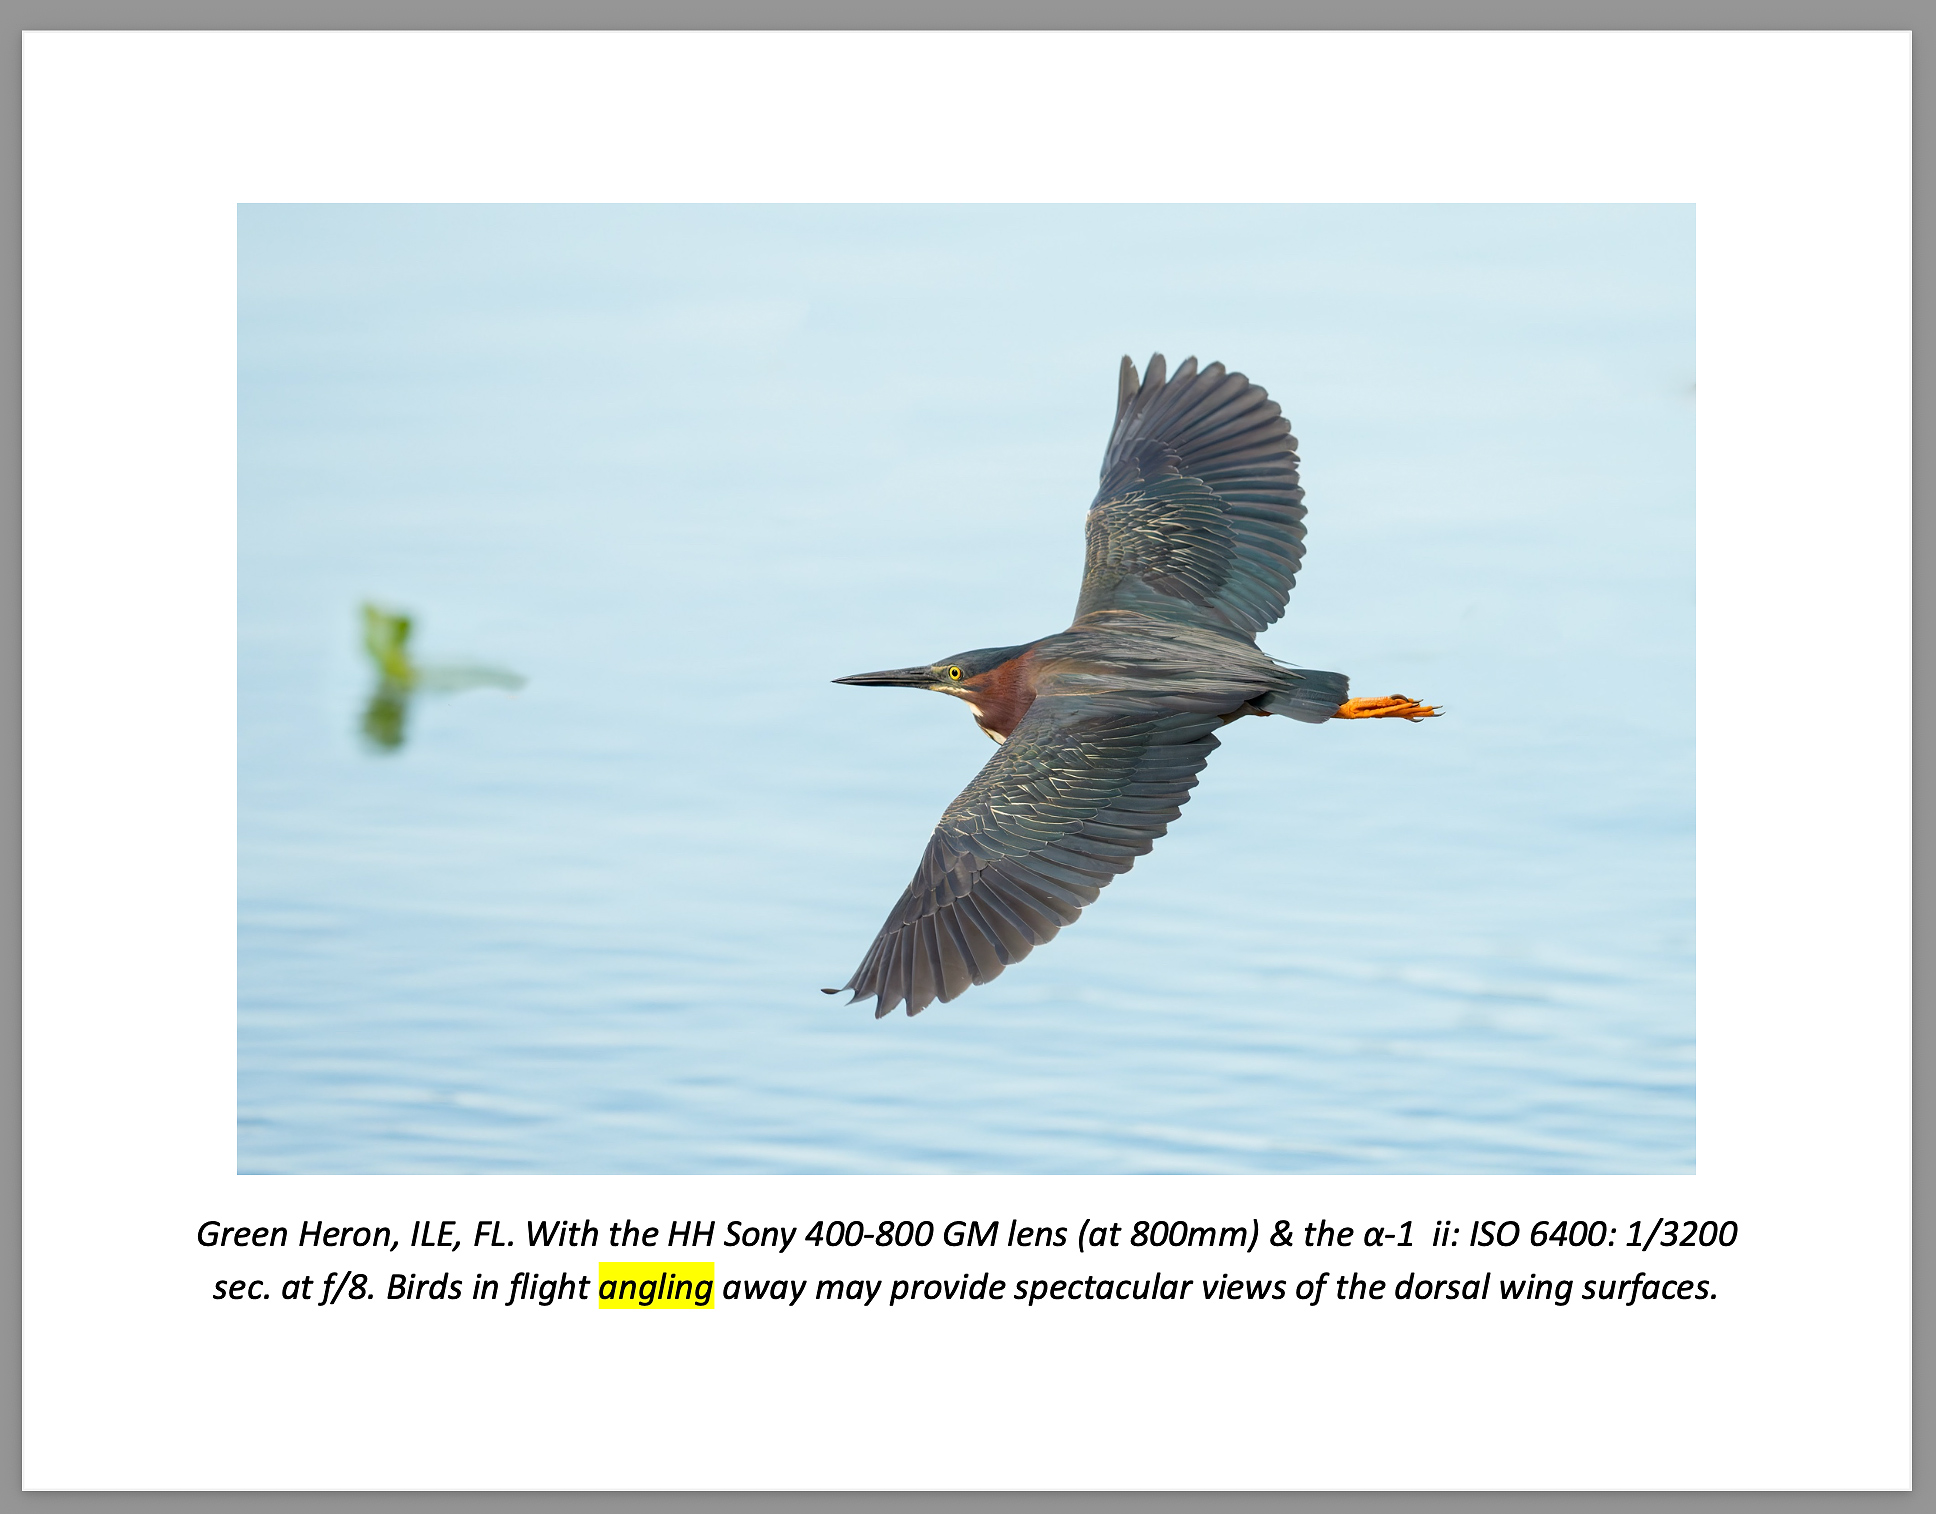
Sample Page #1. Image copyright 2024: Arthur Morris/BIRDS AS ART, the senior author. Page 254 of The Complete and Quintessential Guide to Photographing Birds in Flight |
Sample Page #1
Birds in flight that are flying away from you may at times provide spectacular views of the dorsal wing surfaces.
|
|
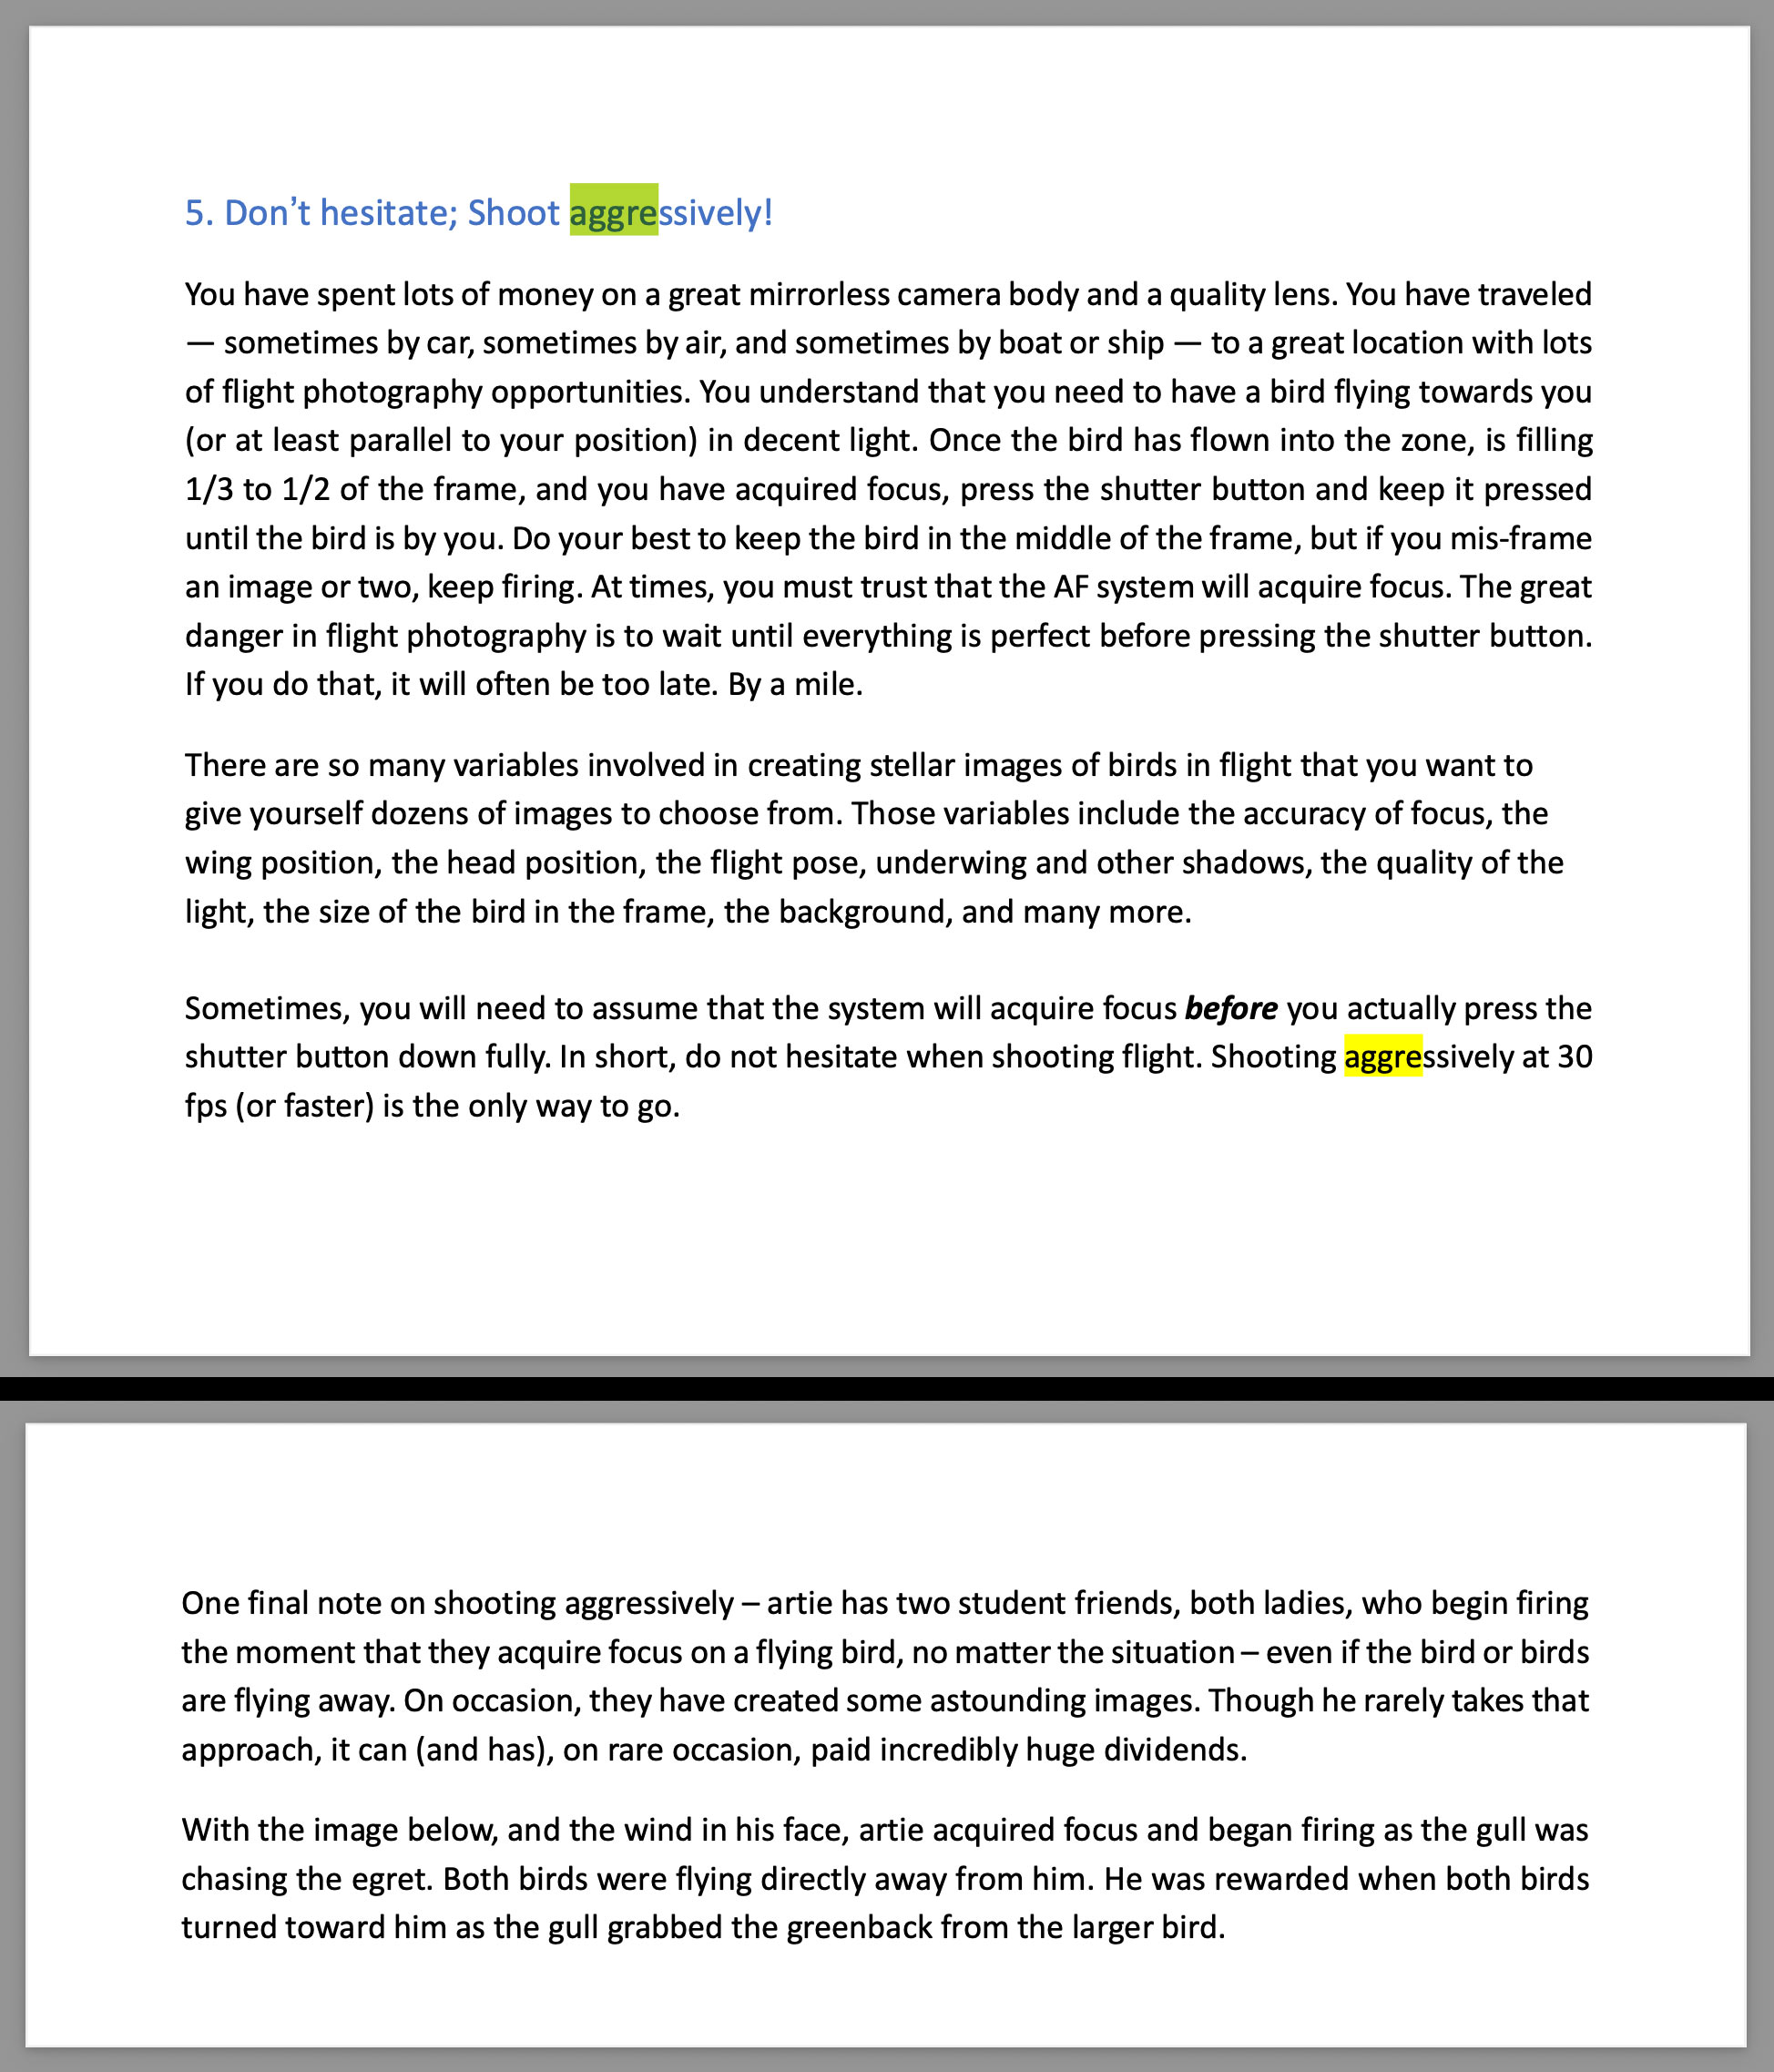
Image copyright 2024: Arthur Morris/BIRDS AS ART, the senior author. Sample pages #2 & 3. Pages 106 & 107 of The Complete and Quintessential Guide to Photographing Birds in Flight |
Sample pages #2 & 3
It is — for many reasons, imperative that you shoot aggressively when doing flight photography. If you wait for it to be perfect, you will usually wind up with nothing. That said, most of my flight sequences rarely consist or more than seven or eight frames; I do not blast away at specks and once the bird is past the light and flying away from me I quit shooting.
|
|
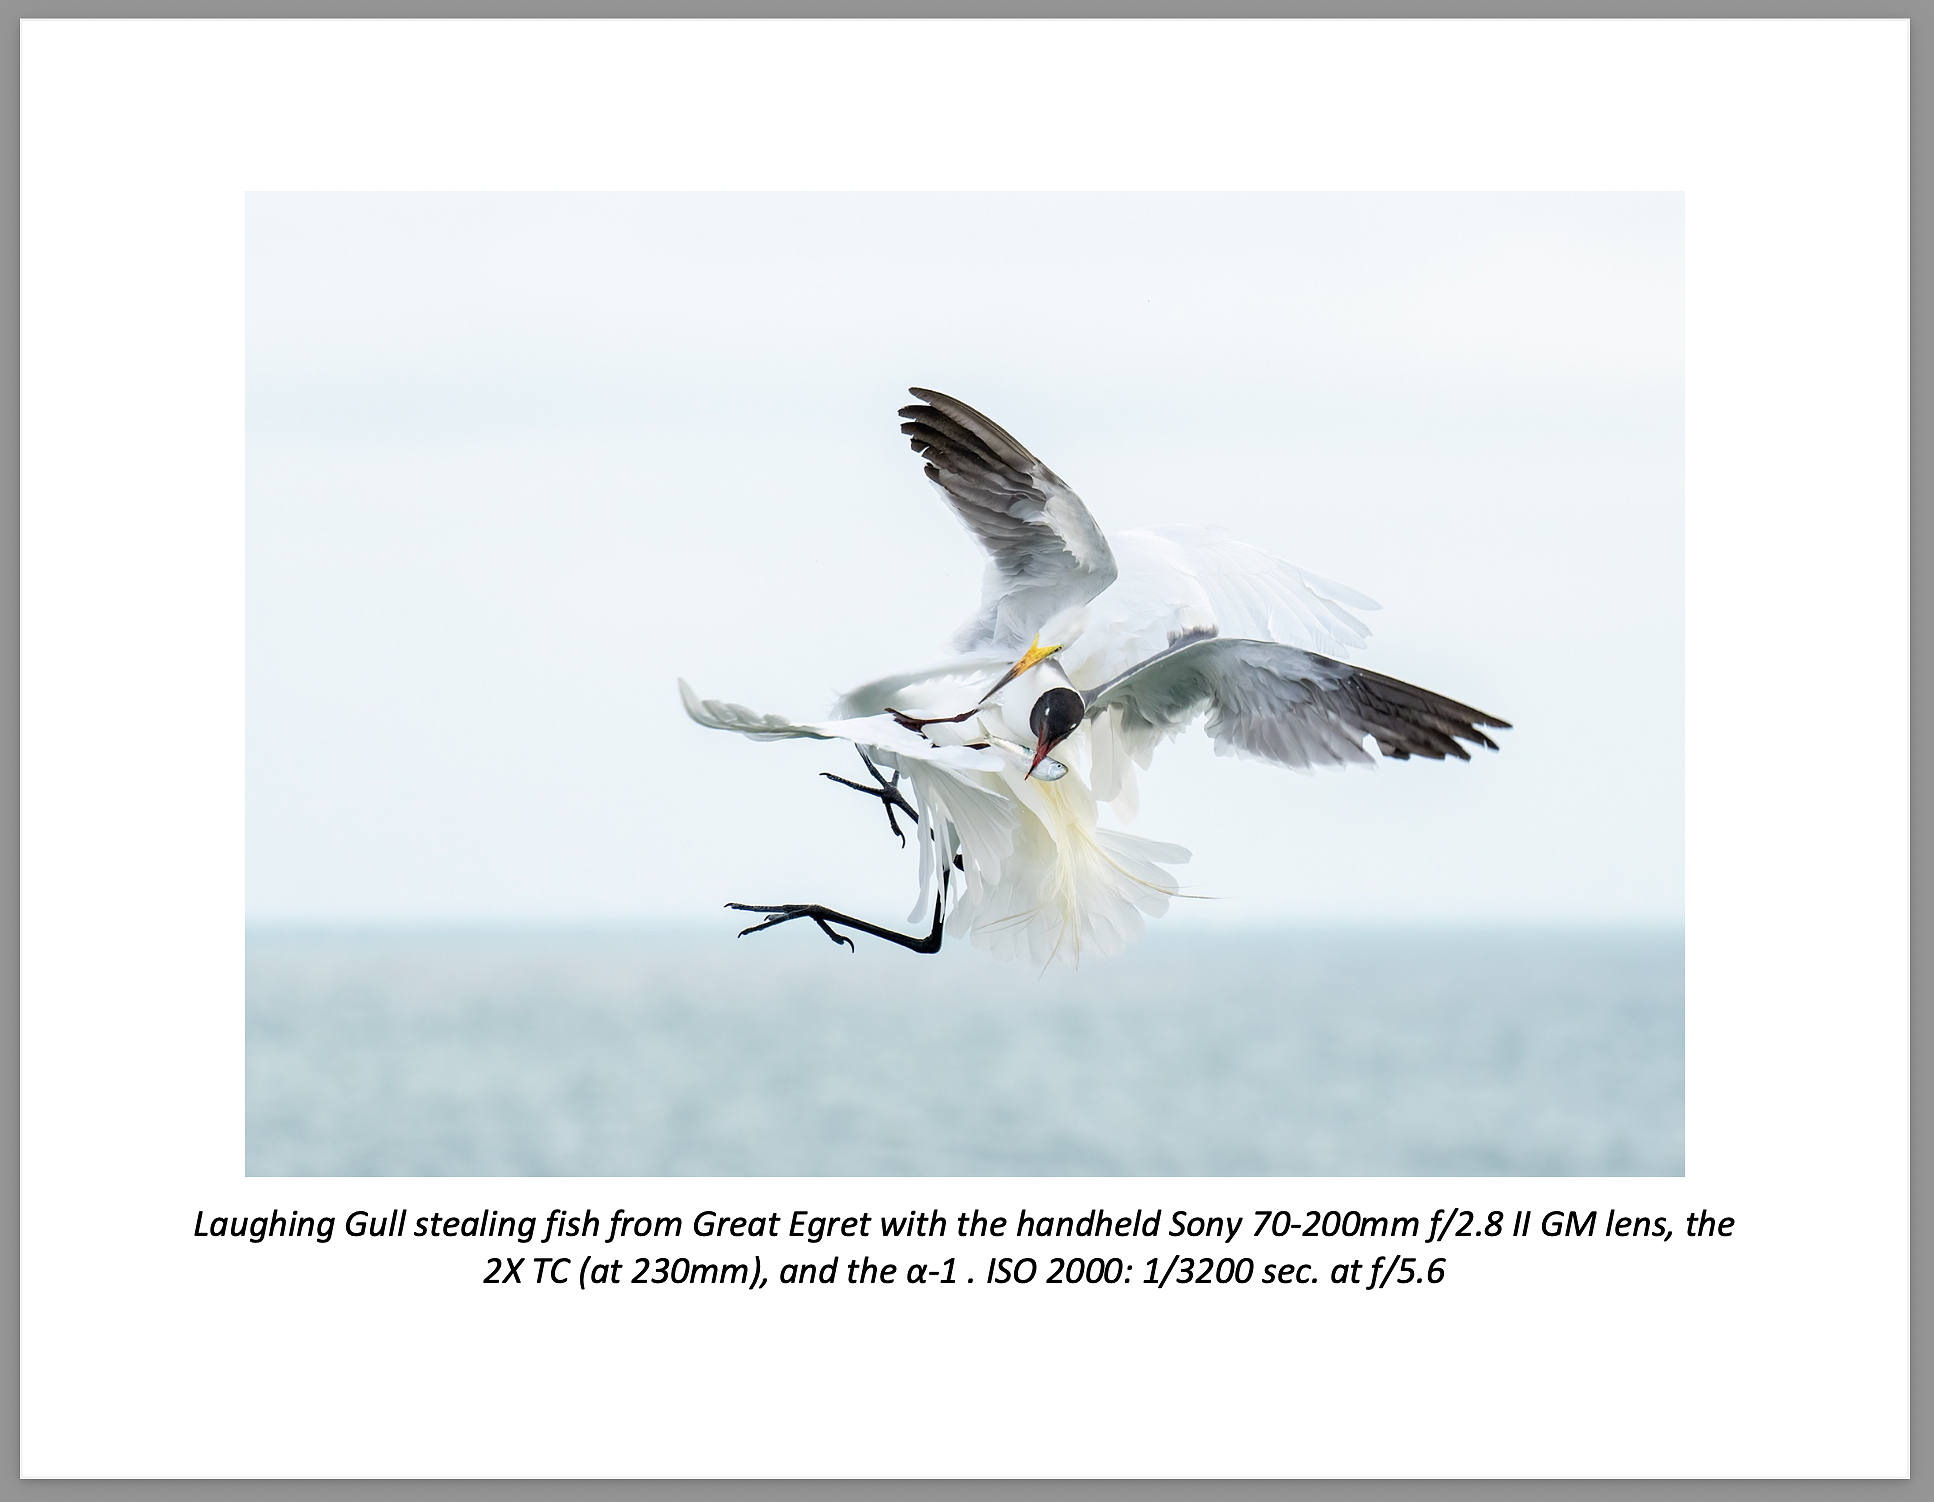
Image copyright 2024: Arthur Morris/BIRDS AS ART, the senior author. Sample page #4 Page 108 of The Complete and Quintessential Guide to Photographing Birds in Flight |
Sample page #4
Sometimes you need to press the shutter button and hold it down just in case the bird or birds turn back to look at you. The Great Egret above was flying directly away from me but turned abruptly when the gull grabbed the fish. Having learned from two lady photographer friends, I was right on this one!
Shooting flight aggressively can enable you to make images that on the surface, would seem impossible.
Typos
With all blog posts, feel free to e-mail or to leave a comment regarding any typos or errors.






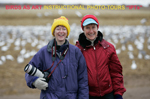

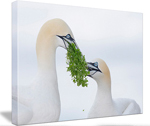

Artie,
While I love what you did to assist the gull, I have to go with image #1 as my favorite. Cuteness factor is high with the pose. Eye contact with both subjects. Clean background. Lastly, a touch of green amongst the sand. The OOF brown at the top of the frame is a bit of a distraction, but very acceptable because it’s so OOF.
Of the three image sequence, all have strengths. Image 6 is so nice with that fanned horizontal tail. Love it. It also helps that the horizon doesn’t intersect with the subject. However, overall, #7 is my favorite with the fanned wing and tail positions. I just prefer that pose more overall.
As always, thanks again for sharing.
Hi Tom, Thanks again for being a mensch.
with love, artie
Hi, Artie. Fine images all. As for the gull, I have caught a few gulls and terns while fishing, but never while flyfishing, I think because flyline is thick and visible so the birds avoid it. I always put some type of cloth (a towel if I have one, otherwise a jacket or shirt, anything) and untangle and cut the line and release the bird. I’ve more often helped other anglers. I don’t remember a case where the bird had swallowed a hook or even got hooked externally and every bird has flown away after being untangled. As you know, baited longlines kill many albatrosses and other seabirds, modern braided line is very hard to cut, and fluorocarbon monofilament is not biodegradable, unlike nylon monofilament, so I won’t use it.
Thanks, David. Your comment reminded me that about a year after Elaine died I was at Blind Pass where Sanibel Island and Captiva meet. I was helping a fisherman who hooked a young Brown Pelican in the neck. He said, I’ll put the hook out.” I said, “No. It is in too deep. Cut the line and I will bring it to C.R.O.W., the Clinic for the Rehabilitation of Wildlife. Halfway to the parking lot it died in my arms. I cried a lot.
with love, artie
Well done with the gull Artie
Thanks, Tony.
a
My favorite image is #2.
I heard that he is a really great guy 🙂
with love, artie
Artie, Your gull story is all too real. Unfortunately many photographers or passers by won’t invest the time to help the bird. God bless you for doing it! Would love to know what they find on the other end of the line.
Thanks, John. I just wrote Rob Longiaru and am hoping to find that out 🙂
with love, artie
The Gull story trumps all the photographs. It is no surprise to me that you did what you did to try and save the gull from probable death. It is simply who you are Artie. There is a close bond between bird photograpers and the birds that give them such beauty, action and even tenderness. I was once told that if you want to know something about birds ask a bird photographer not an ornithologist. To digress to an earlier blog, AI would have been of no help to the gull without a human presence/touch. AI cannot release a tangled gull like a compassionate photographer but can help an unethical “photographer” think he/she is a great photographer. So it all comes down to the person and there is not much we can do to change them. Hopefully most of us would rather be mediocre and true to ourselves and others than be less than mediocre but inflate ourselves with AI.
Wow. I got totally off the rails. My fav photo was # 2. Great shot Anke.
Thank you Red for your kind and thoughtful words. As far as AI, remember that JI = JO. Junk in equals junk out 🙂
much love, harry